Setting up a Linux server on a Windows network
Thinking of taking the open source plunge? Our resident server expert, Alan Stevens, shows you how to install a Linux server on your Windows network.
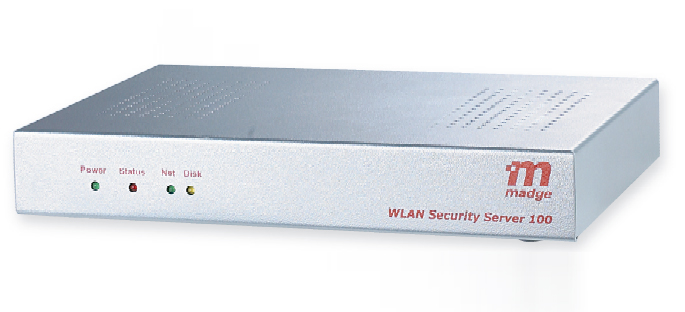
Step 1: Linux appliances
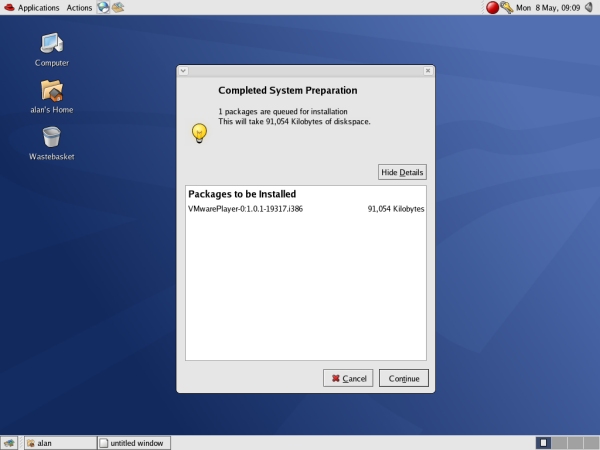
Step 2: Adding extra packages
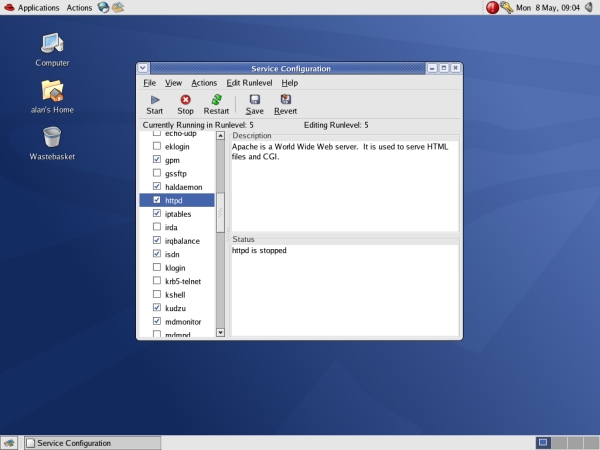
Step 3: Starting services
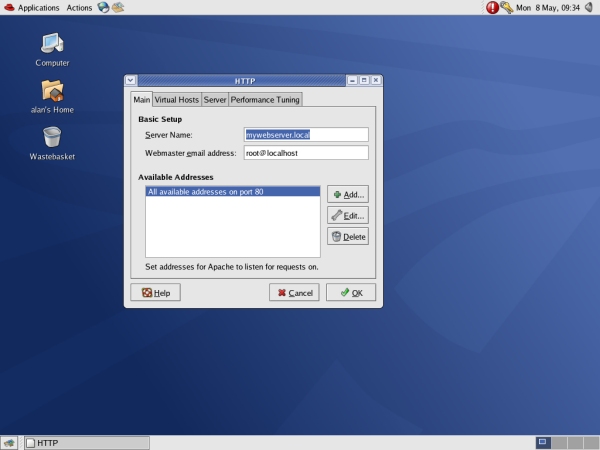
Step 4: Configure an Apache Web server
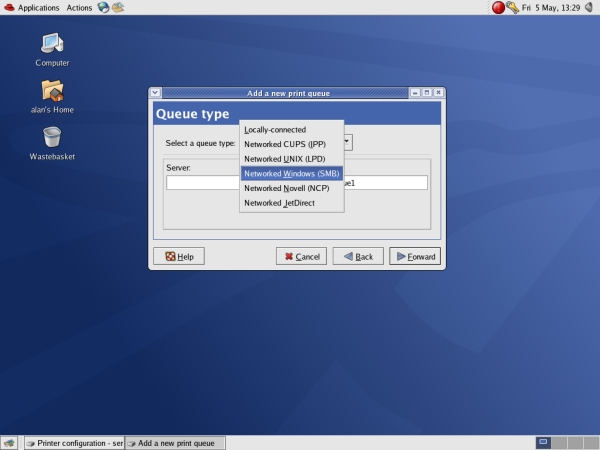
Step 5: Printer sharing
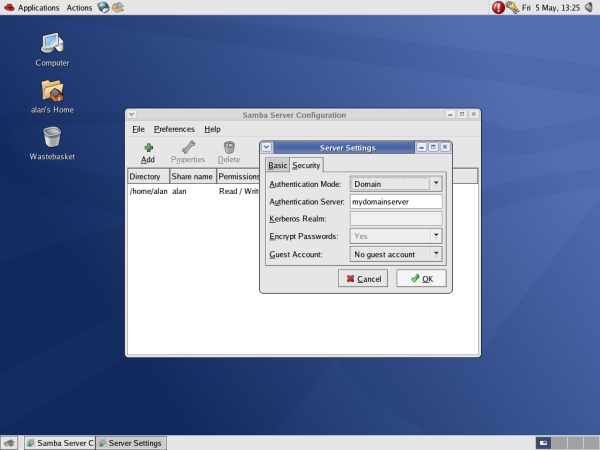
Step 6: Windows file sharing
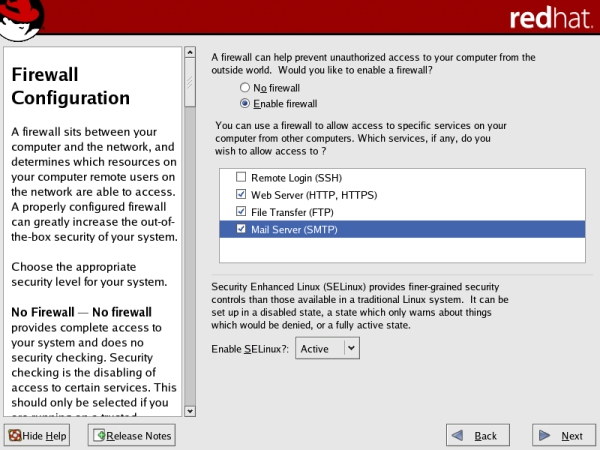
Step 7: Security options
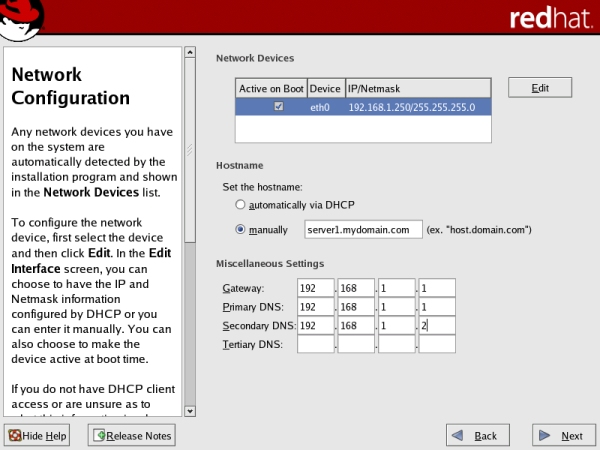
Step 8: Network settings

Step 9: Install optional applications up-front
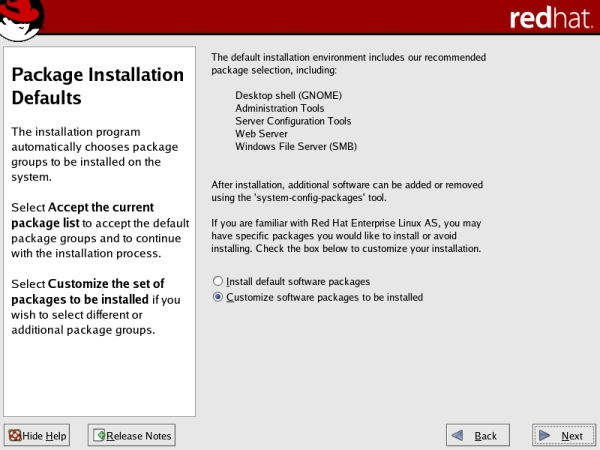
Step 10: Install options
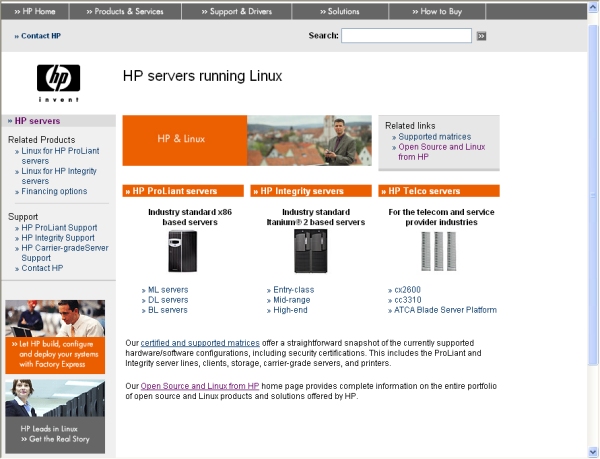
Step 11: Factory install
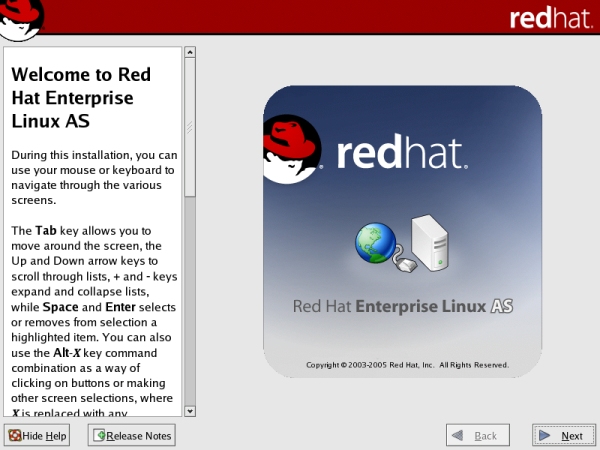
Step 12: The right Linux
Linux servers are becoming increasingly popular due partly to the inherent stability and security of the open source O/S but, equally, because Linux servers are a lot cheaper to configure compared to those running Windows. And when you consider that most implementations also come with a mass of bundled application software to support web, database and e-mail servers, and more, at little or no extra cost, it starts to become a tempting option.
If you've never encountered Linux before, however, getting started can be a daunting process. While the graphical interfaces employed these days aren't much different from a Windows desktop, the underlying software and the way it's configured is, and finding out how to perform even quite routine tasks can be an uphill struggle. You'll also find that many of the more useful add-ons are left out of a standard install, calling for extra effort and dedication to get the server configuration you actually want.
Exactly what's involved will depend on the implementation of Linux - there are subtle differences from one version to another - but the basic principles are much the same. In this walkthrough we look at some of the common steps required to integrate a Linux server into a predominantly Windows networking environment.
Get the ITPro daily newsletter
Sign up today and you will receive a free copy of our Future Focus 2025 report - the leading guidance on AI, cybersecurity and other IT challenges as per 700+ senior executives