How to restore a backup from Google Drive
Learn how to restore a backup from Google Drive of important data from your Android device, iOS device, or Windows PC

Have you ever lost important data, experienced a technical issue, or simply wanted to transfer your old data to a new Google device? If you know how to restore a backup from Google Drive, you can recover your lost data, as with the best data recovery software.
Google Drive is one of the best cloud storage solutions available today. You can use it to save and share documents, collaborate via Google Docs, and access your files from any device. But did you know that you can also use Google Drive to back up photos and files, and retrieve them at your convenience?
In this article, we’ll cover all the steps required when it comes to learning how to restore a backup from Google Drive, so you can retrieve all of your data whenever you need to.
How to restore a backup from Google Drive: Preparation
This step only applies to Android devices. If you are using an iOS device, skip ahead to step 6 of this guide. If you are using a Windows PC, skip ahead to step 8.
Before you can restore your Android device from a backup, you’ll need to create a backup of your device. Ideally, you should start backing up your device regularly from the day you purchase it, but you can start this process at any time.
There are two kinds of backups for Google devices: manual and automatic. You can create a manual, one-off backup at any time, or start an automatic backup schedule that will create regular backups of your device in the background.
To create a backup of your Android device, download the Google One app. Go to the Storage tab at the top, and scroll to the device backup section. Tap "Set Up Data Backup", and choose which data you want to back up.
Get the ITPro daily newsletter
Sign up today and you will receive a free copy of our Future Focus 2025 report - the leading guidance on AI, cybersecurity and other IT challenges as per 700+ senior executives
For the most comprehensive backup, you should back up your device data, full-resolution photos and videos, and MMS texts. Backups will now occur automatically when your device is idle, connected to WiFi, and when at least 24 hours have occurred since the last backup.
You can also manually trigger a backup by hitting the "Back Up Now" button in the Google One app under Storage > Backup.
Step 1: Retrieve backed-up photos and videos
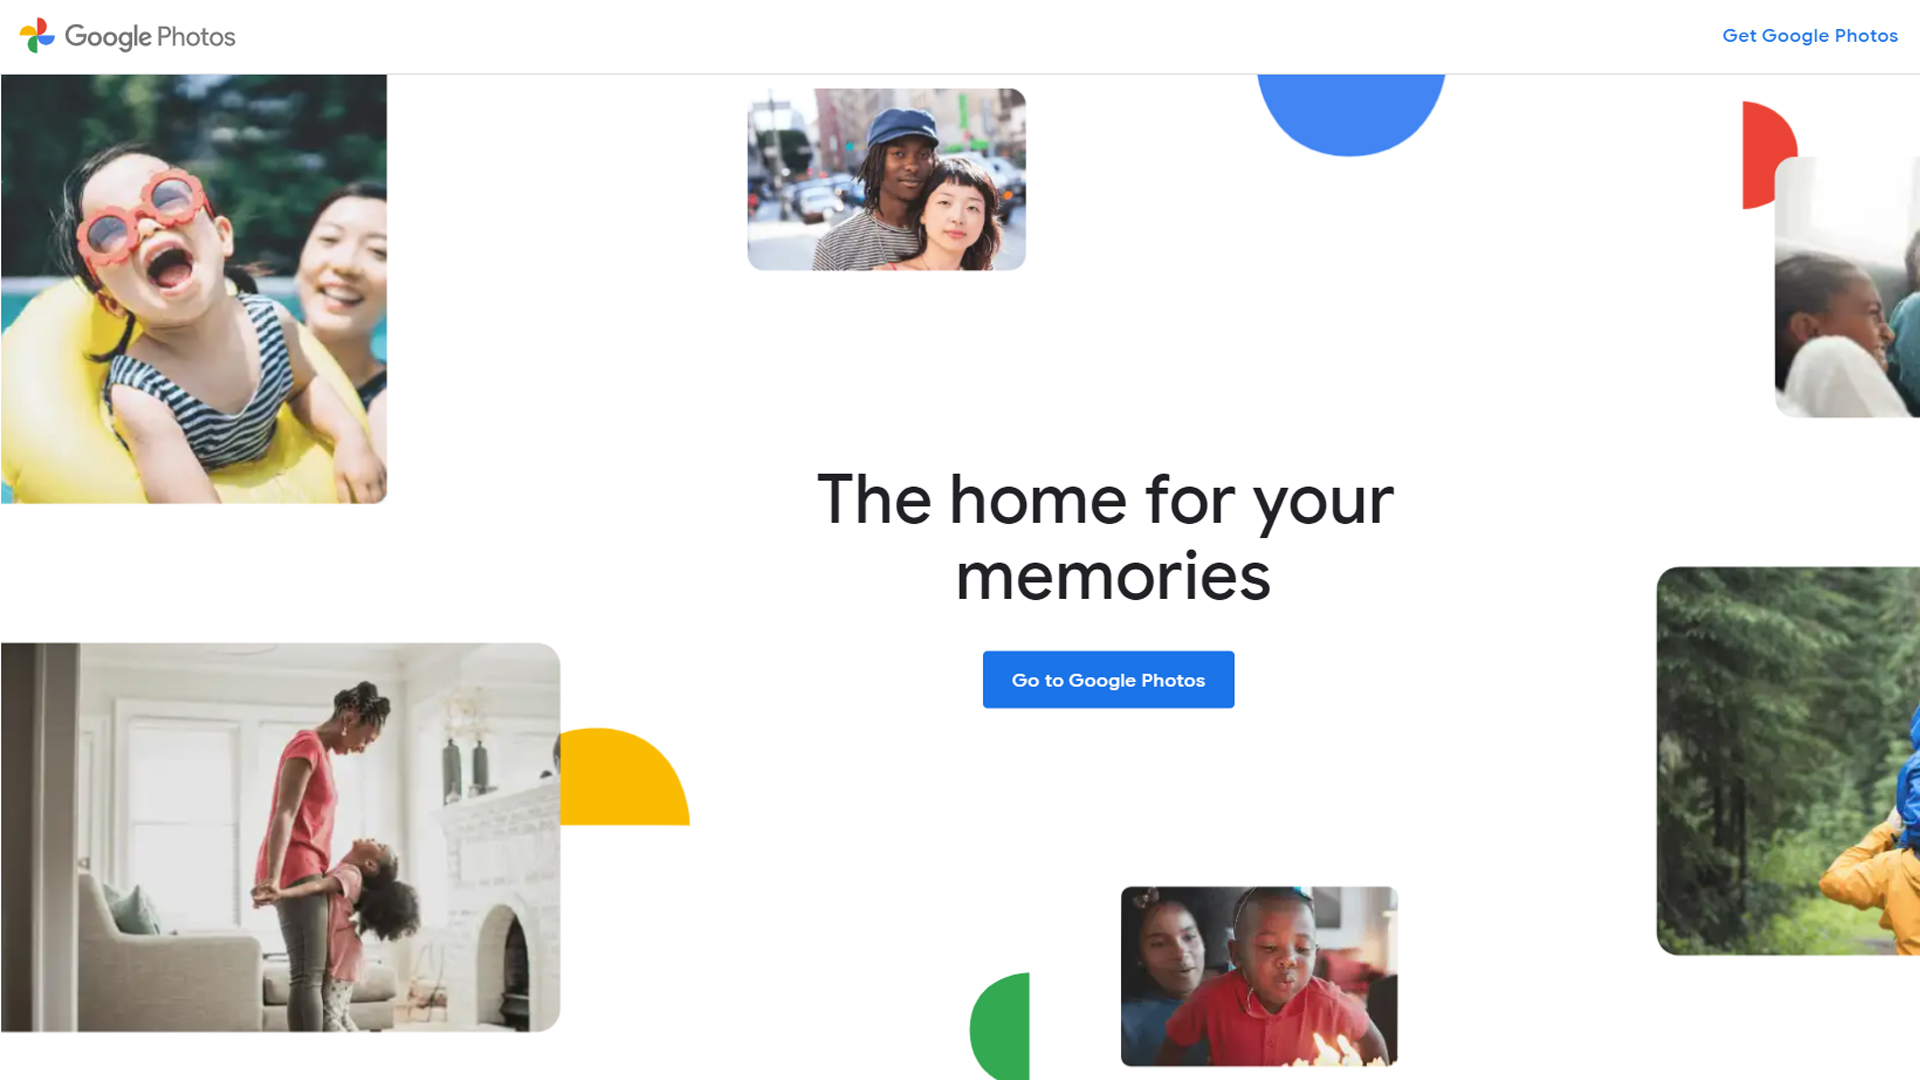
You can retrieve backed-up photos and videos from your Android device at any time. They are stored separately from the rest of your backup data, in your Google Photos library. You can access Google Photos from any device by logging into your Google account and navigating to the Photos tab.
Photos and videos backed up from your device will be stored here, and you can restore them to your Android device if they are ever lost.
If you want to bring back your old photos, download any photos you want from Google Photos after you have finished setting up your device. You can also download the Google Photos app from the Google Play Store, and access your photos without having to download them.
Step 2: Reset your device
If you only need to restore a small amount of lost or corrupt data—your contacts app, for example—skip to step 5. If you want to upload a backup to a new Android device, it will already be set to its original factory settings, so skip to step 3. Otherwise, read on to learn how to reset your Android device.
RELATED RESOURCE

Five must-have data integration capabilities for your cloud data warehouse
Data integration tools that are easy to use, flexible, scalable, and able to work across multiple environments seamlessly
To begin, go to the Settings app and tap "Backup and Reset". Depending on your specific device, these options might be named slightly differently, such as "Accounts and Backup" instead of "Backup and Reset". The sequence should still be similar.
Tap "Reset Device", then tap "Erase Everything". If your display isn’t working, or you cannot navigate your menus due to a technical error, you can also reset your device by holding the volume up, home, and power buttons simultaneously. This shortcut varies depending on the type of phone you are using, but this particular combination is common across most Android phones.
This will boot your phone’s recovery menu, which you can navigate using the volume buttons. Navigate to "Wipe Data/Factory Reset", and press the power key to initiate the reset.
Step 3: Restore your data
Once your phone is reset, you should see the welcome screen that you saw when you first set up your Android device. Tap "Let’s Go" to begin. On the next screen, select the option to "Copy Your Data", then choose "Backup from Cloud" as the copy method.
Sign in to your Google Account, and agree to Android’s terms of service. You’ll receive a list of items that you can restore, like your apps, call history, device settings, contacts, and calendar. Since you did a full factory reset, choose everything, and hit restore to begin restoring your data.
Once the reset is complete, you should have a fully functional Android phone, current to your latest backup. The only thing missing will be photos and videos, which you can now restore by following the instructions from step 1.
Step 4 (Optional): Restore without resetting
Instead of using the Google One app, you can use a third-party application like AnyRecover, Disk Drill, or iBeesoft to back up and restore your data, or one of the best data recovery software platforms.
Third-party apps can access your files in Google Drive and photos in Google Photos directly. You can download individual items from your backup, like individual messages or contacts, without resetting your device.
If you only lost a small amount of data, this is more efficient than doing a full reset. Plus, by using third-party software, you can access photos and files from one location instead of two separate ones.
Step 5 (Optional): Back up an iOS device with Google Drive
In addition to Android devices, you can use Google Drive to back up an iOS device. Apple products come with their own proprietary cloud account called iCloud.
iCloud has some limitations. Most notably, you cannot restore to a backup without doing a full factory reset of your iOS device. If you only want to restore a small amount of data, restoring from an iCloud backup can be very time-consuming. Google Drive, on the other hand, lets you restore data without a reset.
To begin, download the Google Drive app to your iOS device from the App Store. To create a backup, navigate to the Google Drive app settings and go to "Backup". Then hit "Start Backup". Google Drive will back up your photos to Google Photos, contacts to Google Contacts, calendar to Google Calendar, and so on.
This is a great way to migrate data from an iOS device to an Android device, or to keep your iOS data in sync with your other data if you keep most of your files on Google Drive.
However, you’ll have to navigate to each individual app to restore your data. This is beneficial, because you don’t have to do a full reset, but it is time-consuming if you are trying to recover a large amount of data. Consider keeping an iCloud backup for total resets of your phone, and a Google Drive backup for small amounts of essential data that you may need to restore quickly.
Step 6 (Optional): Enjoy unlimited backup with Google Pixel
Google Drive’s free storage space is limited to 15GB across all of your Google devices. This is particularly noticeable when you back up your photos, as it is quite easy to hit that 15GB cap.
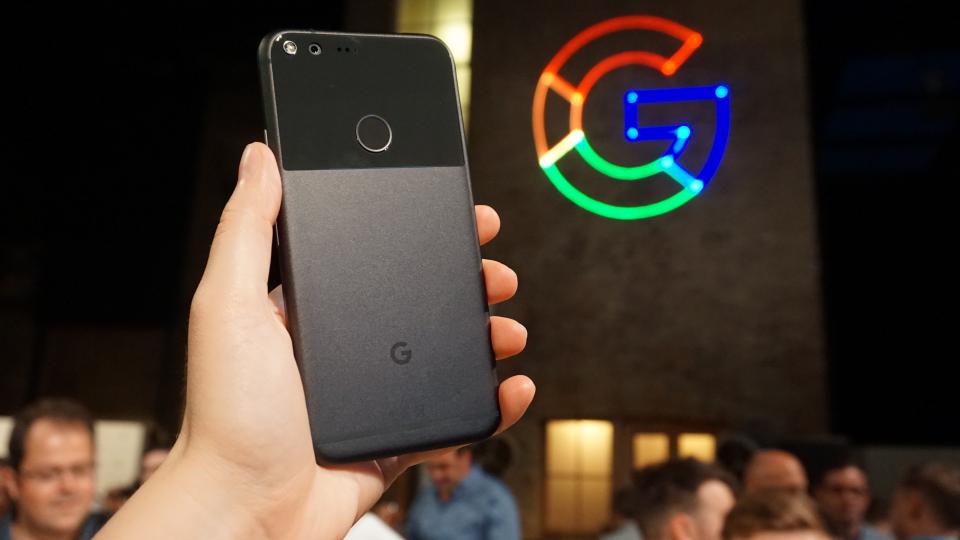
However, if you own the original Google Pixel, you can enjoy unlimited full-quality backups to Google Drive for your photos and videos. Owners of the Pixel 2 and above get unlimited backups, though the quality is reduced after you surpass your 15GB storage cap.
You can recover your photos at any time by navigating to Google Photos in your browser and downloading them individually. Alternatively, you can access your photos in the Google Photos app without downloading them to your device.
Step 7 (Optional): Back up your PC to Google Drive
You now know how to restore your Android or iOS device from a Google Drive backup. But what about your Windows PC?
Note that these instructions are for backing up a large number of files. If you only need to back up a few files, drag and drop them into your Google Drive, and download them back to your PC at any time to recover them.
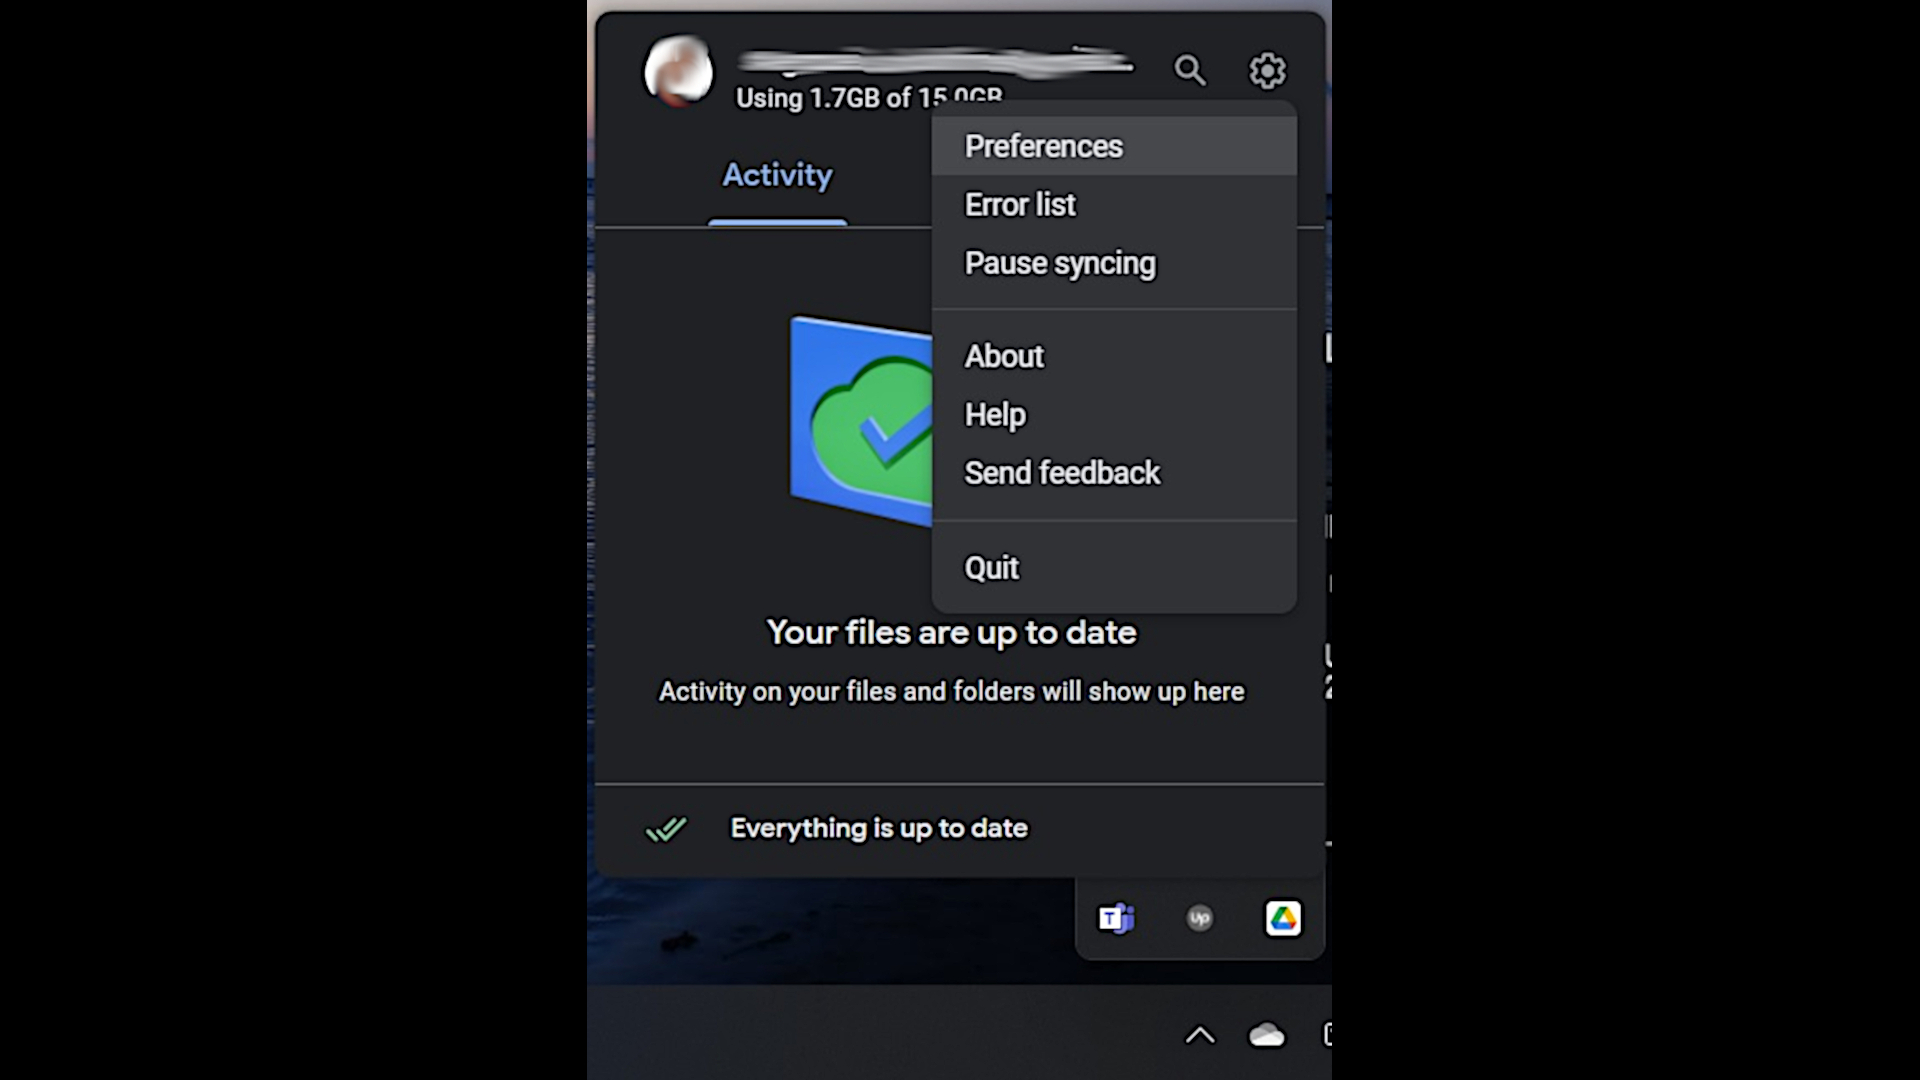
To begin, download Google Drive for desktop. Run the installer and hit "Sign In In-Browser" to sign in via your Google Account. Once Google Drive is installed, run it and right-click the drive icon in your taskbar. Click the gear in the top right corner and navigate to Preferences. Click "Add Folder" to choose which folders you would like to automatically back up to Google Drive.
These folders will now automatically back up any data in them to Google Drive. You can restore the data to your PC by downloading it from Drive at any time.
As you can see, there are many ways to restore your data from a Google Drive backup. You can do it on Android devices or your Windows PC. Google Drive can also be a cloud storage alternative to iCloud for your iOS devices, as it allows for more speed and flexibility when recovering an iCloud backup.
Further reading on cloud storage and data recovery
To learn more about cloud storage from Google, find out what Google Cloud storage is. Beyond Google, learn what hybrid cloud storage is, and read our guides to the best cloud storage for business, the best encrypted cloud storage and the best free cloud storage to determine what type of cloud storage is best for you.
Serguei Solokhine is an experienced freelance writer specializing in a range of topics, including finance, marketing, and travel.
He holds degrees in both finance and marketing, and boasts five years of experience working in the financial services industry across a range of roles.
Serguei enjoys writing about personal finance and investments, and has published works in several publications, including MoneyVisual, ITPro, Top.10, and TechRadar. He has covered topics such as software as a service (SaaS), CRM, and VPNs for TechRadar in addition to in-depth articles exploring web design, B2B remote desktop technology, and cloud computing for ITPro.