How to restore a backup from iCloud
Learn how to restore a backup from iCloud, recover lost data, transfer data to a new device, or get around a technical issue with this eight-step guide
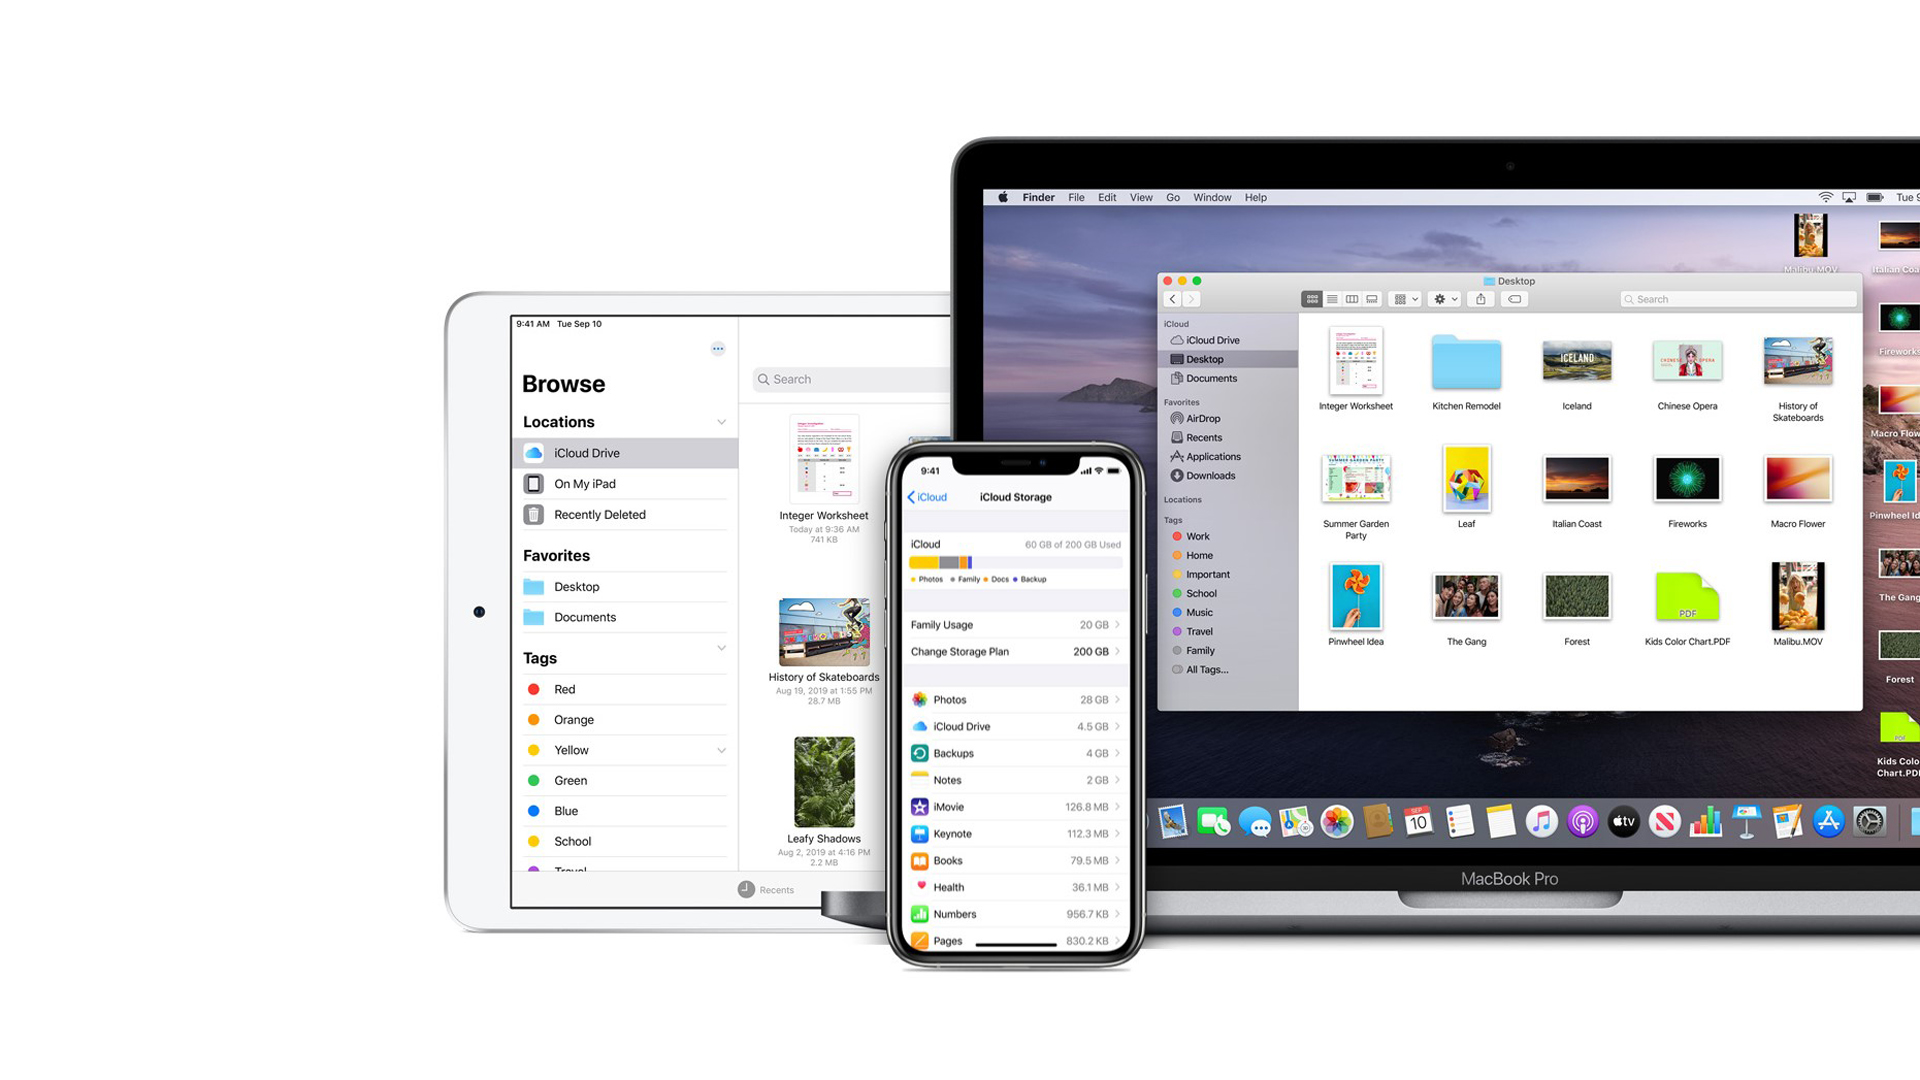

Apple devices are well known for quality and reliability, but you never know when you might run into an issue with your iPhone, iPad, or Apple Watch. Thankfully, Apple devices can easily be backed up to iCloud, but as with the best data recovery software, you’ll need to know how to restore a backup from iCloud if something goes wrong.
That’s why we’ve laid down these eight easy steps to reset your iOS device from an iCloud backup. Keep in mind that although iCloud is one of the best cloud storage solutions, it comes with one major caveat—you need to delete everything on your device before uploading a backup. Skip to step 7 of this guide if you need a workaround for this issue.
How to restore a backup from iCloud: Preparation
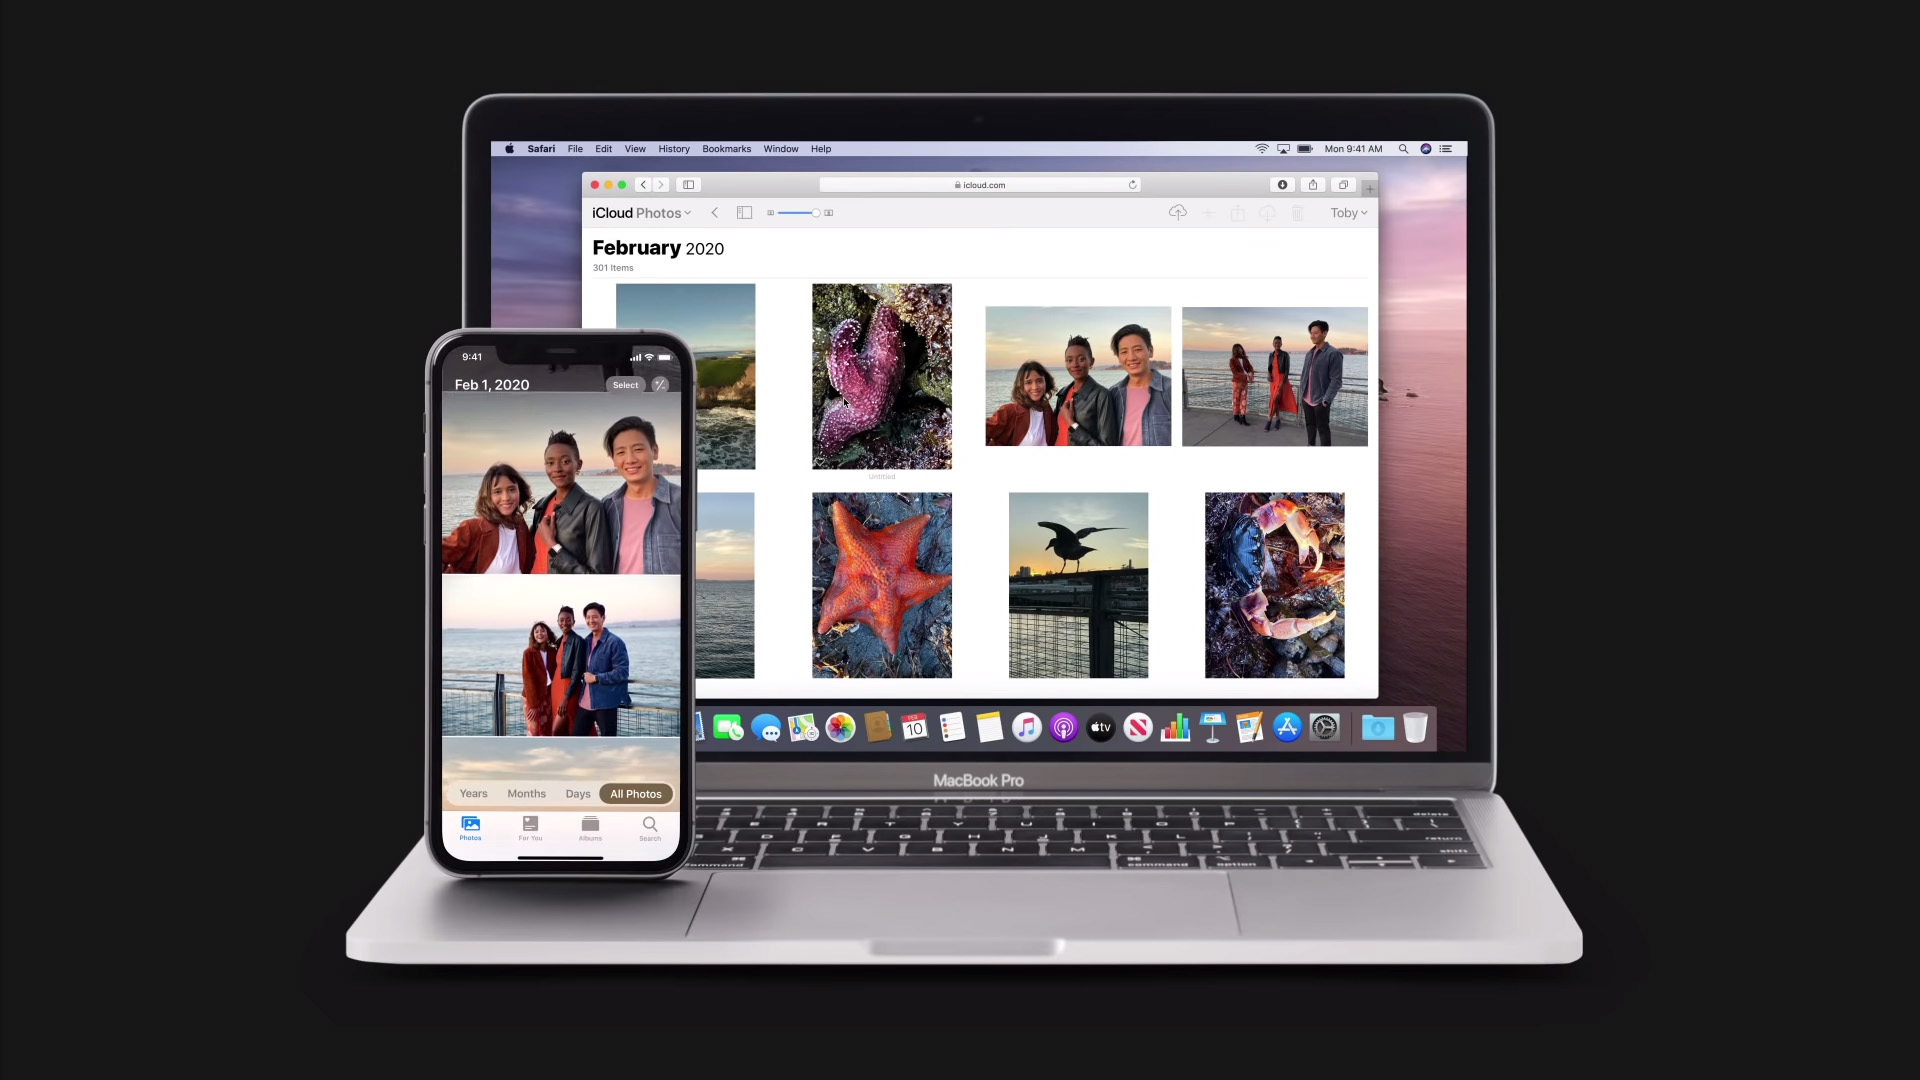
Before you can restore your iOS device from a backup, you need to set up iCloud backup. Ideally, you should do this when you first set up your device, but it can be done at any time.
To begin, go to the Settings app and tap on your name at the top. Then tap "iCloud" and scroll down to "Backup". Make sure "Backup" is set to on. Once backup is enabled, iCloud will automatically back up your data when your device is locked, plugged in, and connected to WiFi.
You can also navigate to Settings > iCloud > Backup and hit "Back Up Now" to manually trigger an iCloud backup. If you experience a technical issue or need to restore lost data, you can revert your Apple device to the latest iCloud backup at any time.
Keep in mind that the free iCloud account that comes with your Apple ID only has 5GB of available storage. Most Apple devices come with significantly more internal storage than that. The iPhone 13, for instance, comes with at least 128GB of onboard storage.
If you attempt to back up your device to iCloud and find that your iCloud storage is full, consider deleting some unneeded content, or upgrade to iCloud+, which starts for 79p a month for 50GB of storage.
Get the ITPro daily newsletter
Sign up today and you will receive a free copy of our Future Focus 2025 report - the leading guidance on AI, cybersecurity and other IT challenges as per 700+ senior executives
Step 1: Prepare your device for a factory reset
Before you restore your device from a backup using the official process provided by Apple, you will need to perform a factory reset. This means you will need to erase all of the content currently present on your device. If you do not want to do a reset, you can get around this by using third-party software instead. Skip to step 7 to learn how to restore from a backup with third-party software.
Look carefully through your photos, files, notes, and any apps that might have important data. Anything that was added after your last backup will be permanently lost once you perform the reset.
Step 1b (Optional): Unpair your device (Apple Watch only)
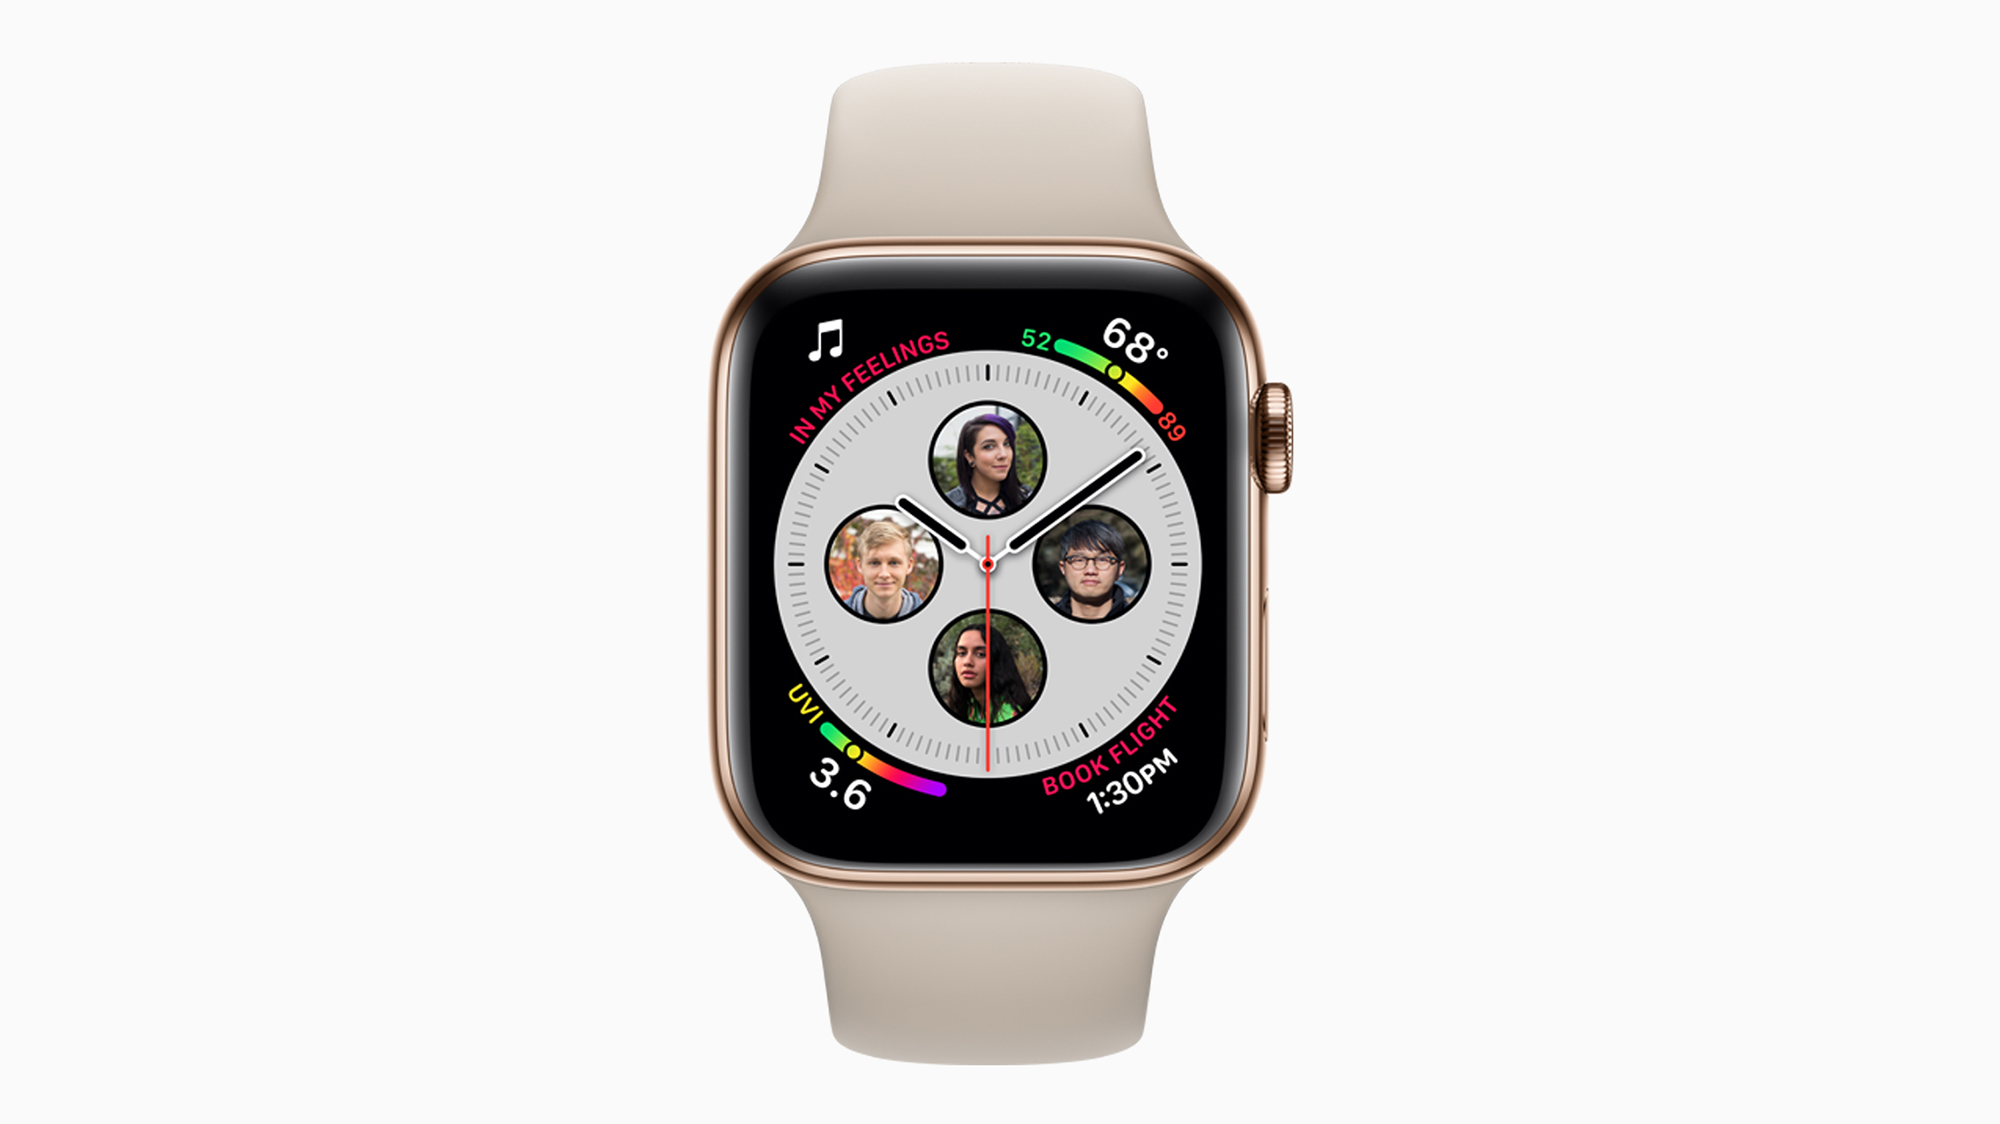
If you are resetting an Apple Watch, you will need to complete an extra step before proceeding to step 2, which is to unpair your watch from your iPhone.
To begin, open the Apple Watch app on your iPhone, and navigate to My Watch > All Watches. Tap the info button next to the watch you want to unpair, then tap "Unpair Apple Watch". The system will ask you if you would like to keep or remove your cellular plan. Keep it, since you will be restoring from backup shortly.
Tap again to confirm, and input your Apple ID password to complete the unpairing process before moving on to the next step.
Step 2: Reset your device
RELATED RESOURCE
Once you are confident that nothing important will be lost, navigate to Settings > General > Transfer or Reset [Device]. Next, tap "Erase All Content and Settings" to initiate the factory reset. You will now be prompted to enter either your device passcode or your Apple ID password.
After entering the passcode, wait for the reset to complete. This can take a few minutes, depending on how much content you currently have on your device. You will know the reset was successful when you see the Hello screen that you saw when you first set up your iOS device.
Step 3: Set up and activate your device
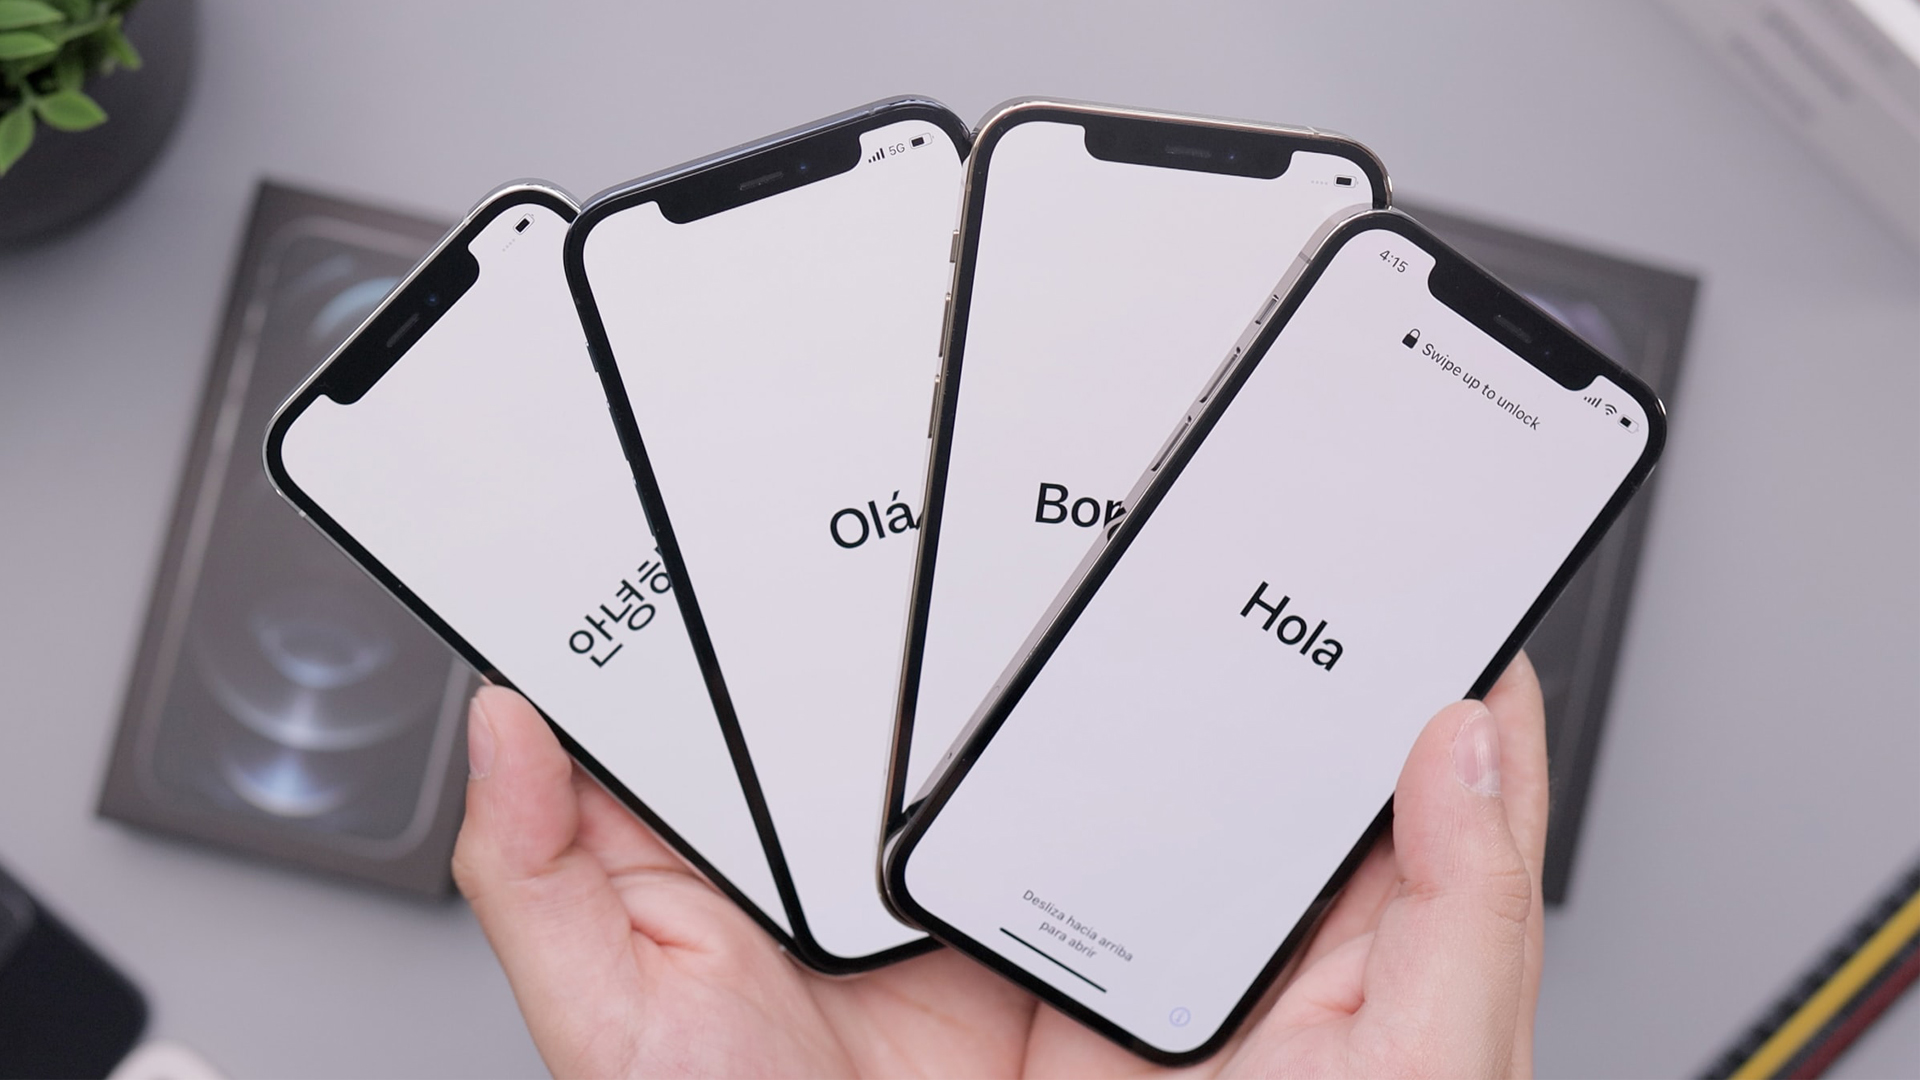
Since your iOS installation is now effectively brand new, you will have to go through the initial setup steps the same way you did when you first bought your device. Start by tapping the Hello screen and choosing your language.
Follow the onscreen prompts to set up your device and connect it to the internet via WiFi or cellular data. Finally, set up your Face ID, Touch ID, and passcode. Note that not every Apple device will have all of these features. At this point, you are ready to restore your iCloud backup.
Step 4: Restore your data
On the next screen, you will receive several options to restore your data. Tap the top option, "Restore from iCloud Backup". You will now be prompted to sign in to iCloud with your Apple ID.
Upon signing in, you will see a list of available backups. Choose the most recent one, unless you would like to backdate your device to a specific date and time. iOS may indicate that you need to perform an update at this point. If this occurs, wait for the update to install then proceed to restore your device.
At this point, your data, including photos, notes, and files, will be restored. The next step is to restore your apps.
Step 5: Restore apps
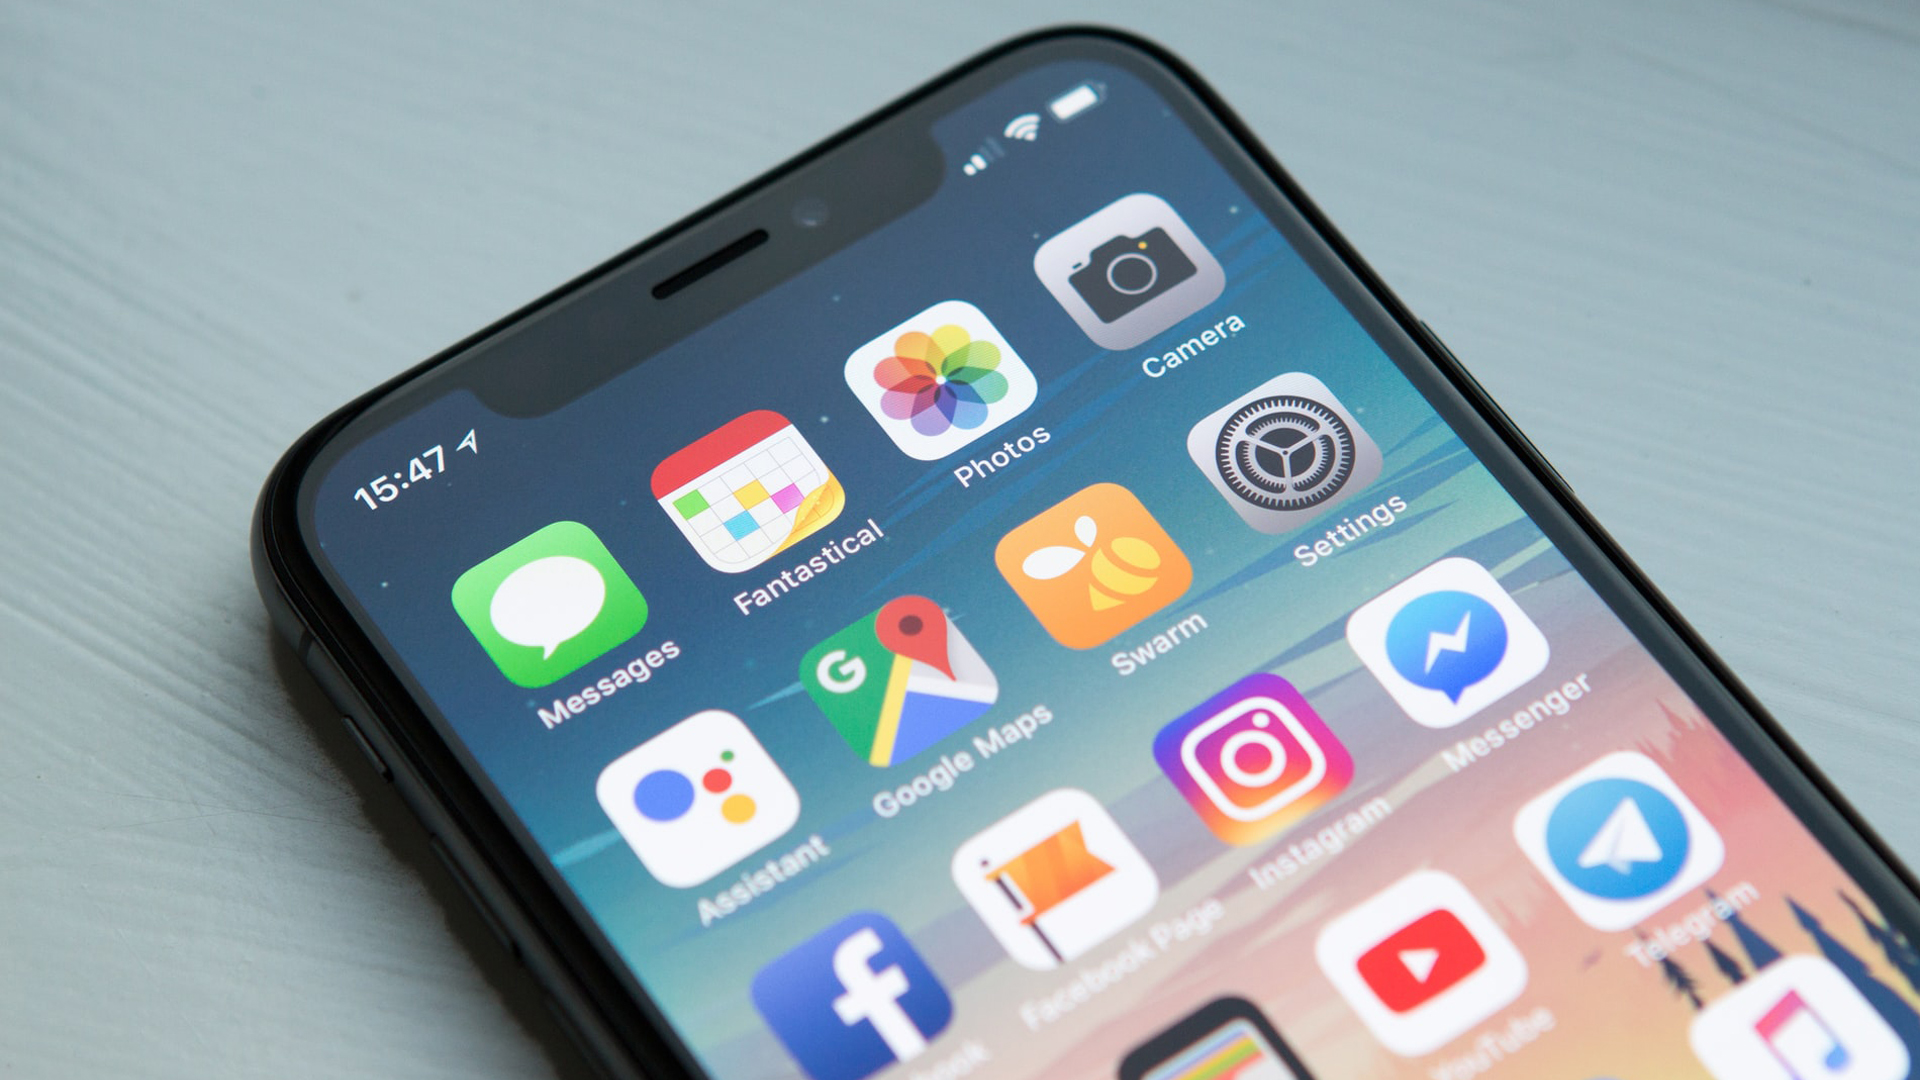
To restore purchased apps, sign in with your Apple ID. Remain connected to WiFi while your device downloads all of the apps associated with that ID. If you have multiple Apple IDs, sign into each, one at a time, and wait for the associated apps to download.
Be prepared to wait a while, since depending on how many apps you have, this stage can be quite time-consuming.
Step 6: Complete the setup process
Once you have finished restoring your data and applications, there are still a few final touches before your device is ready to use. Follow the onscreen prompts to continue setting up your iOS device.
You will be asked to decide whether or not you want to share data with Apple for development purposes, and whether you want iOS updates to trigger automatically or manually.
You will also be prompted to set up Siri, Apple Pay, Screen Time, and other default features. Once you have completed this step, congratulations! You have fully restored your iOS device from an iCloud backup.
Step 7 (Optional): Restore your device without a reset using third-party software
Resetting your iOS device from an iCloud backup can be a lengthy and time-consuming process. The factory reset itself, downloading the backup, re-downloading your apps, and—potentially—re-updating iOS can take hours.
If you only lost a small amount of data, like a single image or a few messages, going through the entire reset and restore process can be a huge hassle. Fortunately, some third-party programs, such as EaseUS MobiMover, allow you to selectively restore a small amount of data from an iCloud backup file without a full reset.
To begin, download the reset software of your choice. Note that most third-party reset software is not free, but comes with a free trial that lets you download a limited amount of data. If this is a one-off case, you can use the trial to recover a few files for free.
Step 8 (Optional): Connect and run third-party reset software
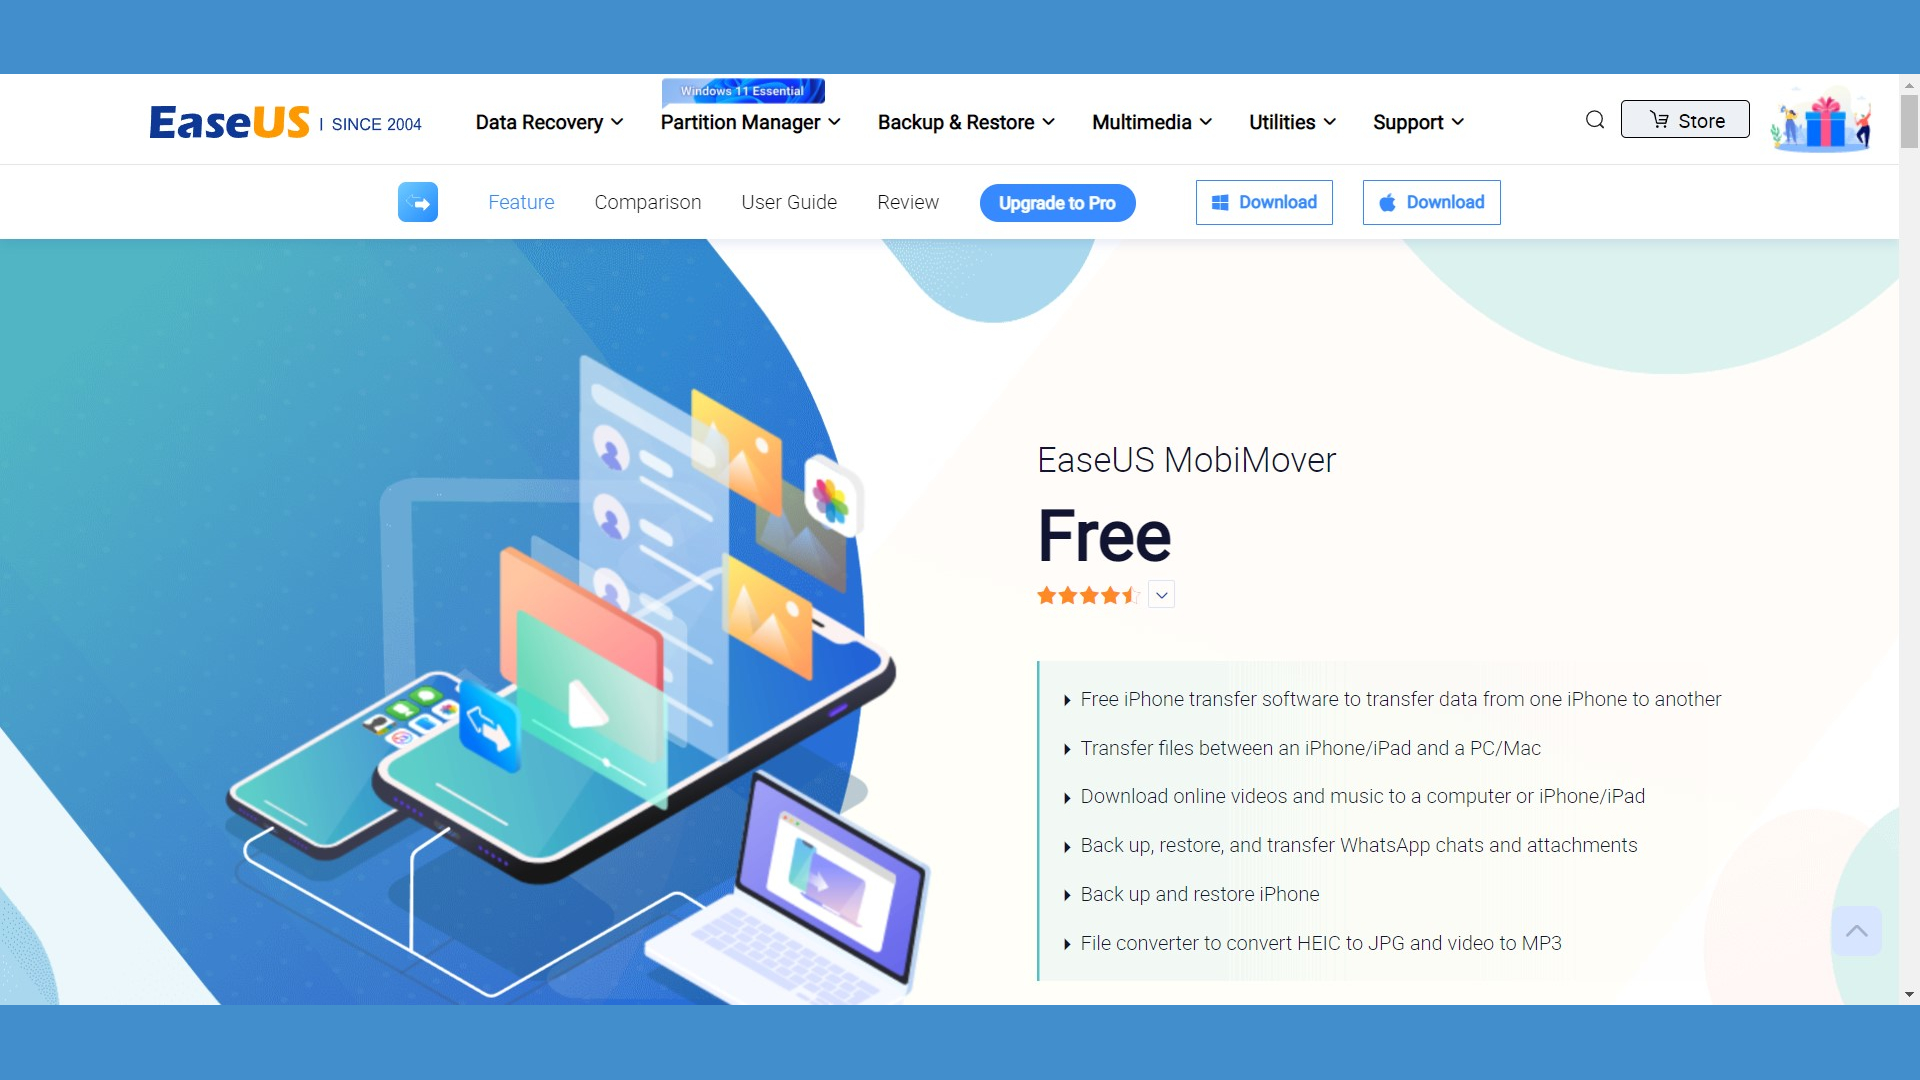
All reset software works in a similar way, so this step applies regardless of what program you choose. To start, open your reset program and log into iCloud through its interface. The program should now present you a list of your iCloud backups. From the list, select a file that you wish to recover.
Download the backup file. Be prepared to wait for some time, especially if it is a large backup. Once your backup has finished downloading, the recovery software will open a new window with all of the files in that backup. Pick and choose which files you would like to download, and click "Restore to Device" to return them to your phone.
How to restore a backup from iCloud: Summary
Now you know how to create an iCloud backup of an iOS device and restore your device from that backup. Using iCloud to back up your devices is just one of the many benefits to this powerful cloud storage service.
Further reading on cloud storage
Learn more about cloud storage in our comparison pitting cloud storage vs local storage; our discussion on how you can start reducing cloud storage costs; and our buying guides evaluating the best free cloud storage, and the best cloud storage for photos.
Serguei Solokhine is an experienced freelance writer specializing in a range of topics, including finance, marketing, and travel.
He holds degrees in both finance and marketing, and boasts five years of experience working in the financial services industry across a range of roles.
Serguei enjoys writing about personal finance and investments, and has published works in several publications, including MoneyVisual, ITPro, Top.10, and TechRadar. He has covered topics such as software as a service (SaaS), CRM, and VPNs for TechRadar in addition to in-depth articles exploring web design, B2B remote desktop technology, and cloud computing for ITPro.