How to make a website with Squarespace
Learn how to make a website with Squarespace in this step-by-step guide
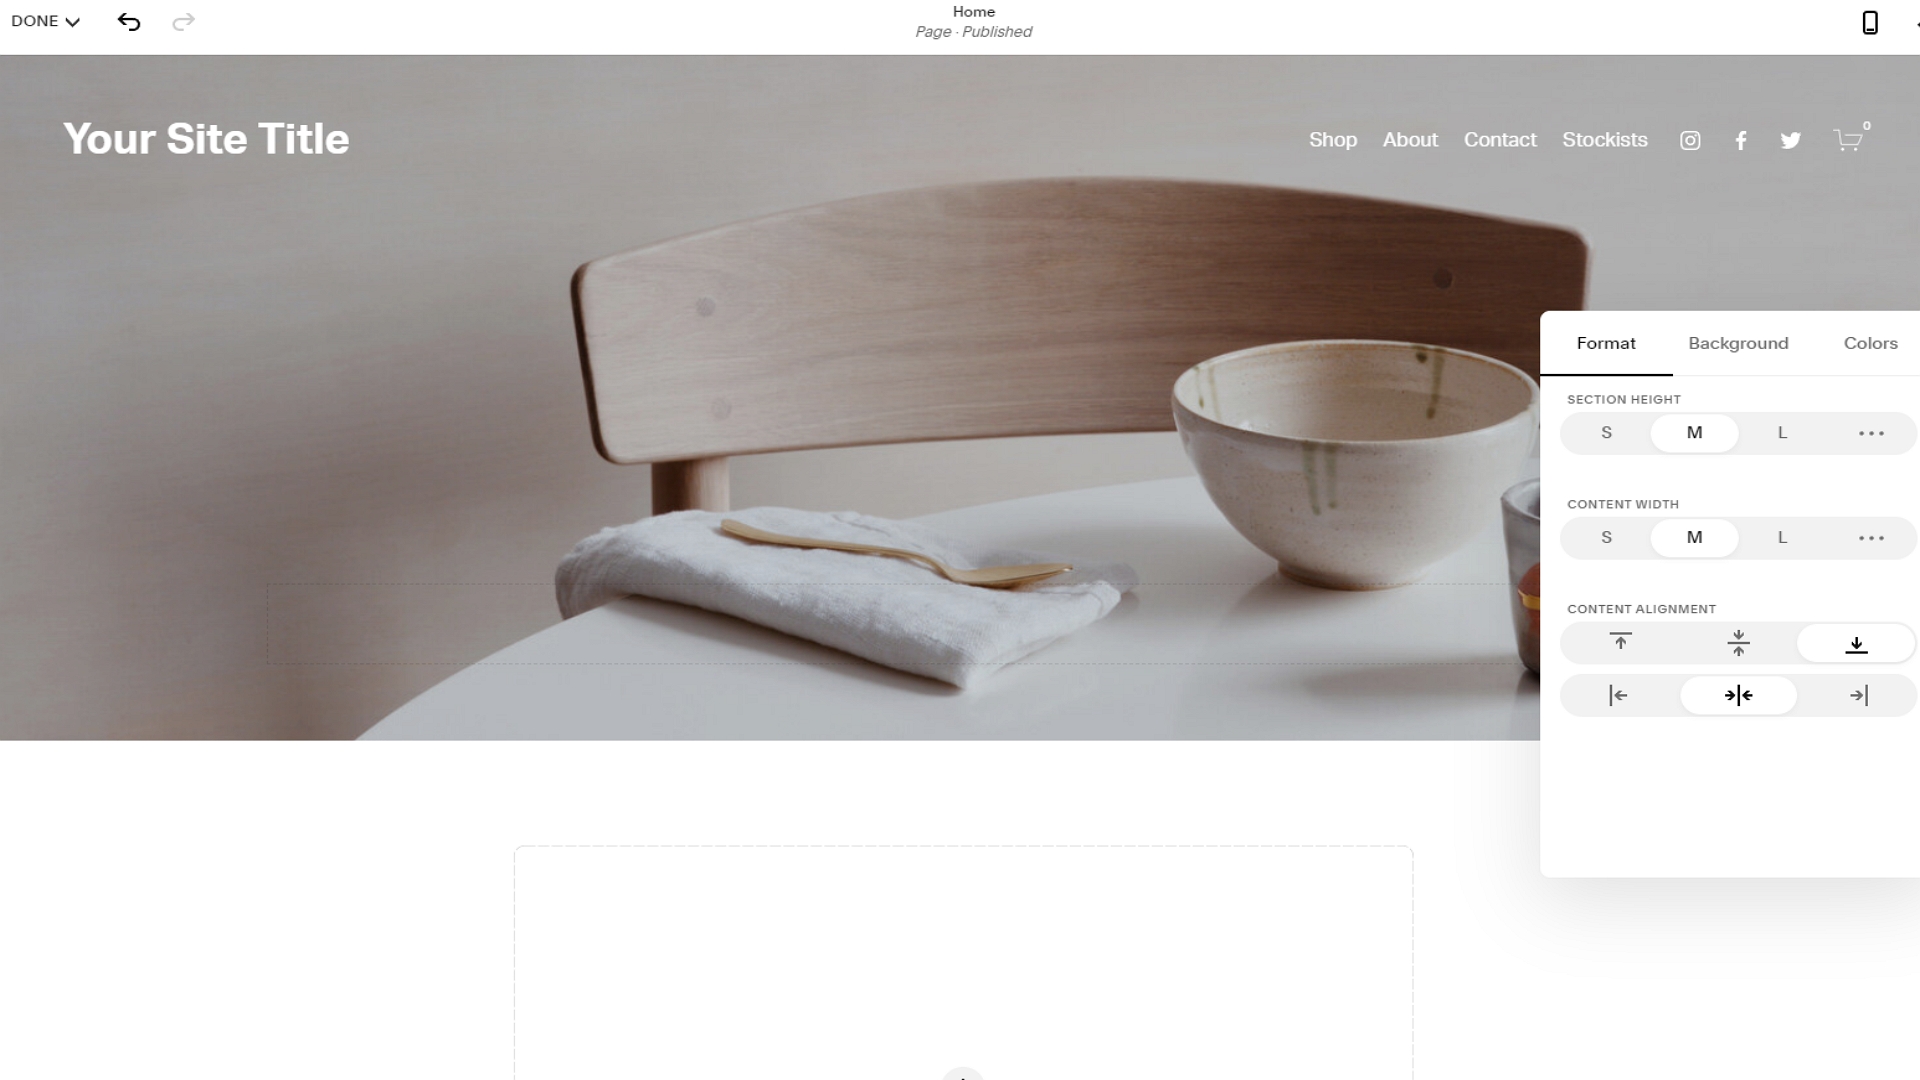

Do you want to learn how to make a website with Squarespace? Have you been thinking about using this industry-leading website builder to create your own site or online store?
As one of the best website builder platforms in the world, Squarespace comes with an excellent selection of tools and advanced features to help you get started online. However, it can be confusing for those with little web development or design experience.
With Squarespace, you can build everything from a basic business website to an online store. In this step-by-step guide, we demystify the process, and explain everything that you need to know to get started.
Step 1: Create an account
A 14-day free trial is available for all new Squarespace users, and we recommend taking advantage of it. When you hit the "Get Started" button, you will be asked a few questions about the type of website that you want and your long-term goals.
Once you’ve answered these questions, you will be asked to select a template. Squarespace will present several suggested templates based on your answers, but you can browse the entire library if you want to. Create your account by signing in with Google or Facebook, and you will be taken straight to the site editor.
Step 2: Familiarise yourself with the editor

When Squarespace’s editor loads for the first time, you will be asked to name your website. There’s a getting started guide that’s designed to help you familiarise yourself with the user interface, and we highly recommend working through it.
There’s also a design assistant that outlines recommended actions, and following these suggestions will help ensure that you don’t miss anything.
Get the ITPro daily newsletter
Sign up today and you will receive a free copy of our Future Focus 2025 report - the leading guidance on AI, cybersecurity and other IT challenges as per 700+ senior executives
Step 3: Set global design configurations
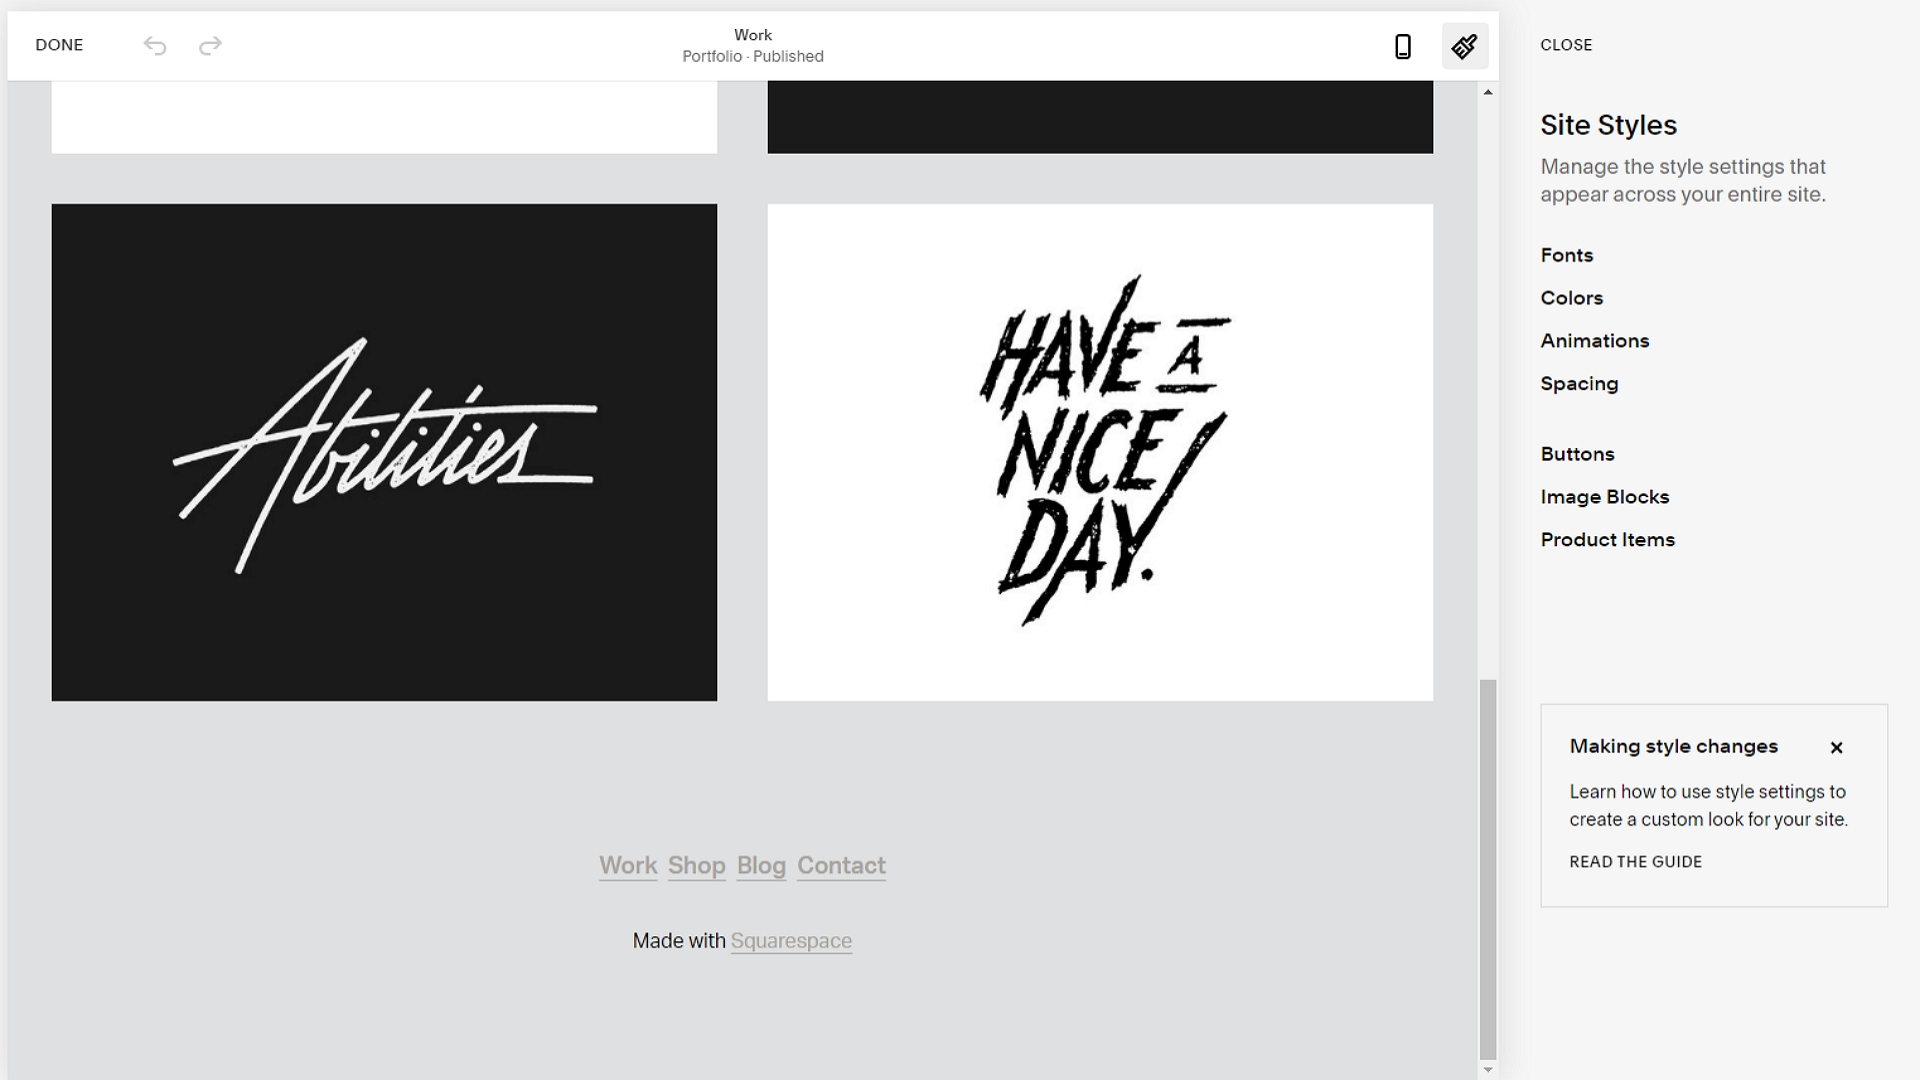
Squarespace enables you to set clear global colour and font schemes that will remain consistent across your website. We recommend doing this before adding your own content or beginning to build out your site.
To configure global design settings, head to the "Design" tab on the menu on the left of the Squarespace editor. Under the "Site Styles" tab, you will find options to change colours, fonts, spacing, button styling, and various other settings.
It’s also a good idea to set the appearance of your 404 error page, access denied screen, and checkout page while you’re working on your global design.
Step 4: Create your page hierarchy
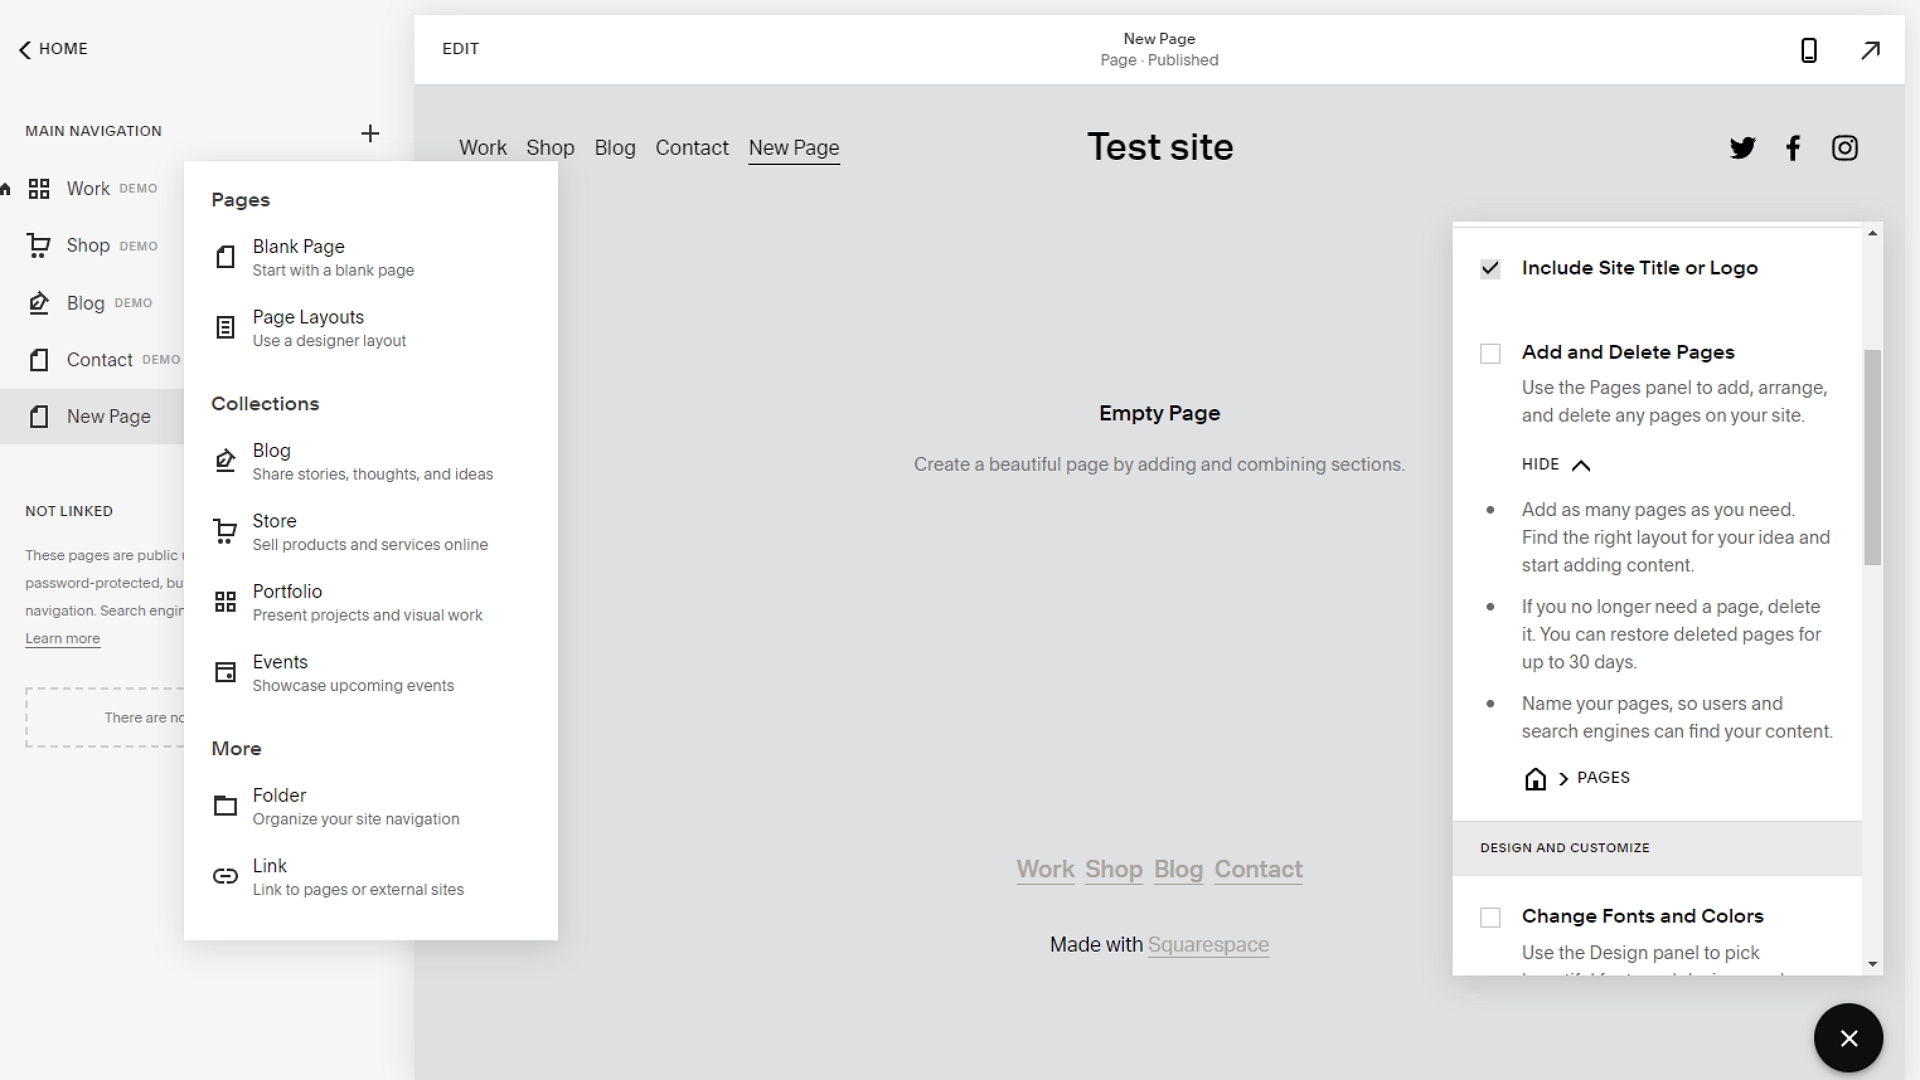
A good task to move to once you’ve set your global design settings is the development of your page hierarchy. Basically, this means you need to create the base pages that you require on your website or online store. Specify which pages belong where, and spend the time naming and designing them.
This step is important, but don’t get too stressed about getting it perfect. As your site develops, you can always come back and add or remove pages if you need to. All of this is done via the "Pages" tab in the main menu on the left of the editor.
Step 5: Edit your header and footer
Squarespace has several tools to help you personalise the header and footer of your website. Begin by hovering your mouse over the one that you want to customise, and clicking the “Edit Site Header” or “Edit Footer” button. A popup will appear with various layout, style, and positioning options.
You will also be able to specify the elements that you want to be included in your header and/or footer.
Step 6: Add your own content
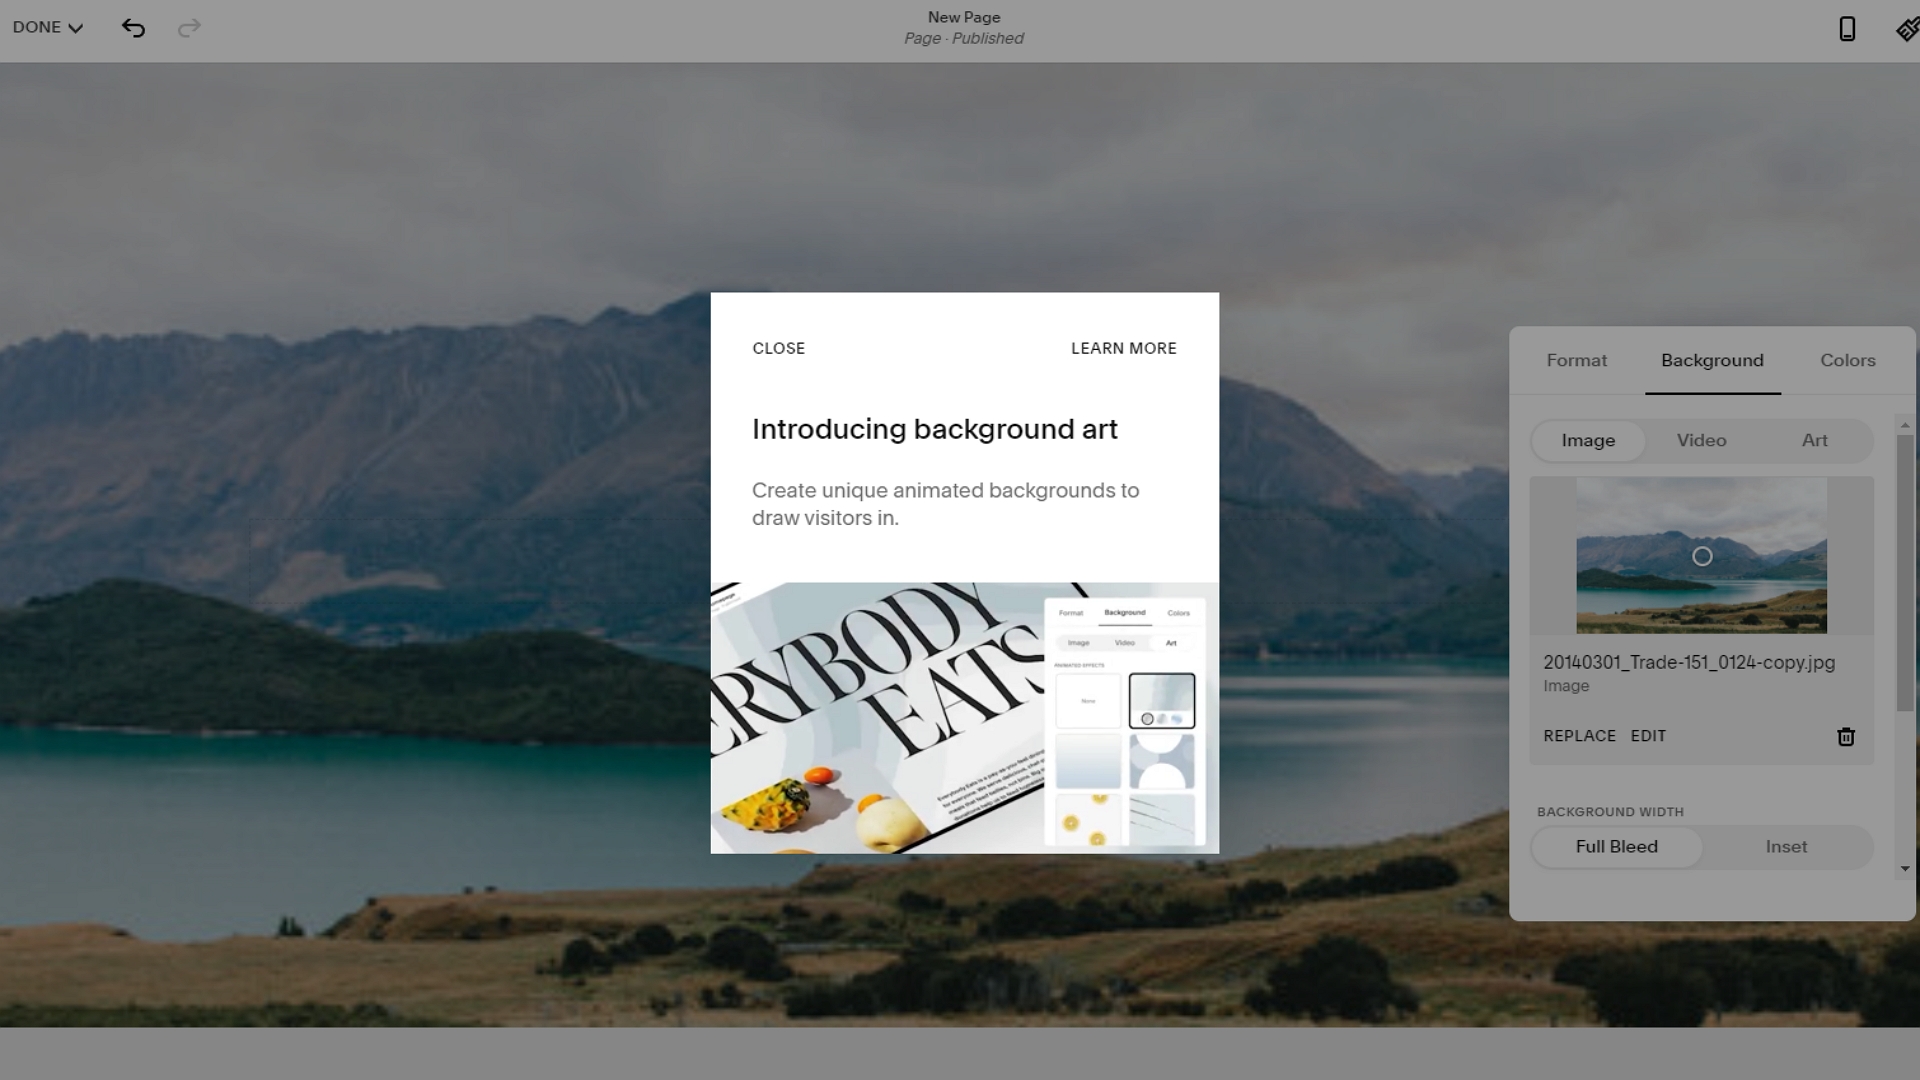
Adding media and written content to your website is an absolute must, and it’s probably the most time-consuming part of creating a new site.
For starters, you need to ensure that every single page on your site has unique, well-written content. Make sure it’s engaging and informative, because people are much more likely to hang around and browse if they’re interested in what you’ve got to say.
Also, you should use visual content, such as pictures, infographics, and videos, to break up your text. Ensure that all media is relevant and attractive, and be creative if you’re using stock photos.
Step 7: Connect a domain name
Your domain name is basically your digital address. Squarespace does provide a branded subdomain in the form of yoursite.squarespace.com for all new website owners, but you shouldn’t use this if you can help it. These types of domains are unprofessional and generic, and they won’t help you develop a strong online presence.
Instead, consider purchasing a new domain for your website. Squarespace has its own domain registration portal that is expensive, but offers excellent convenience. You can also import a domain that you already own. Once you have a domain, simply follow the prompts to link it to your site.
Step 8: Perform search engine optimisation
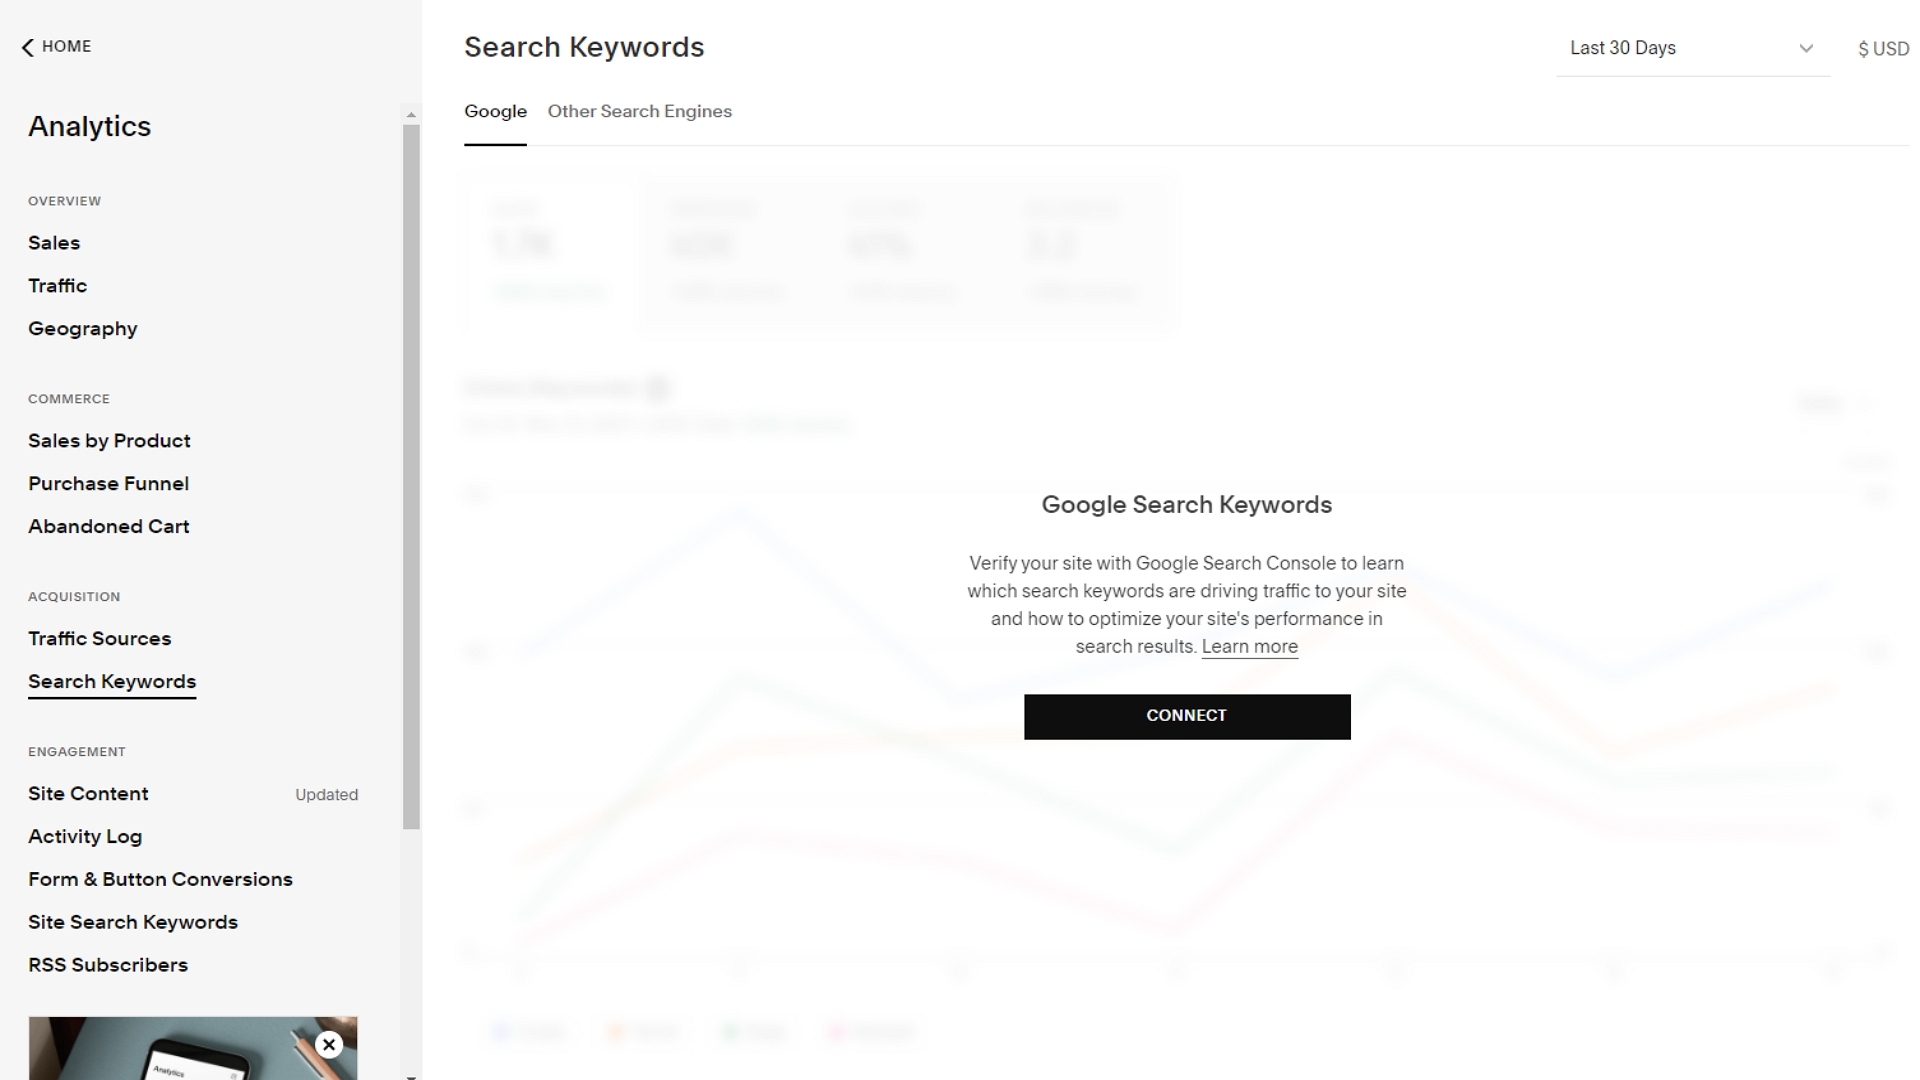
Search engine optimisation involves ensuring that your website is set up in a way that will make it rank well on the search engine results pages. To get started, take advantage of Squarespace’s built-in SEO tools. Head to the "Marketing" tab on the main menu, and hit the SEO option.
There’s a neat SEO checklist that you can use to guide your efforts. You can also link to your Google Search Console. With the clear assistance offered by these two tools, you will be able to gain a decent search engine ranking in no time.
Step 9: Do a final check and hit publish
By now, you should have a fully functional website that’s almost ready to go. But you should always take a step back before you hit the big publish button.
Spend a little time clicking through your site, ensuring that it looks good on different devices and with different browsers. Ask friends and family members to look over it too. Note and remediate any problems that they come across.
When you’re comfortable that you’ve ironed out most of the issues associated with your site, you can go ahead and publish it.
Congratulations, you’ve learned how to make a website with Squarespace!
How to make a website with Squarespace: Summary
Squarespace isn’t the most beginner-friendly website builder in the world, but it’s still a great option. The editor has a built-in design assistant that will guide you through the entire site creation process.
As long as you’re willing to spend time on it, you should be able to create a high-quality, attractive Squarespace website without too much trouble.
Further reading on website builders
You can read comparisons of Squarespace with other leading website builders in our features pitting Wix vs Squarespace; Wix vs Squarespace vs Weebly; and WordPress vs Wix vs Squarespace.
Once you've found the best website builder, and are looking for cheaper hosting, look into the best cheap web hosting for your next project, or even the best free web hosting if you're on a tight budget. If you're searching for hosting for a small business website, take a look at the best web hosting for small business.
Daniel is a freelance technology and finance writer, whose scientific background in the natural sciences lends rigour and nuance to his informative, accessible articles. His reviews on website builders, web hosting and business web development grace the virtual pages of TechRadar Pro, WebsiteHostingRating.com, and HostingReview.com, as well as IT Pro Portal. Well-versed in blockchain, cloud computing and cybersecurity, Daniel takes a keen interest in all aspects of B2B and B2C tech.
