How to make a website with Wix
Learn how to make a website with Wix by following our simple, step-by-step guide
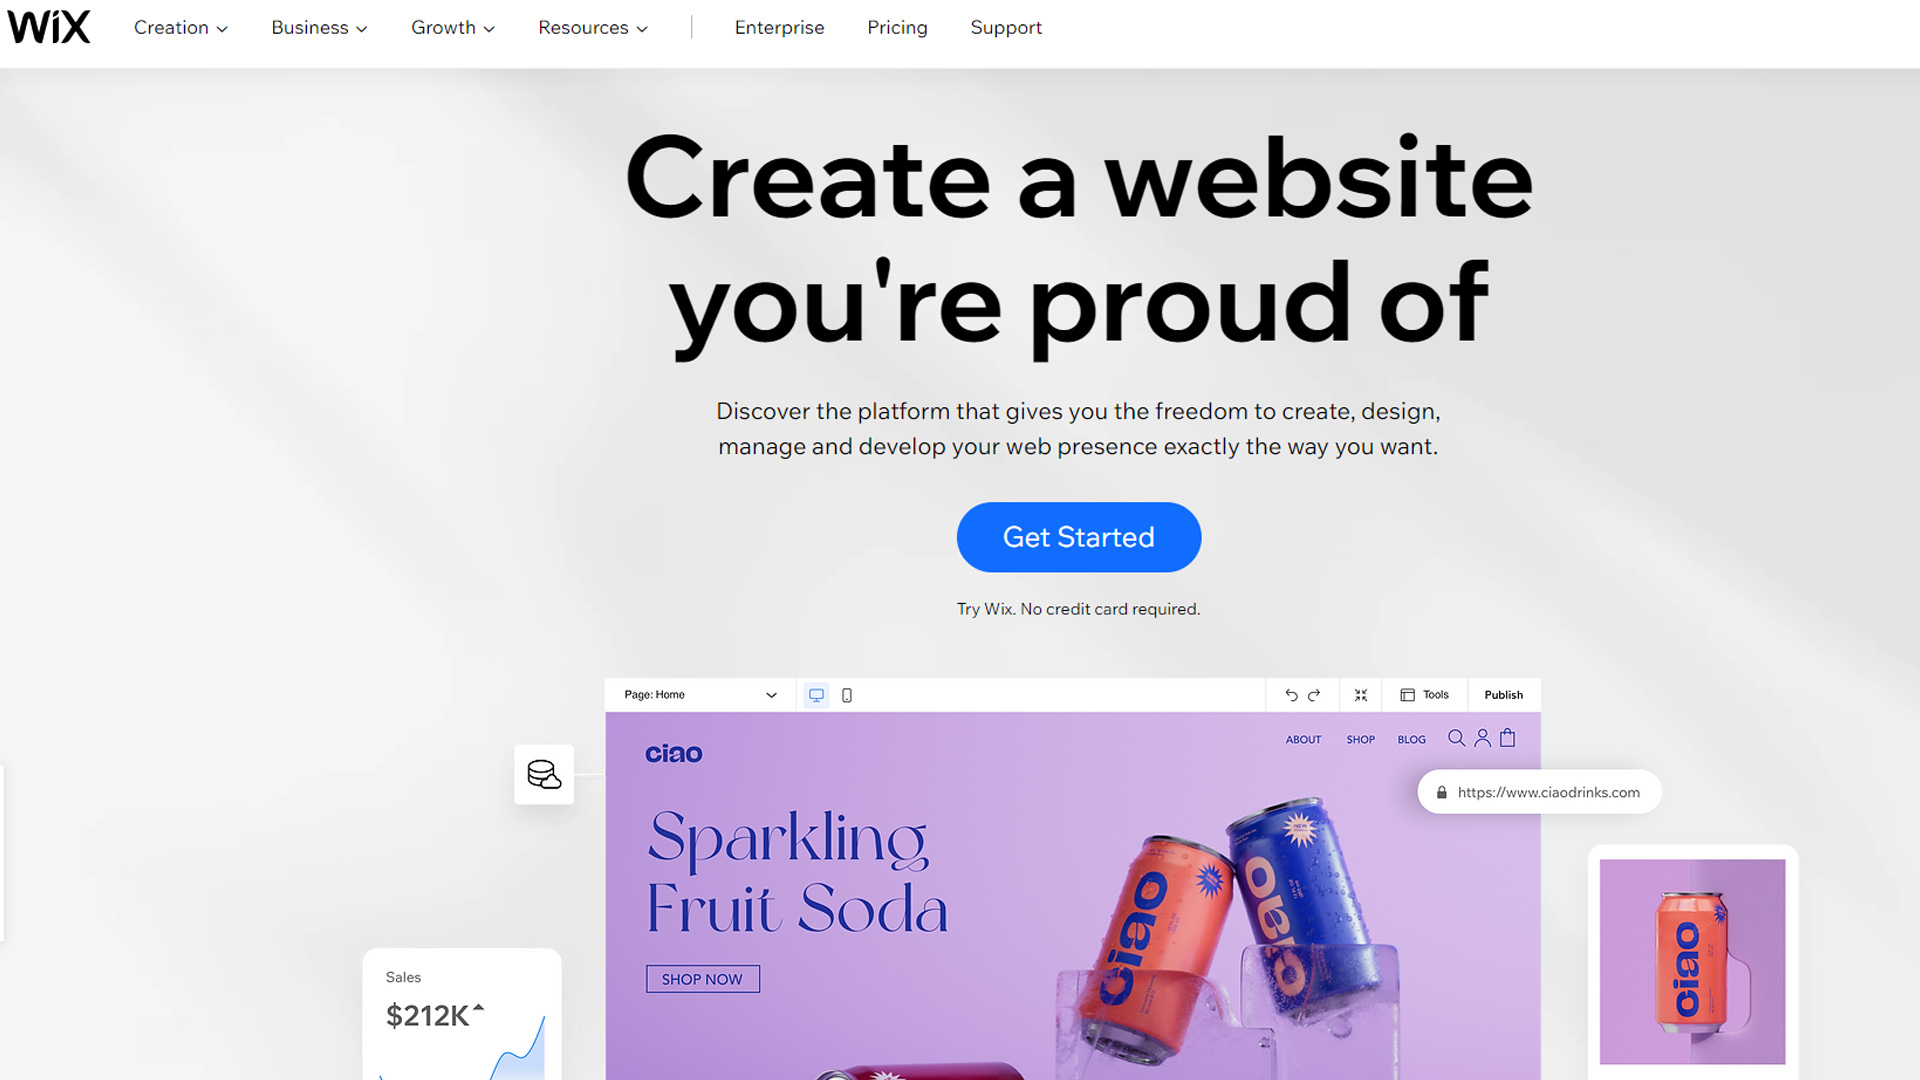

Wix is one of the most widely used website builders, and while it's got stiff competition among the ranks of the best website builder platforms, it’s an incredibly easy and fast service to use.
You can quickly and easily create a stunning and modern site for desktop and mobile browsers, which is just one reason why it ranks as one of the best website builders across the board, whether it's the best ecommerce website builders, the best small business website builders, as well as even one of the best web hosting services.
We'll show you, via our step-by-step guide, how to make a website with Wix. By following these steps, you can create and publish a basic website using Wix’s powerful ADI (artificial design intelligence) web development software.
How to make a website with Wix: Preparation
Before getting to work on your Wix site, the first thing you need to do is create an account. Simply head to Wix.com and click "Get Started". Then enter your email address and choice of password.
Next, you’ll be sent an email to verify your address. Go to your email inbox, open the email from Wix (be sure to check your spam folder), and click on "Confirm Email Now" to proceed, and to then log into your account.
Step 1: Getting started
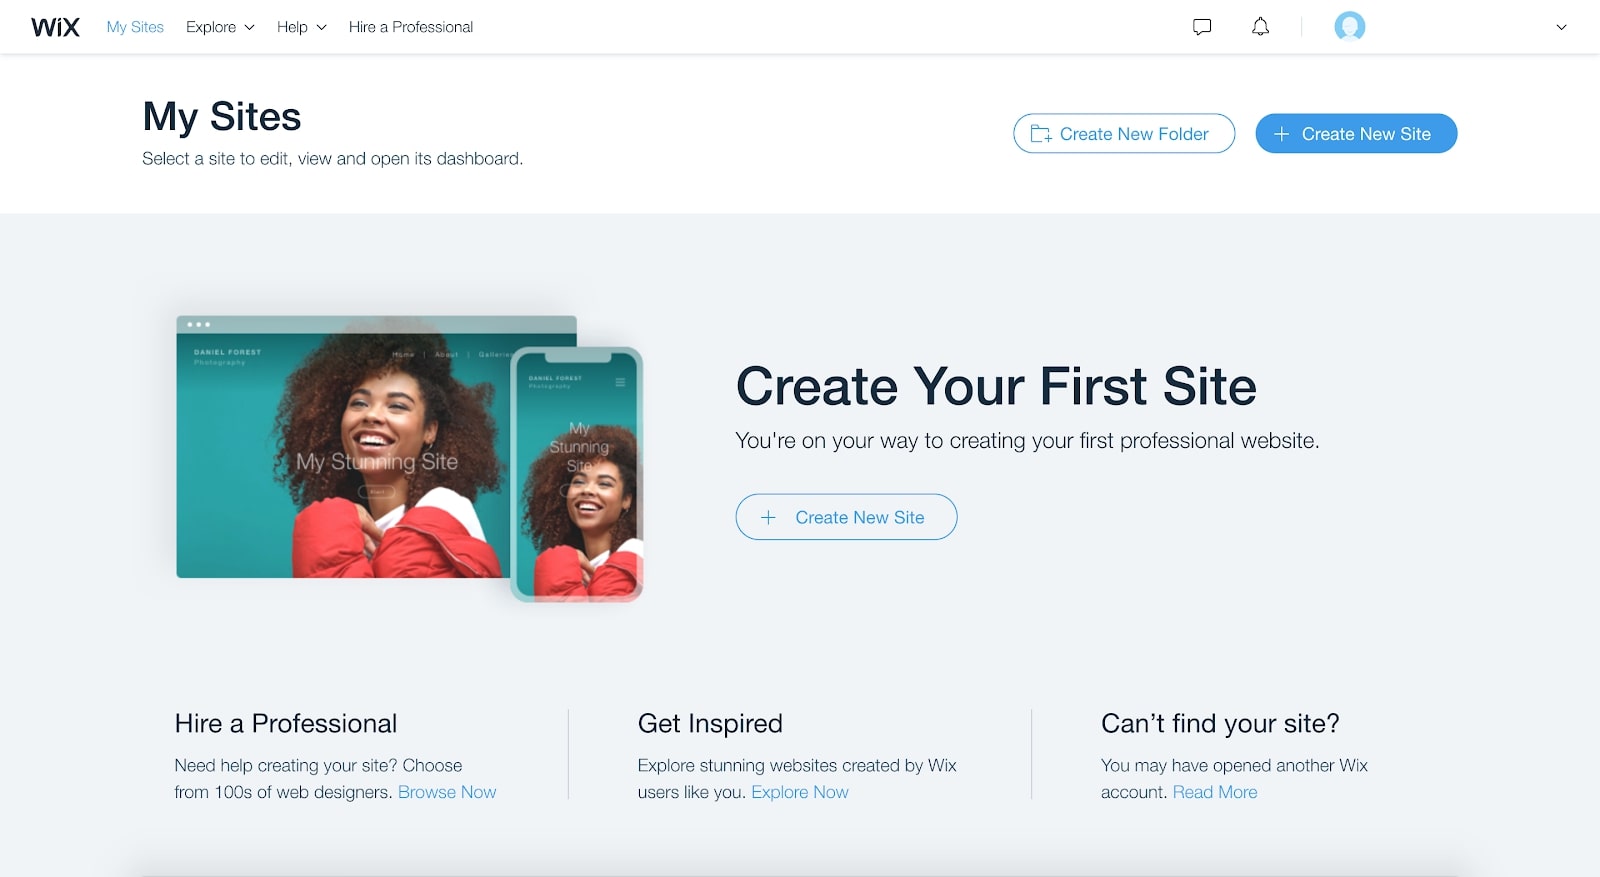
To start creating your website, click on "Create New Site".
Step 2: Choose the purpose of your site
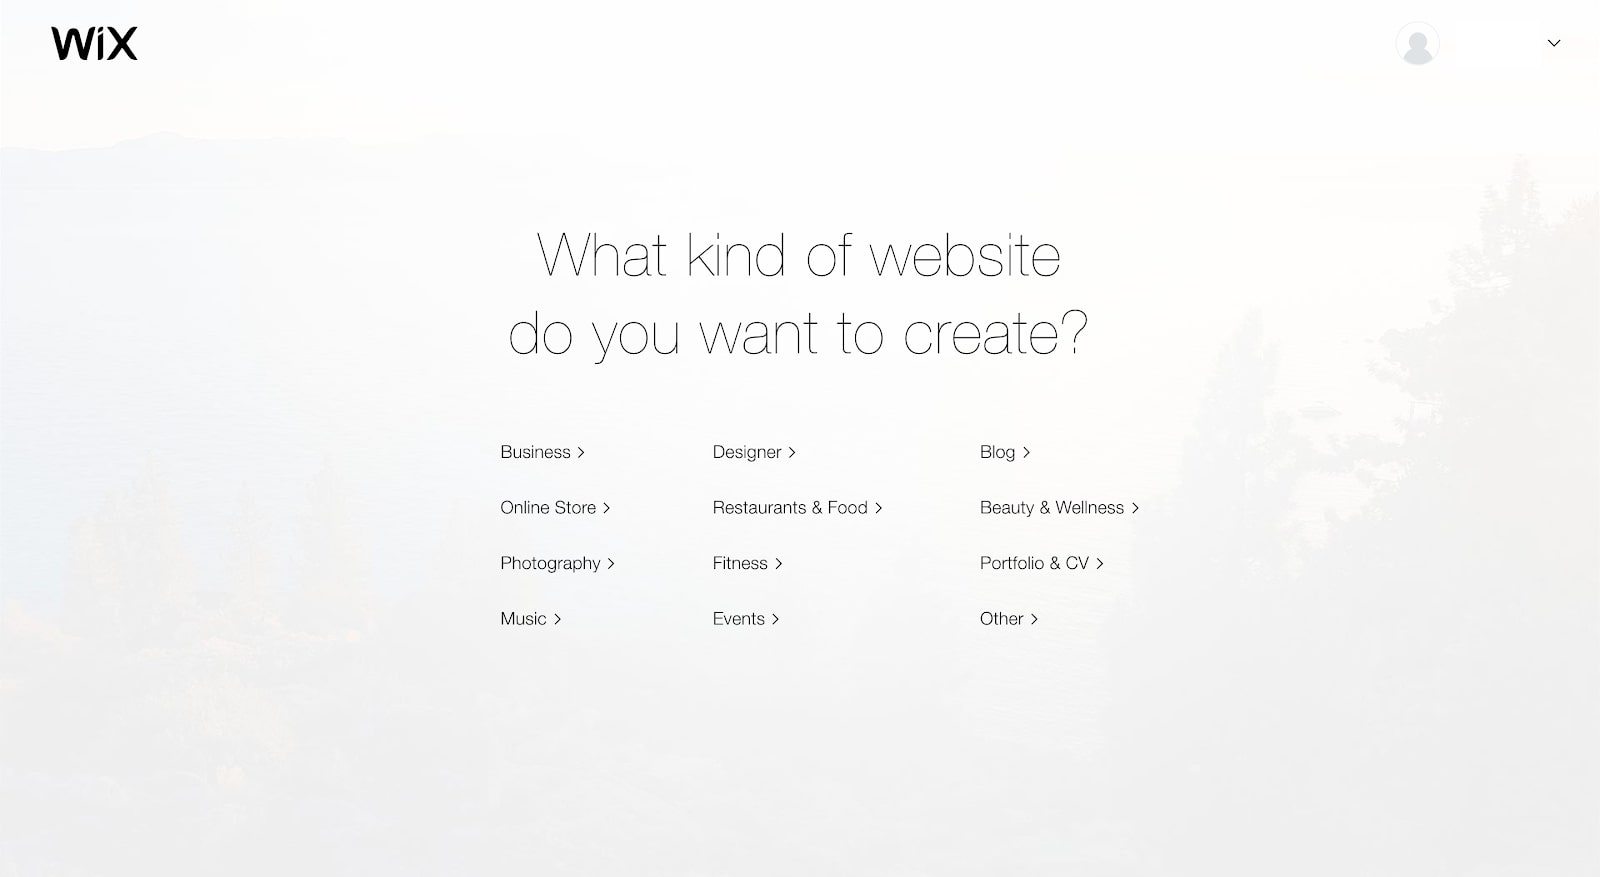
Wix is loaded with plenty of website templates, each designed for specific purposes. For example, the layout for an online store is different from that of a restaurant. Select the option that best suits the website you want to build to move on to the next step. For this guide, we’ve chosen "Business".
Get the ITPro daily newsletter
Sign up today and you will receive a free copy of our Future Focus 2025 report - the leading guidance on AI, cybersecurity and other IT challenges as per 700+ senior executives
Step 3: Wix ADI or Wix Editor?
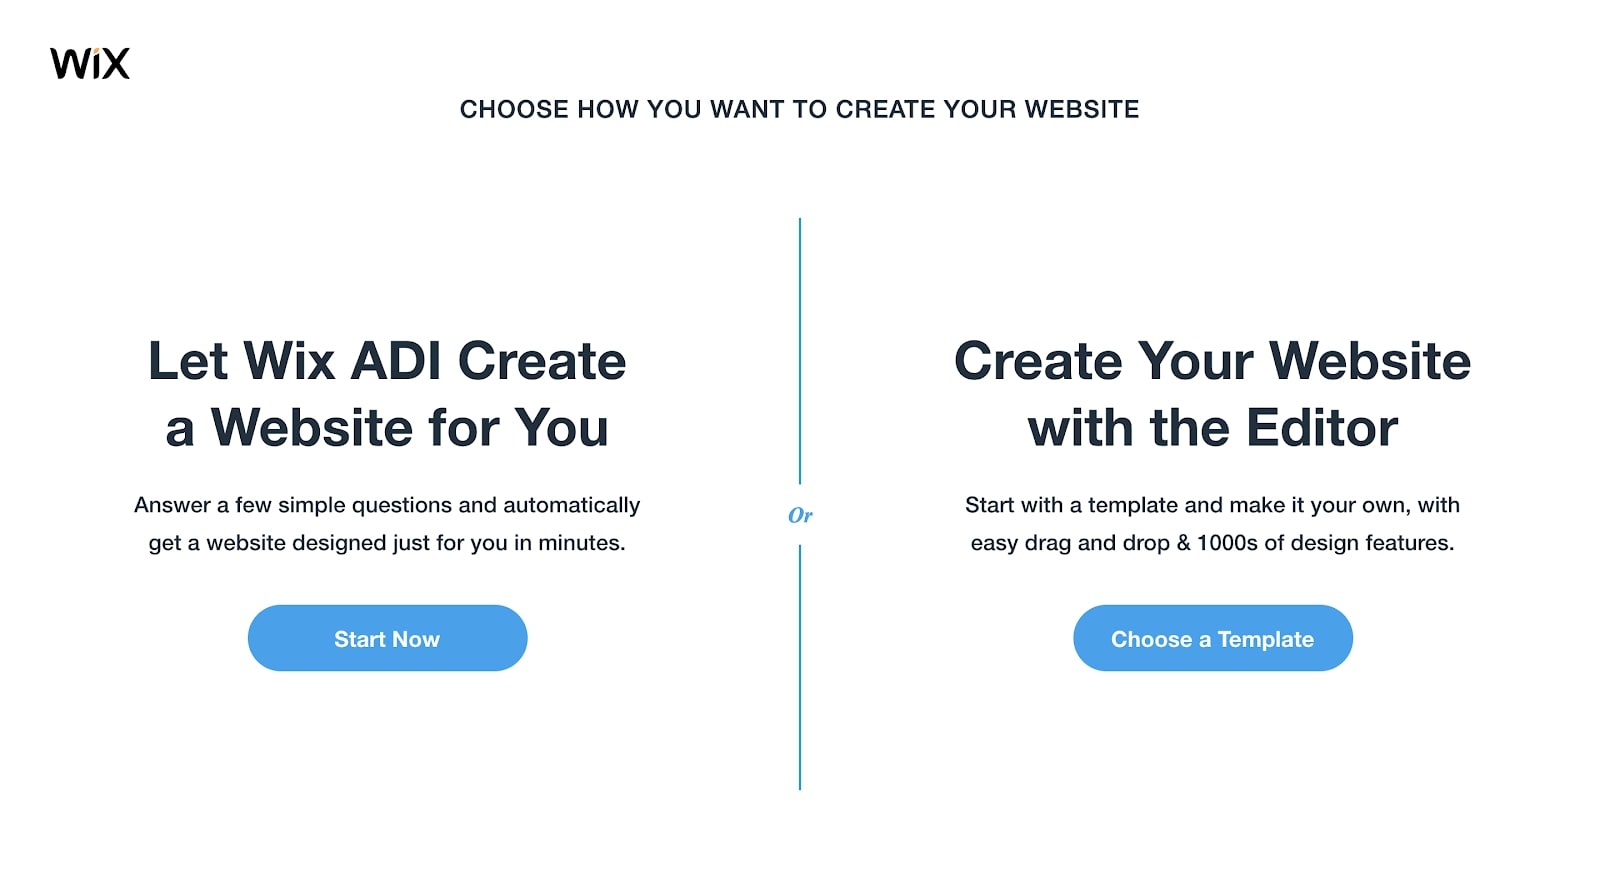
There’s quite a difference between Wix ADI and Wix Editor. For this step, we suggest choosing Wix ADI to create the foundation for your website, which the software will do once you’ve answered a few basic questions. This way, Wix will do most of the work for you, and you can use Wix Editor later on to fine-tune specific details.
Step 4: Specify the site you want
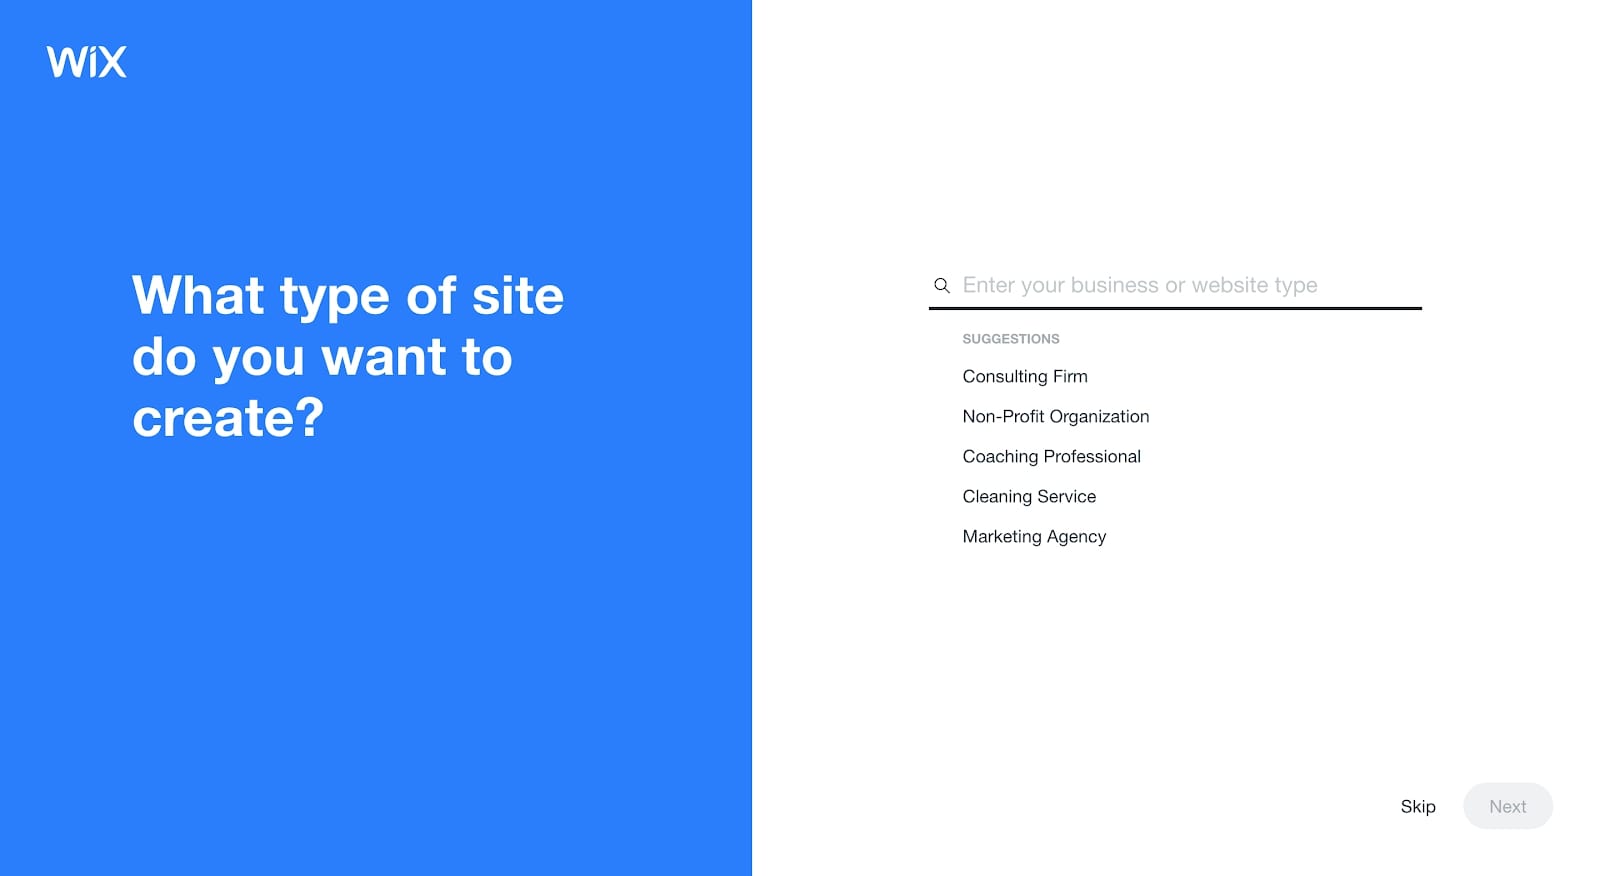
To help Wix provide you with the best templates, you need to help it understand the kind of site you want. If the suggestions don’t quite fit what you’re aiming for, try searching for the type of website you want to see if there’s a better match.
For example, if you run a dry cleaning service, search “dry cleaning,” and there’ll be a match. For this guide, we selected “consulting firm”. Once you’ve made your choice, click "Next".
Step 5: Website features
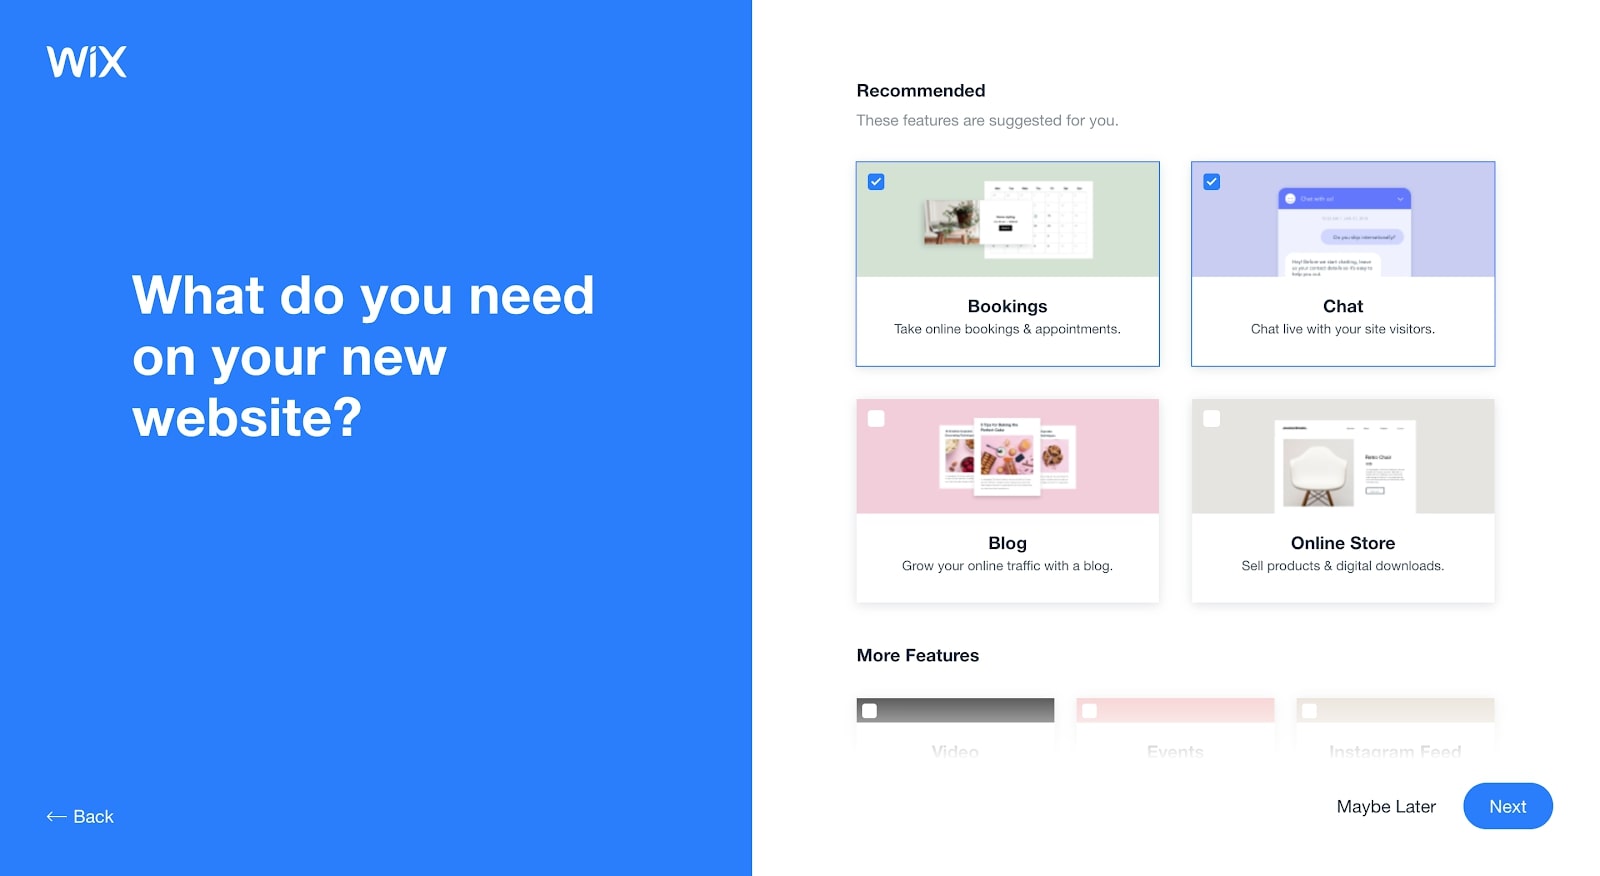
Here you can choose from several features, to optimise the functionality of your website in line with what you’re trying to achieve. If you’re starting a blog, then you might want to include your Instagram feed. If you’re running a restaurant, then you might want to advertise your menu.
Click on all the features you want to be included on your website, ensure they’re ticked and highlighted in blue, and click "Next" to continue. Rest assured that you can add features later on if needed.
Step 6: Name your website
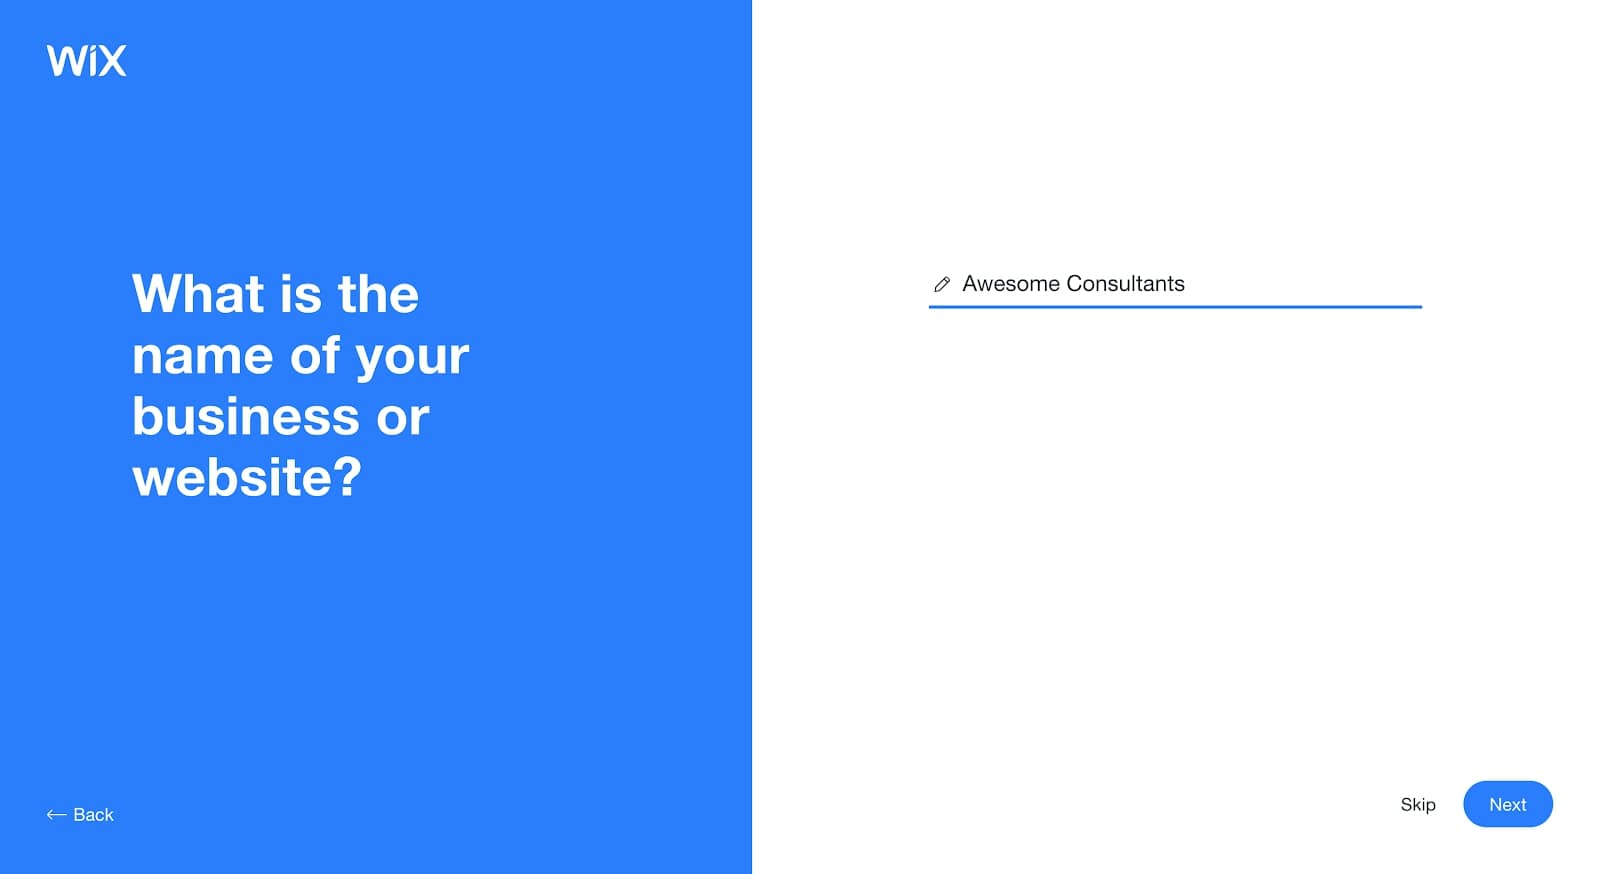
Simply enter what you want to name your website, and click "Next".
Step 7: Import content and add your location
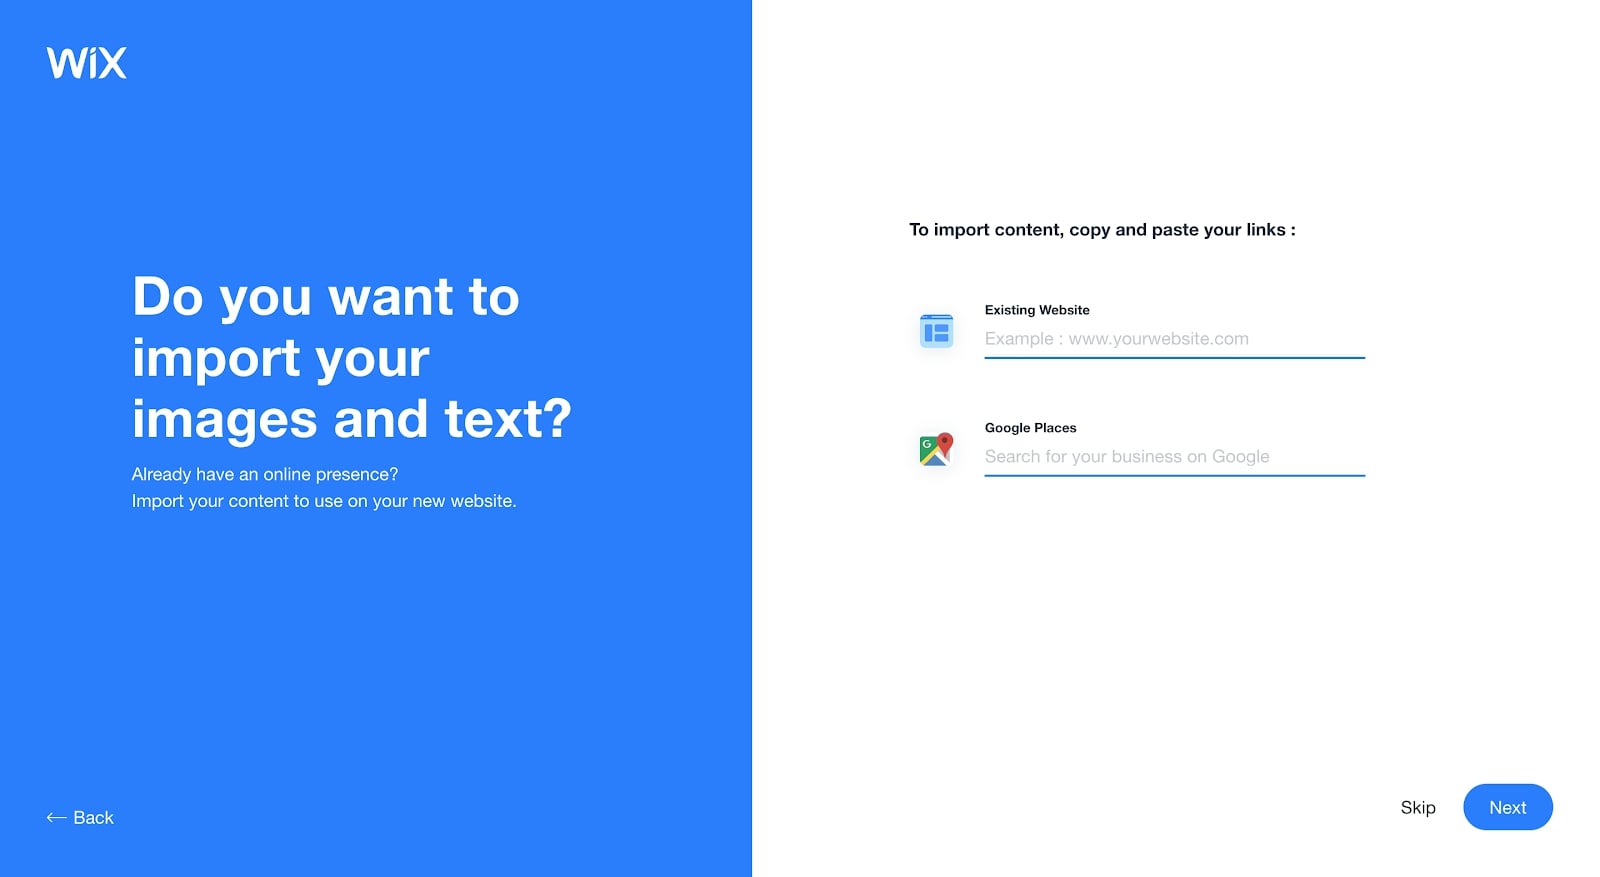
If you already have a website, now’s your chance to import your old content. However, for this guide, we’re going to assume this is your first.
If you’d like to add a Google location to let site visitors know where you’re based, then you can search for your address and add it to your site. Click "Next" to continue, or if this doesn’t apply to you, click "Skip" (like we did).
Step 8: Enter details
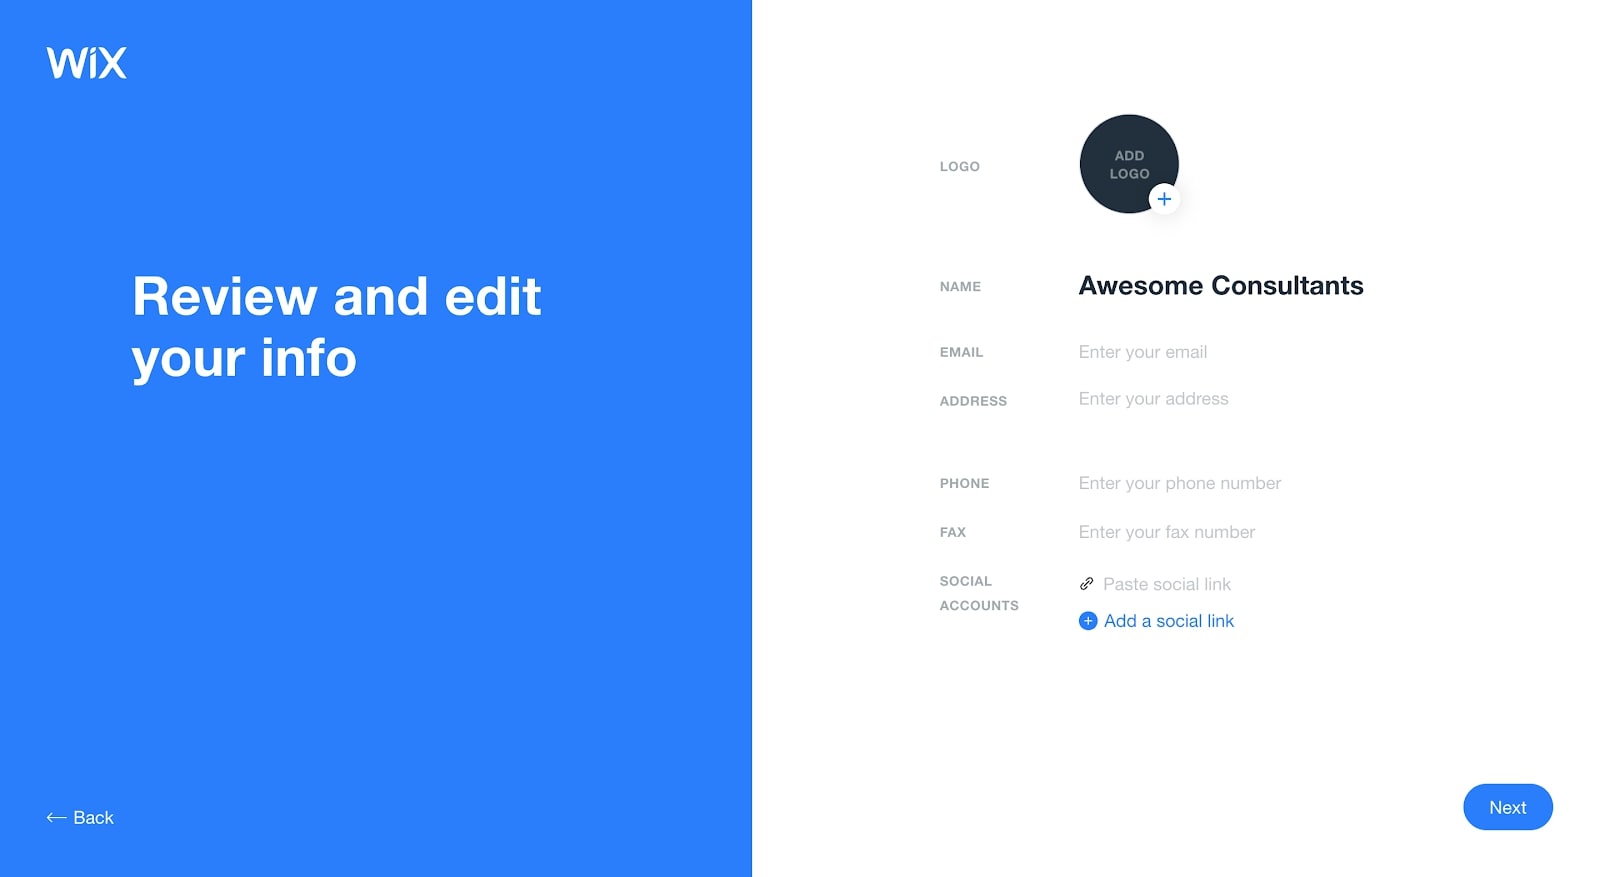
Enter the contact details you want to advertise on your site. If you have a logo to include, then upload that as well, and it will appear on the template Wix creates for you. Click "Next" to continue.
Step 9: Choose a theme

Choose a theme you like, and click "Next". Remember that you can make changes to colours and fonts later on if you so wish. For this example, we’ve gone with “Sophisticated”.
Step 10: Choose your homepage
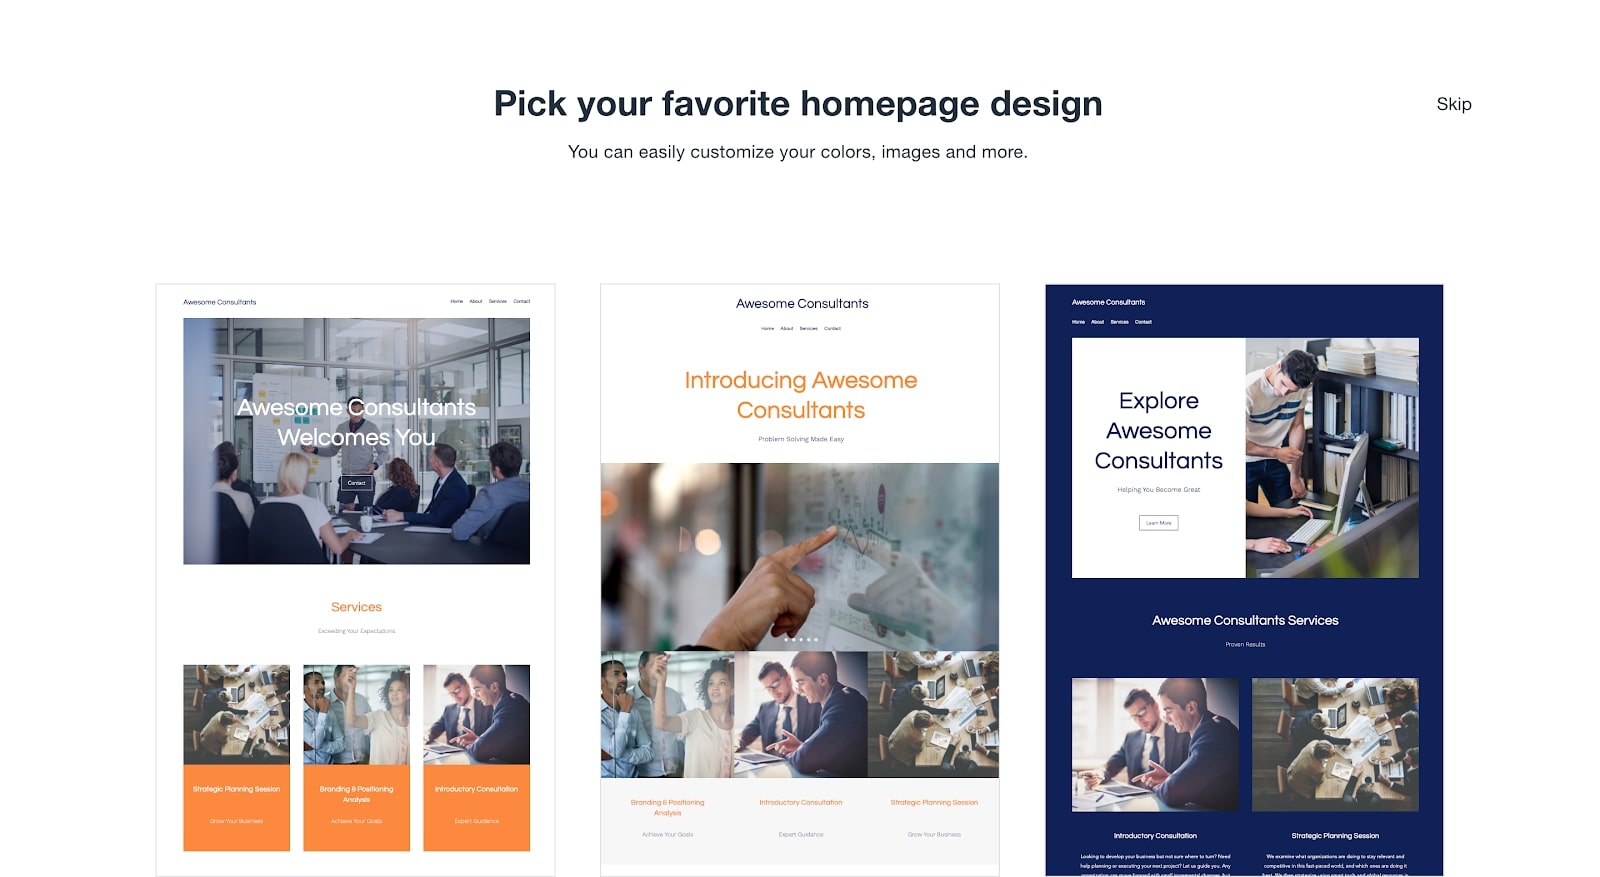
Now you can see your website starting to take shape. To select the homepage you like the most, hover over one of the options and a "Use This Design" button will appear above it. Click the button to continue. For this guide, we chose the middle option.
Step 11: Pick your pages
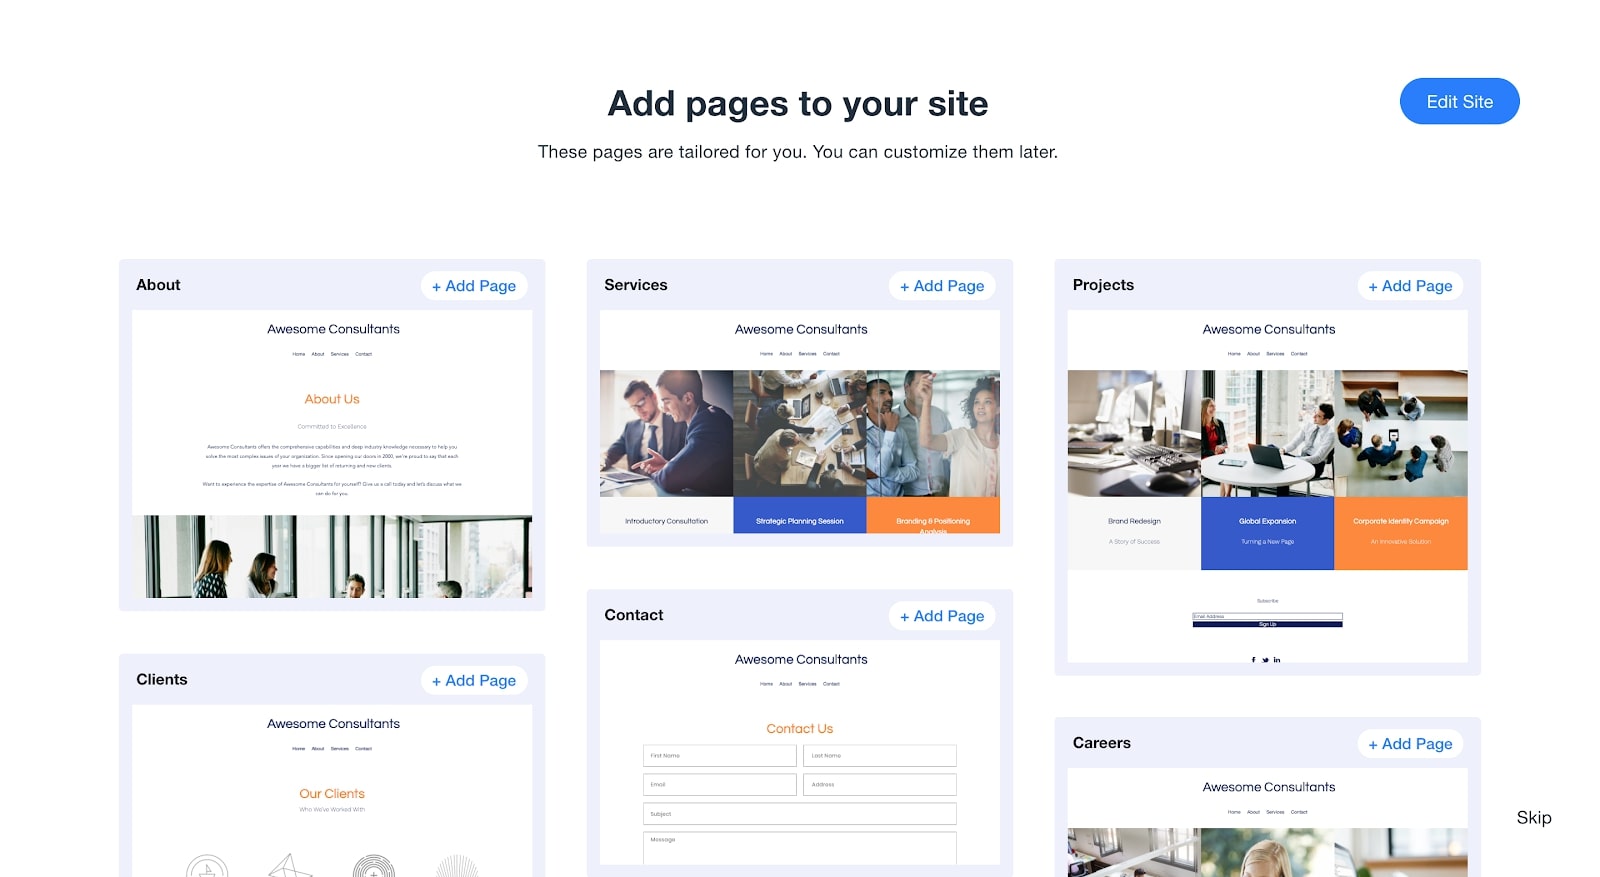
Now that you’ve got a homepage, you need to choose what other pages you want to include on your site. The template designs are recommendations based on what you’ve told Wix about the website you want to build.
If there’s a page that you want on your site, which isn’t appearing as an option, you’ll be able to add it later. To continue, click "Edit Site".
Step 12: Start editing
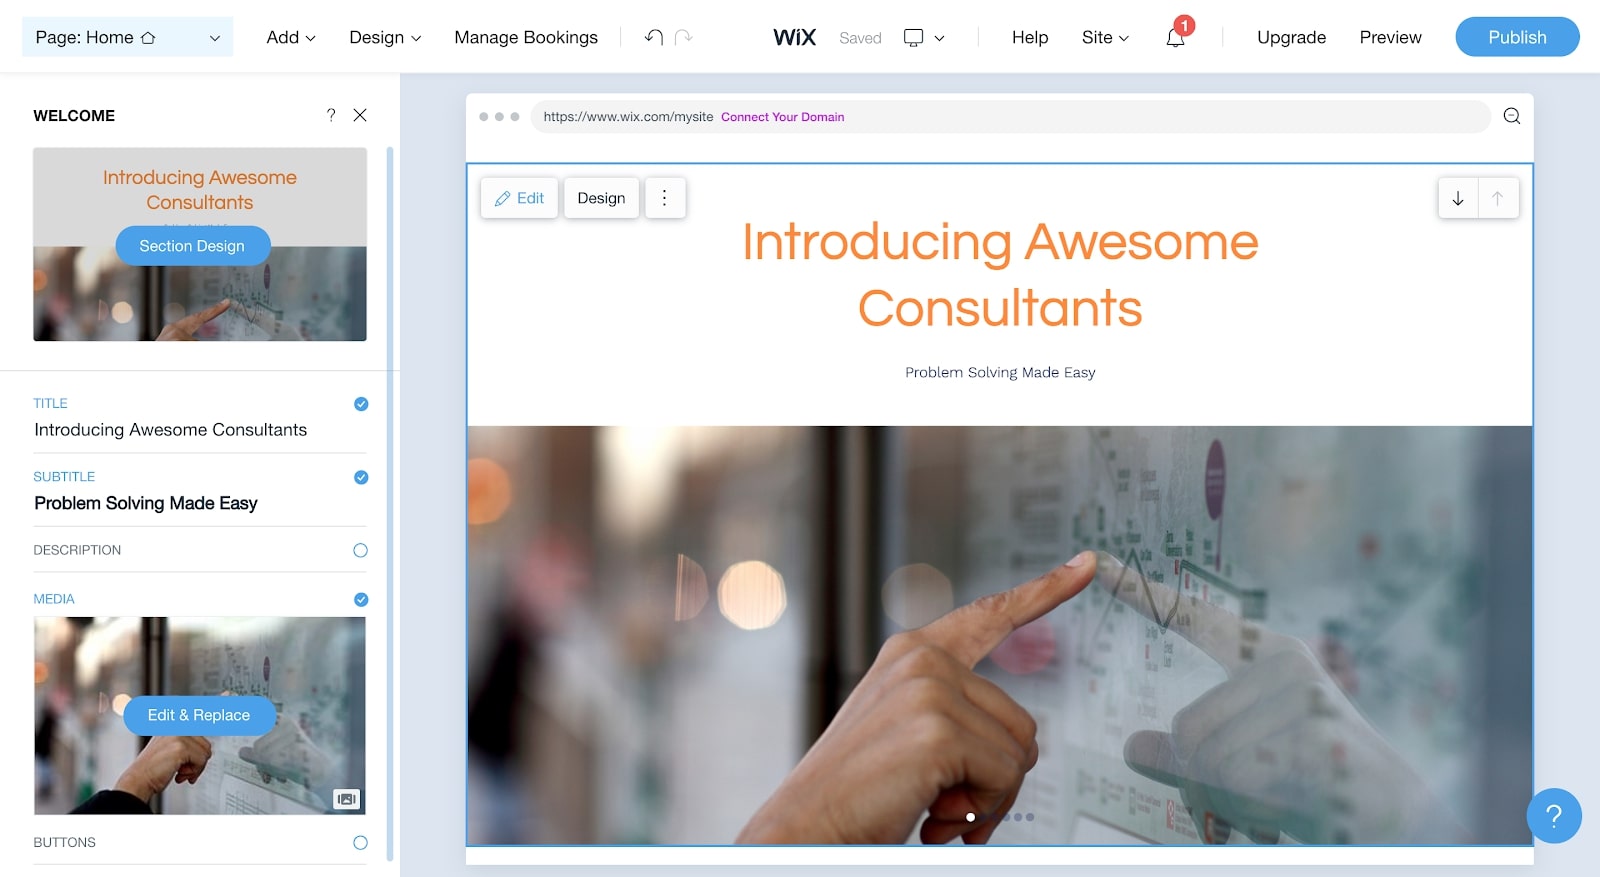
Now that you have a foundation for your website, you can start editing it. To do so, simply click on the element you’d like to edit, and a toolbar will appear on the left-hand side of your screen.
From here, you can edit the content (i.e., amend the text and change images) and play with the design by clicking "Section Design" at the top of the toolbar.
Step 13: Switching and adding webpages
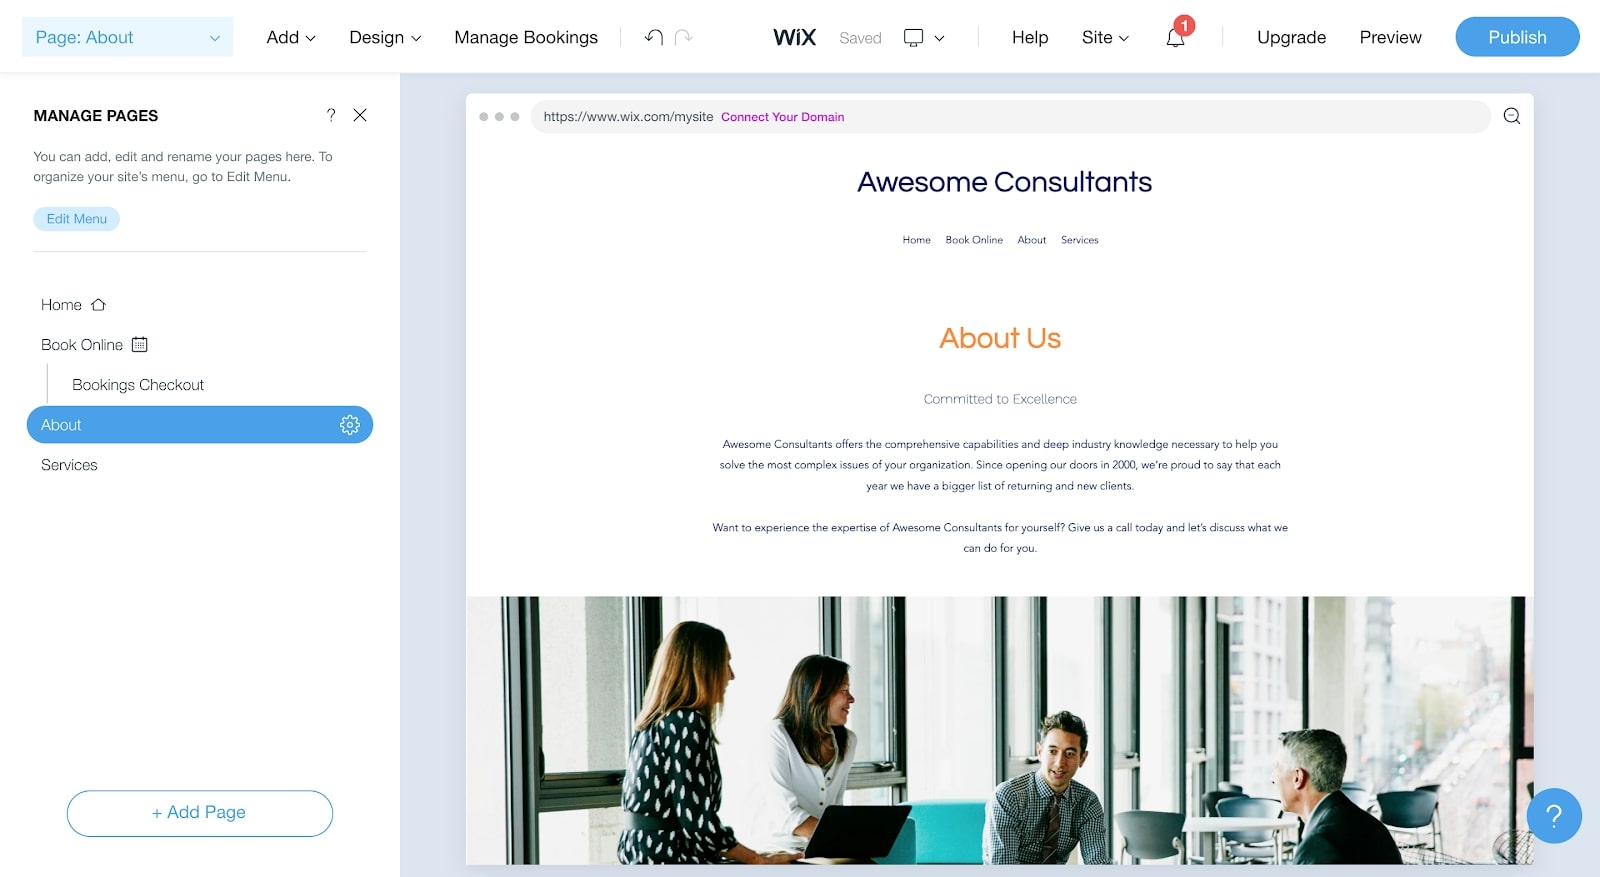
You’ll notice that there’s a button in the top-left corner of the screen that tells you what page you’re currently on. To edit any of your existing webpages, or to add a new one, click this button, and another toolbar will appear.
The toolbar will list all your current webpages. Simply click on the page you want to edit, or click the "+ Add Page" button at the bottom of the toolbar, to create a new one.
Step 14: Adding a new page
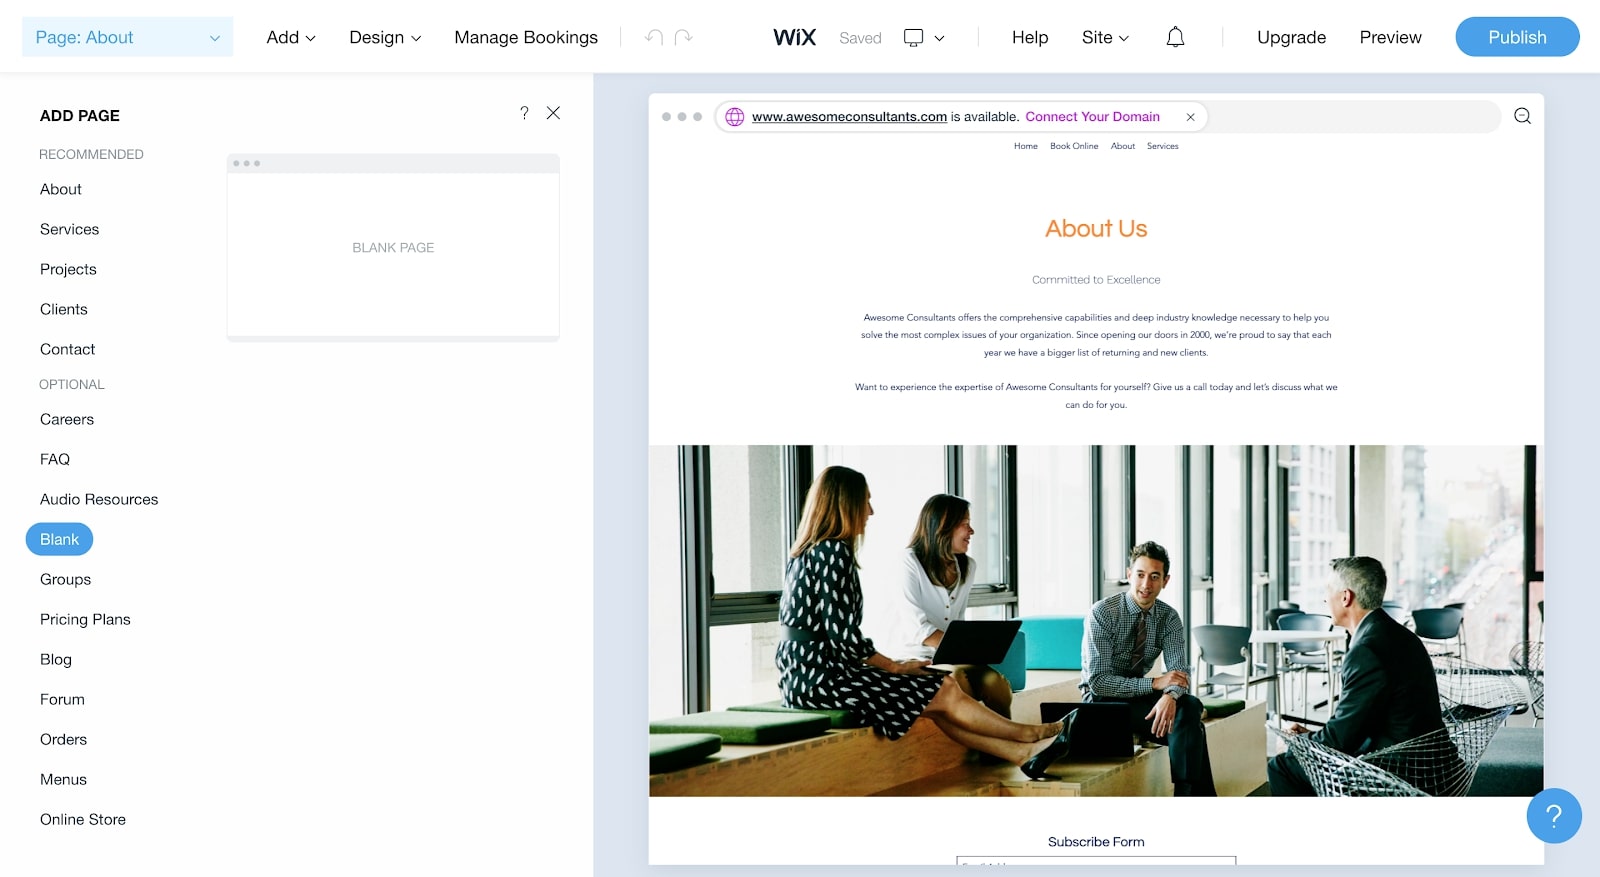
If you want to add a new page, you’ll find a long list of the predesigned templates with specific purposes. There’s also the option to add a "Blank Page", should you want to create something from scratch.
Step 15: Change the design
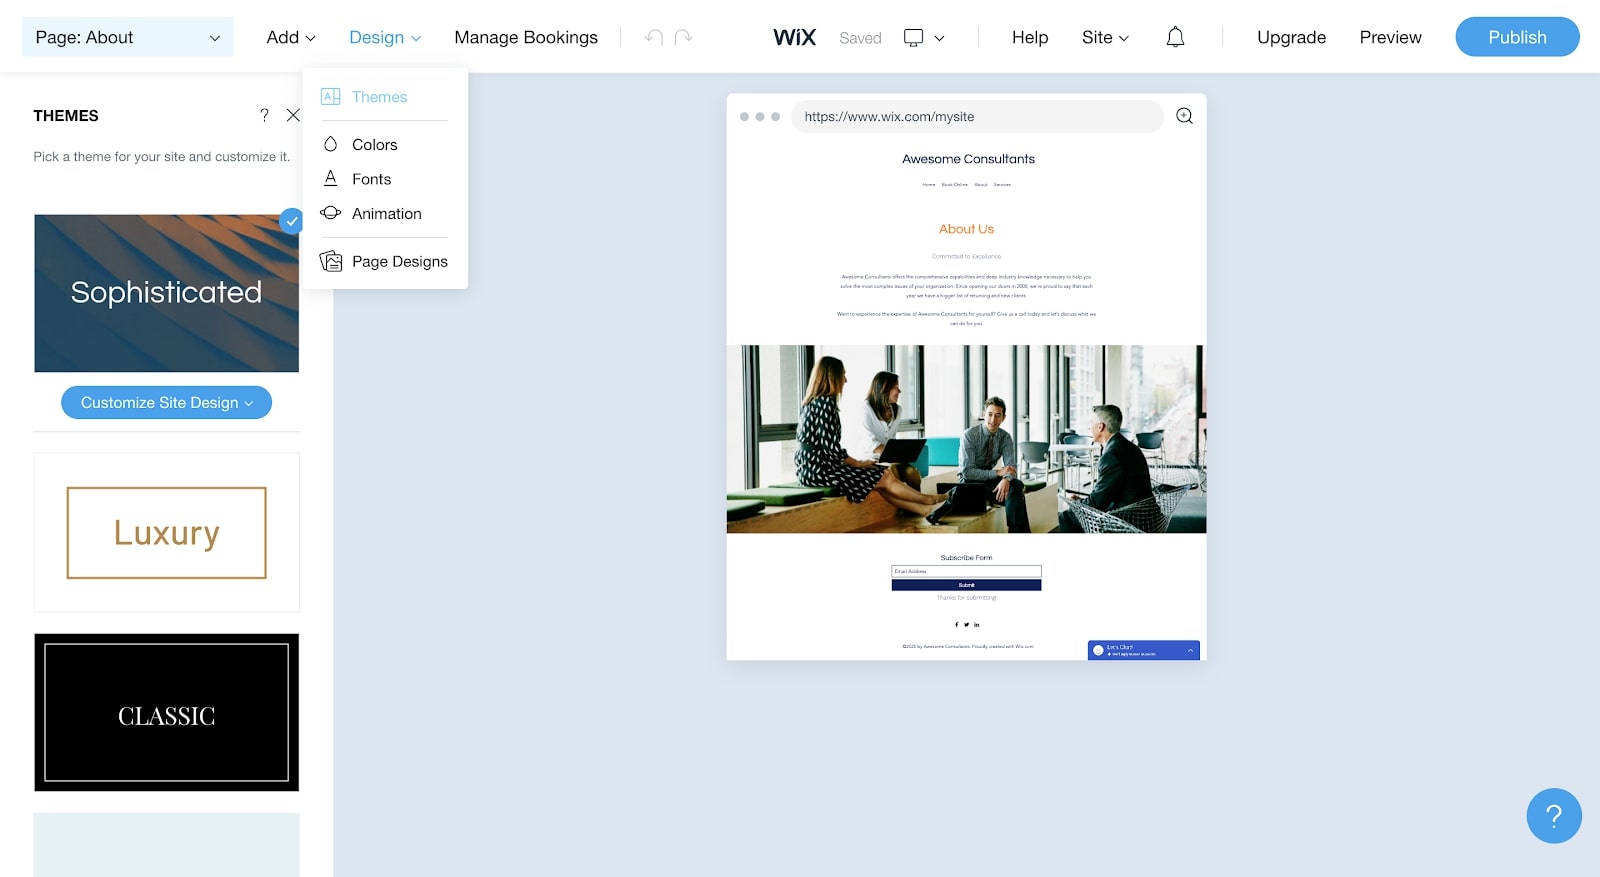
If you’d like to change the design of your site, hover over "Design" at the top of the screen. From here, you can choose to change the theme, colour scheme, text font, website animations, and page designs.
Step 16: Publish your site
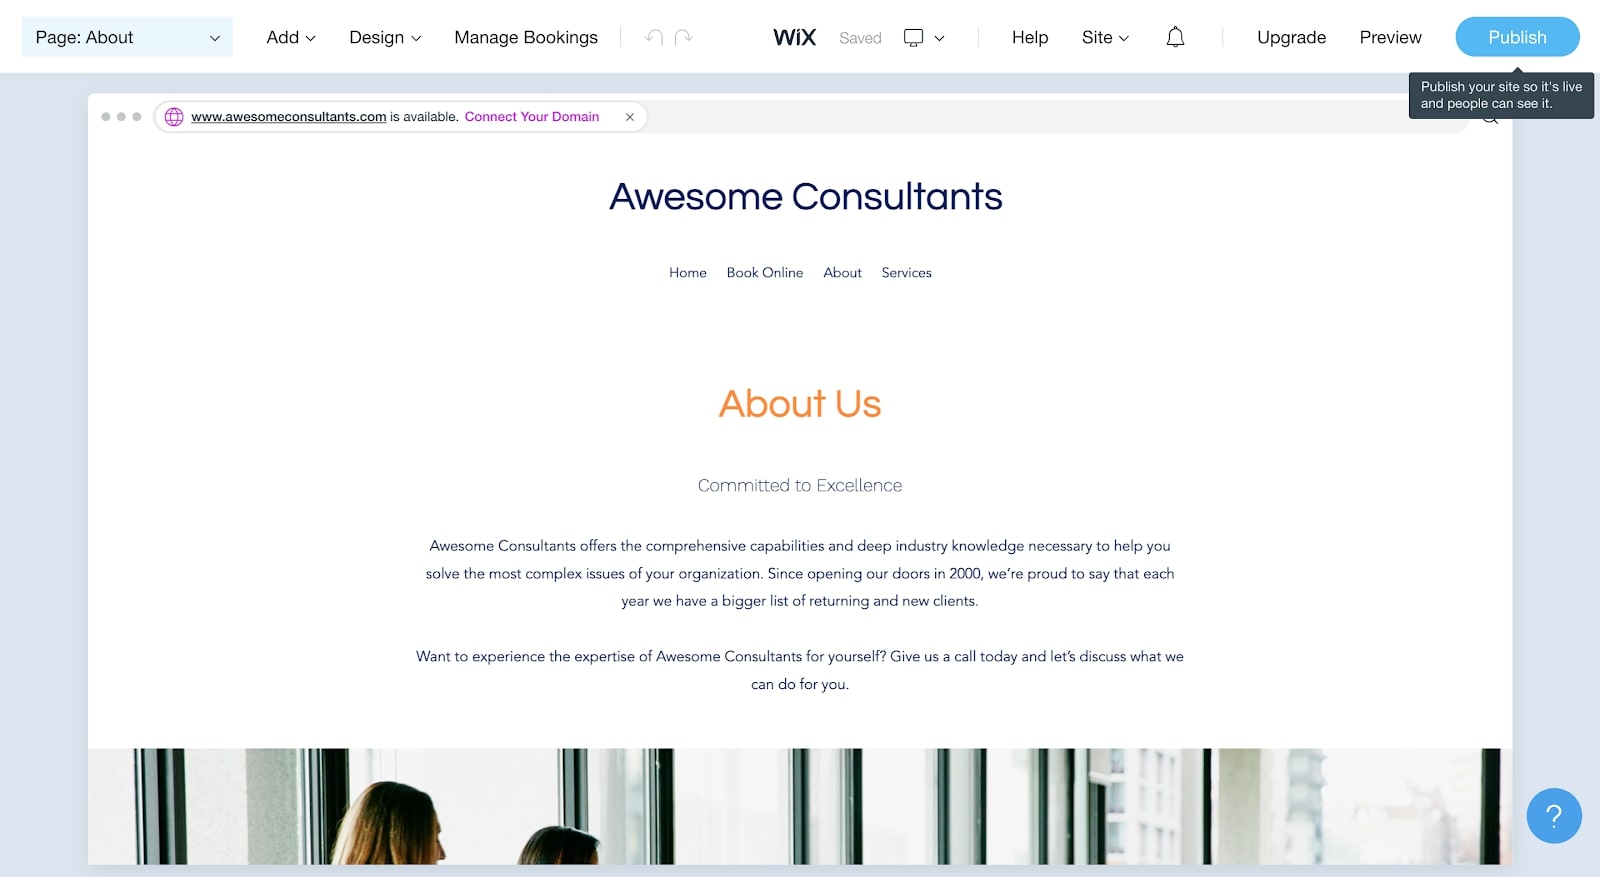
Now that you’ve created a website you’re happy with, it’s time to go live. Click the "Publish" button in the top-right corner of the screen to make your site public.
Step 17: Choose a domain
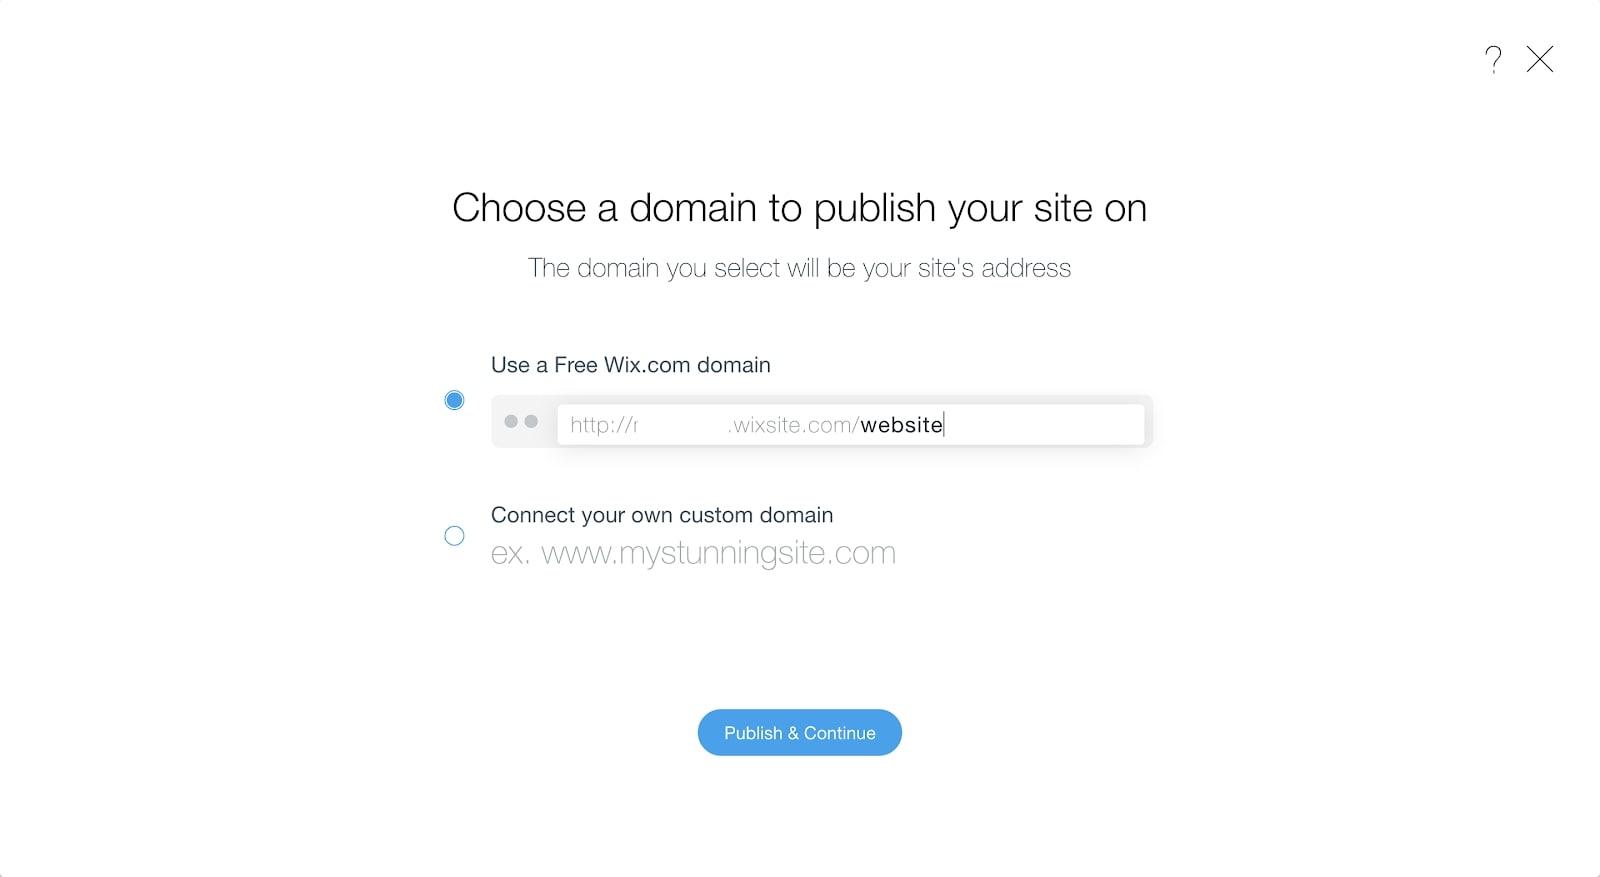
Now, you have two options. You can either create a free domain with Wix (e.g., http://username.wixsite.com/awesomeconsultants), or you can buy a custom domain name (eg. www.awesome-consultants.com). For the latter, you would also need to upgrade to a premium Wix plan and buy the domain.
Step 18: Going public
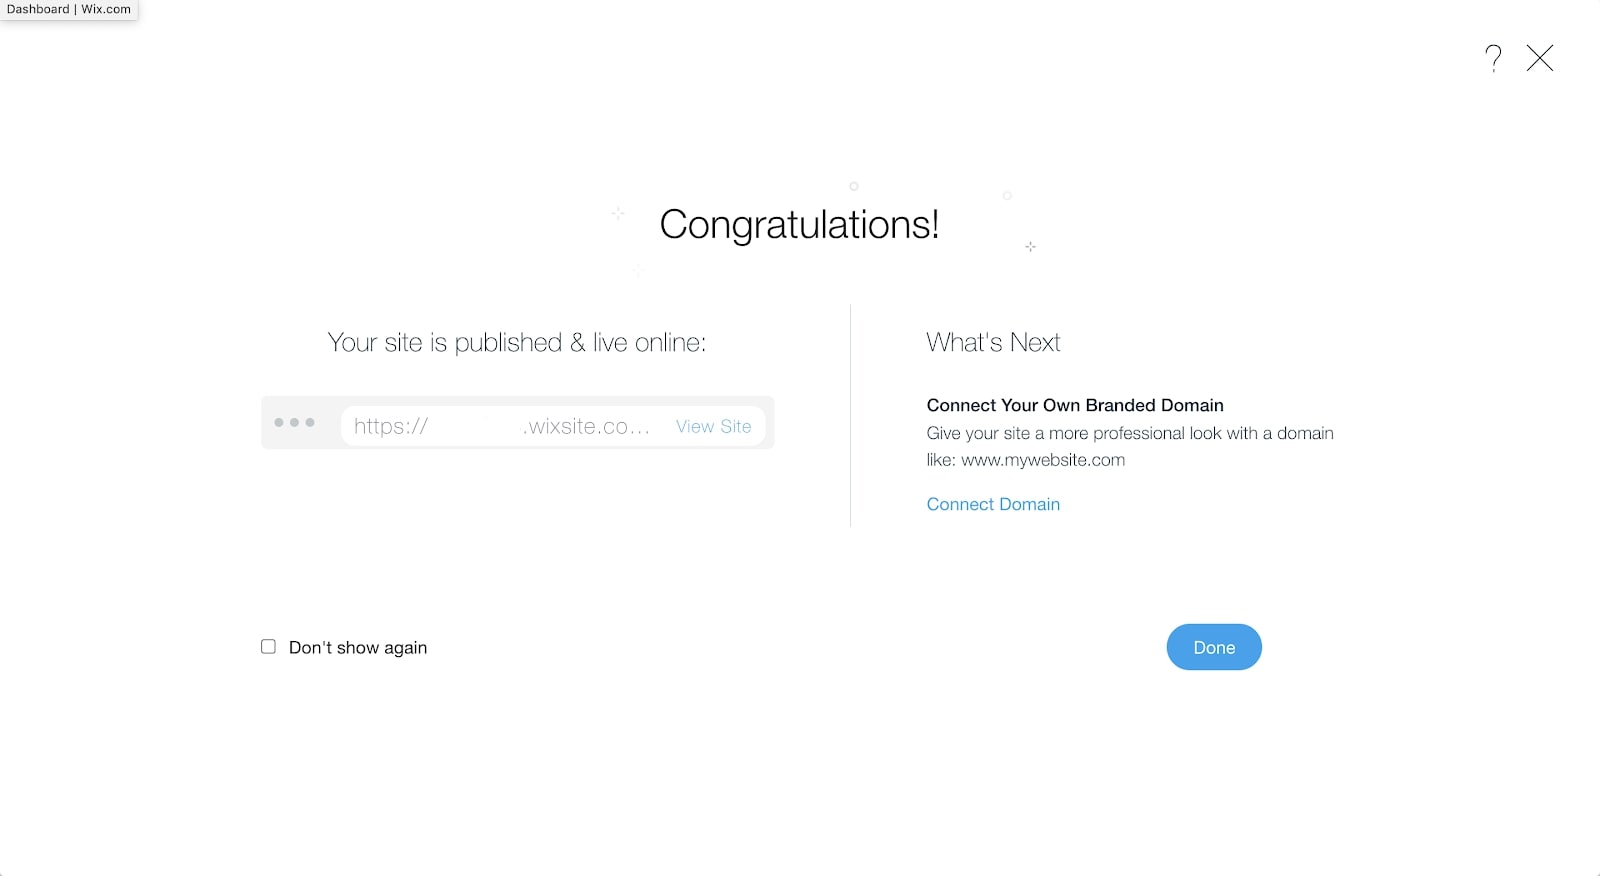
For now, you might be happy with a free website, which is a great option for testing the site’s functionality until you are ready to spend money on upgrading. To go live, click "Publish & Continue", and your site will be made public. If you want to upgrade to a customised domain later on, it’s easy to do so.
How to make a website with Wix: Summary
Having read this feature, you should now be well-equipped with the knowledge and skills to know how to make a website with Wix, using the industry-leading platform.
Further reading on website builders
To learn more about Wix, take a look at our our interview with Wix's Head Product Manager Michal Bignitz. It's worth reading our Editor X review too, covering Wix's new site creation platform targeted at users with more experience.
You can read comparisons between Wix and other leading website builders in our features pitting Wix vs Shopify; Wix vs Squarespace; GoDaddy vs Wix; Wix vs Squarespace vs Weebly; and WordPress vs Wix vs Squarespace.
When it comes to domain names, learn about how to choose a domain name for your website, and why domain privacy is important, and what it means for your business. It's also worth looking into the best anonymous hosting solutions to protect your privacy.
Thomas Johnson is a freelance journalist whose passion and fascination with technology has led him here. He contributes to Future titles, such as Tech Radar, Tom’s Guide, IT Pro Portal and Creative Bloq. He’s also a self-confessed film snob and is the Editor of Salty Popcorn, a bi-weekly Substack dedicated to movie news, reviews and trivia.