How to connect a monitor to your laptop with a USB-C
The definitive guide on how to connect a monitor to your laptop with a USB-C or a variety of cables
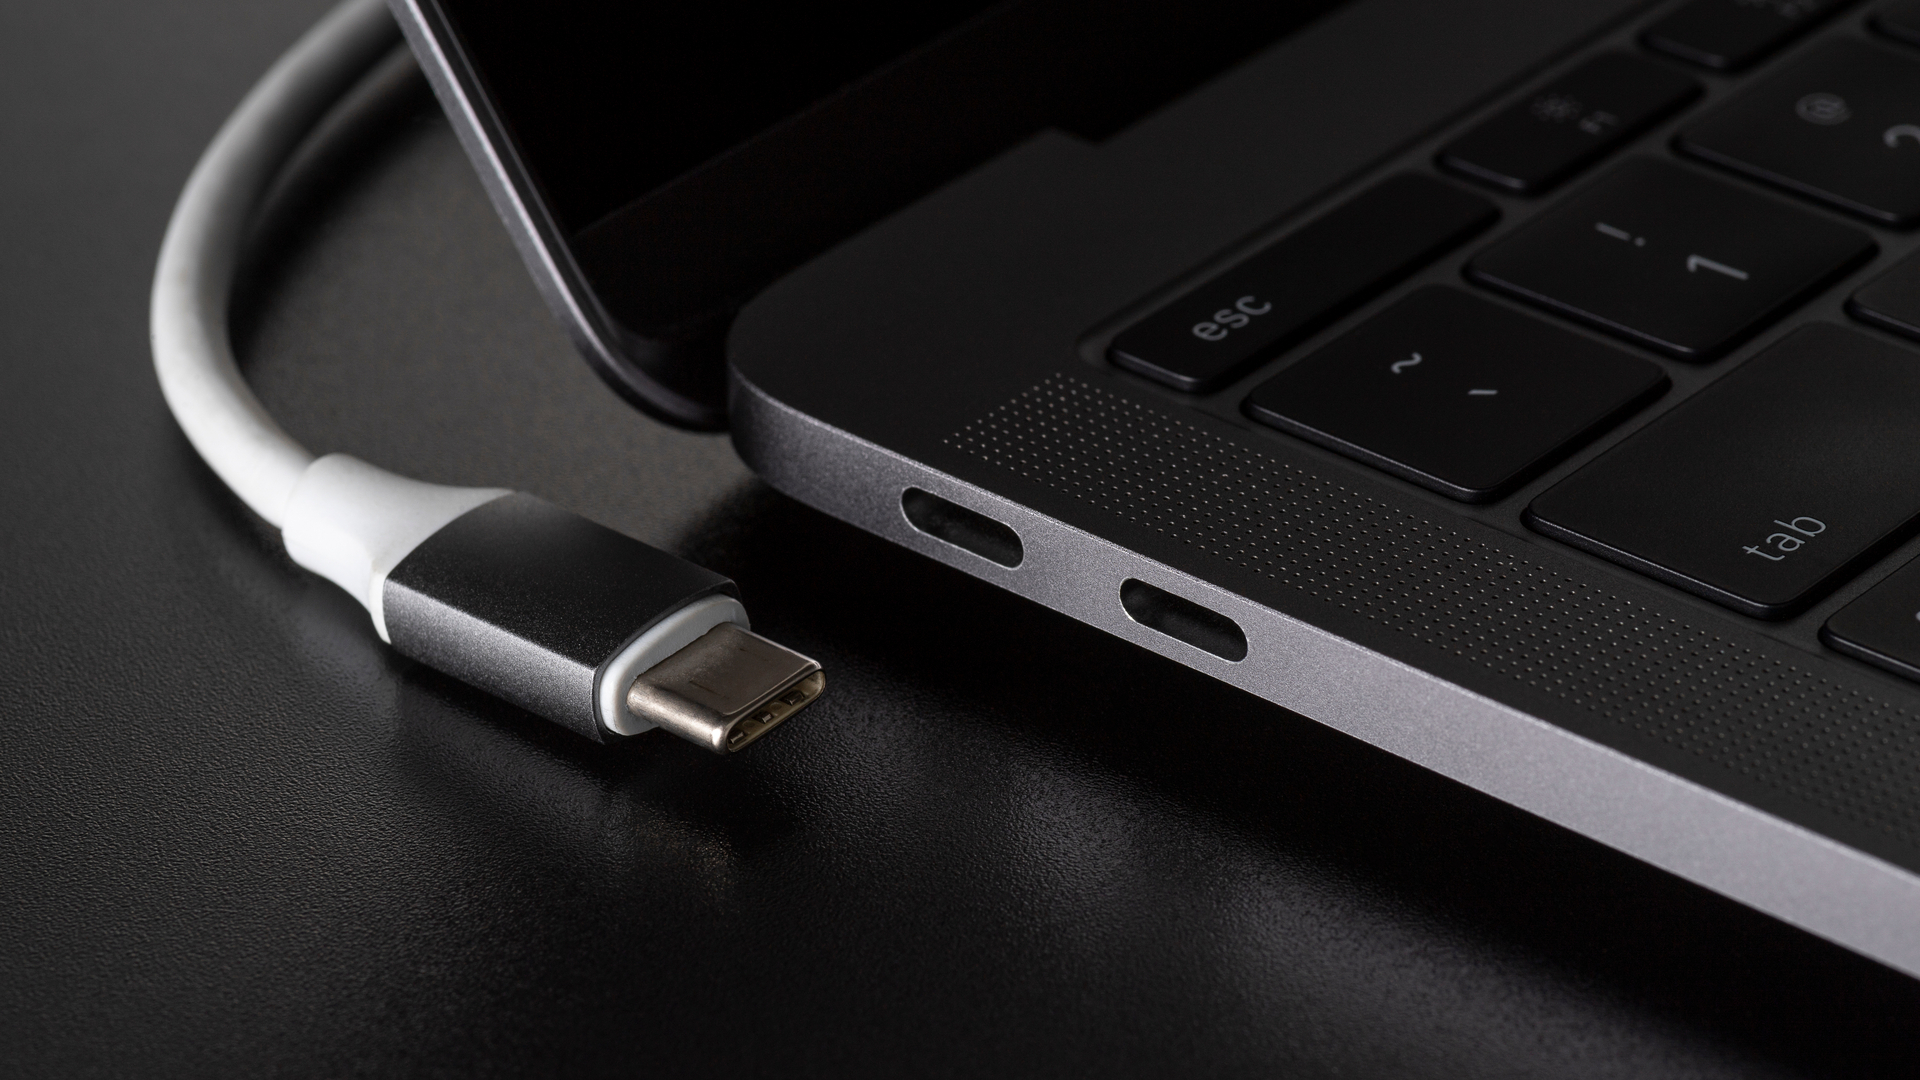
Learning how to connect a monitor to your laptop with a USB-C (or similar) can be very handy as we increasingly opt for using multiple screens and devices in our day-to-day working life.
This is especially true if you require the services of a larger and more sophisticated display with a higher refresh rate, brighter colors, or a much sharper output.
Thankfully, connecting your device using to an external display can give you the best of both worlds - with maximum portability and the best possible visual experience to boot. The benefits of doing so can be immense, allowing you to organize your workflow and tasks in ways you couldn’t imagine doing so before.
Before we talk about how to make the most of using several displays through your operating system, we should first touch on the wiring you’ll need to get yourself set up. The five main types of connectivity options in 2021 include VGA, DVI, HDMI, DisplayPort and USB-C.
If you're in the market for a new work monitor, we'd recommend looking at our best business monitors guide for 2023, which provides a decent array of options.
How to connect a monitor to your laptop: A quick guide
Connect to an external monitor: What cable do I use?
The cabling that you will need will depend on what ports are available on your machine.
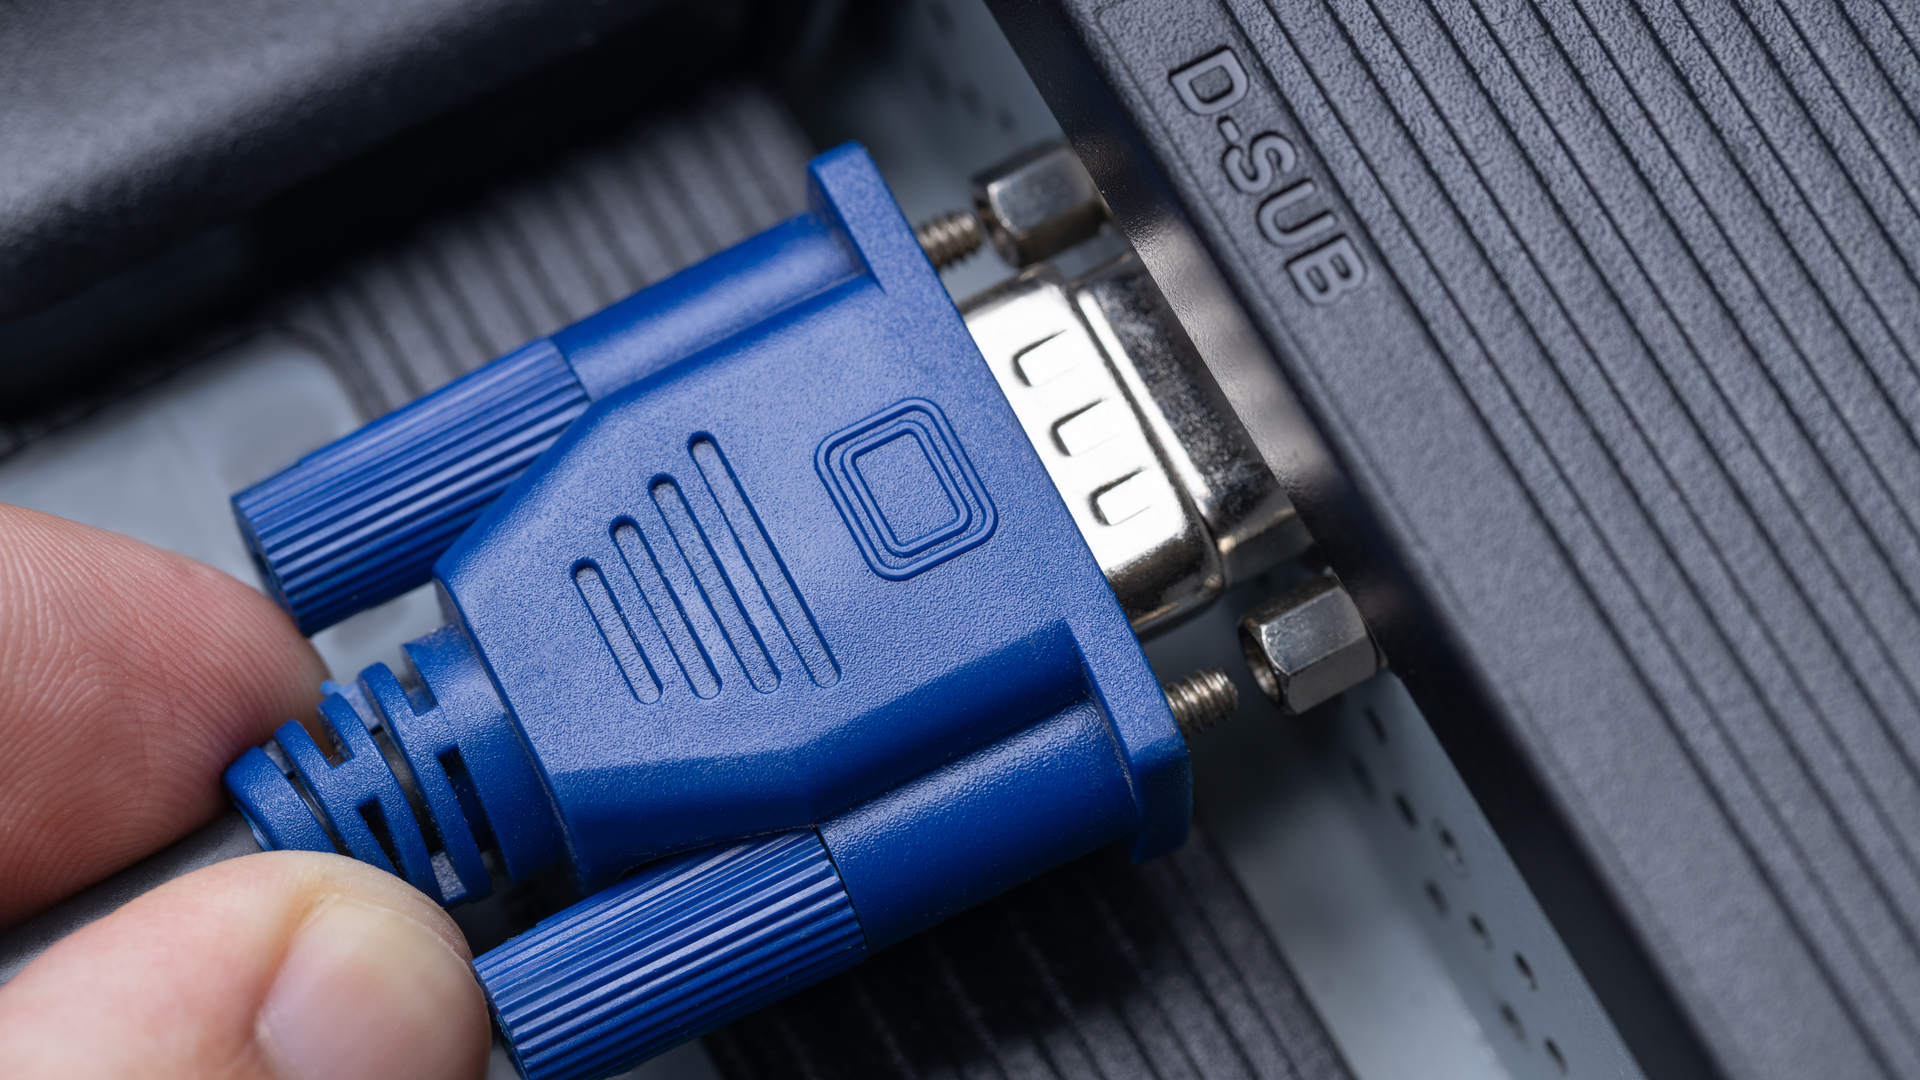
It’s more likely than not that your device is fairly ancient if you ever find yourself having to use VGA. This once-ubiquitous connector can be identified by its shape - a trapeze with rounded edges, and the cable head, which is typically blue with screw prongs on either side. It also uses a 15-pin connector, with 5 pins across three rows.
Sign up today and you will receive a free copy of our Future Focus 2025 report - the leading guidance on AI, cybersecurity and other IT challenges as per 700+ senior executives
The main issue with these cables, apart from their age, is that they don't support audio transmissions, so you’ll need to connect a separate audio connector to rig yourself up properly.
You could potentially find a VGA to HDMI converter but they’re usually disproportionately costly for the quality of the connection you experience in the end.
We would recommend avoiding using VGA connections if you can do so. It’s best to find a more modern alternative, considering that its technical limitations are unsuited to modern connectivity.
Although it’s similar to VGA, DVI is capable of far higher resolution. Converting from DVI to HDMI will produce better results than VGA, but it’s still not ideal. DVI cables are similar in appearance to VGA, although the connector heads tend to be larger and are usually white or black in color.
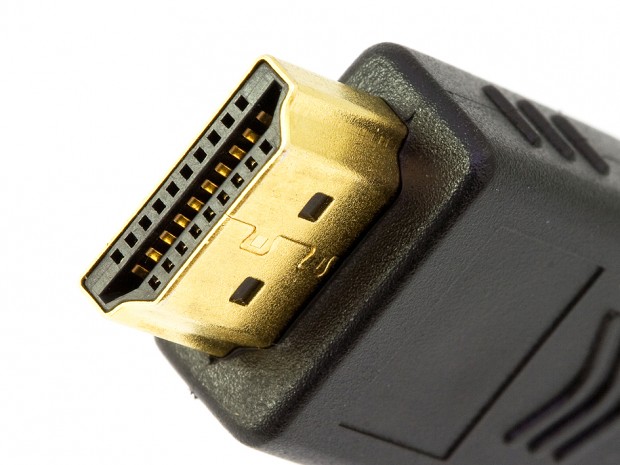
HDMI is the standard connection used by most televisions and monitors, and should be familiar to most people. Be aware, however, as there are variants. There are micro-HDMI and even mini-HDMI connectors, as well as the standard full size, so make sure you select the right cable.
In addition, we’d recommend choosing a new HDMI cable unless you’re confident that yours is fairly new. The HDMI specification has also changed over time, and older cables might not give you HD, or even 4K. For the best performance, look for HDMI 2.0 or HDMI 2.1, but anything over 1.4 should function.
If you have a spare cable lying around, it might not be good enough, unfortunately, as most HDMI cables don’t tell you what version they are.
Don’t spend ridiculous amounts of money either; HDMI cables are digital, and so either they work or they don’t. You won’t get better quality from fancy bells and whistles like gold-plated connectors, and buying a cheap one with the right spec (we bought 3x1m cables from Amazon for under £10) will work just as well as an expensive one - although gold-plated connectors may end up lasting longer.
DisplayPort (we recommend at least 1.2 or higher for best results) is the choice of graphic designers, animators and other creative types. If your monitor uses DisplayPort, but you only have HDMI on your laptop, that’s no problem, as there’s a cable for that.
Finally, USB-C is the newest kid on the block and is designed to replace all the other standards we’ve mentioned. As well as carrying power and connecting accessories, the USB-C standards include both DisplayPort and HDMI, so you’ll want either a USB-C to HDMI/DisplayPort or, if you have a very new monitor, USB-C to USB-C.
A quick warning: USB-C cables vary dramatically. In the early days, a number of manufacturers produced cables that didn’t comply with the specifications and caused serious damage to machines. If you’re at all unsure, look for cables that are USB-IF certified (though many perfectly good ones don’t carry this certification).
Connect to an external monitor: Changing Windows settings
So you’ve got your cable and you’ve connected it up. You may well find that Windows has done the rest for you, and your monitor is now duplicating everything on the built-in screen.
That may be what you want, but if you are looking for extra space, you’ll want to press WIN+P and a sidebar will appear offering to display on just the main screen, just the monitor (called ’second screen’), Duplicate, or Extend.
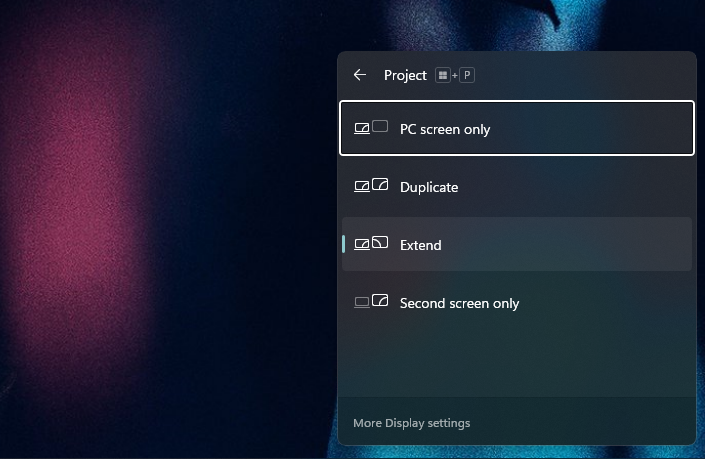
Select extend and you should find that you can drag your mouse from one desktop to the other seamlessly.
Windows will assume that the laptop is on the left and the monitor is on the right. If that’s not your setup, the mouse will go the wrong way, and that’s the sign for us to do a bit of tweaking.
The settings menu is very easy to get to:
- Simply go to the desktop
- Right-click anywhere and select Display Settings - if you don't see this, check under 'More Options'
- You'll be presented with squares representing your connected monitors
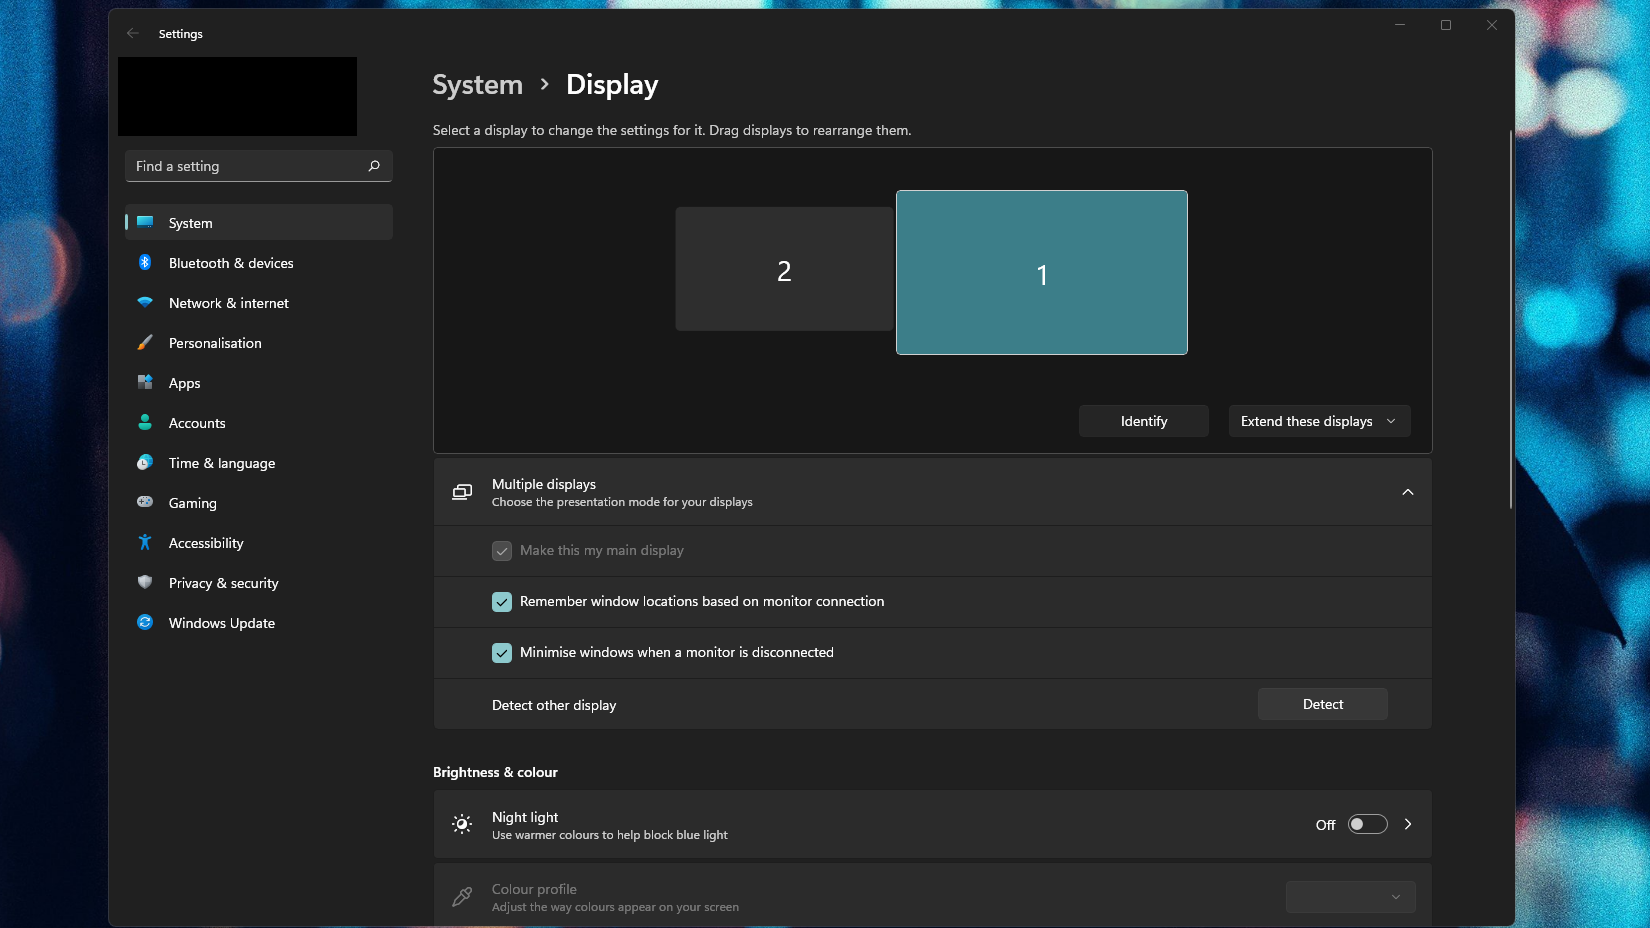
Clicking 'Identify' will display numbers on screen corresponding to those labelled on the squares - depending on where your monitor is physically located, you may find it is on the opposite side to where you would like. Simply drag and drop the monitors so they appear on the screen in the same configuration as they do on your desk.
There are loads of other settings on this screen, most of which you’ll never need, but feel free to experiment - most operations will ask you to confirm everything is ok, and if you don’t respond within 15 seconds reverts back. This is to ensure that if you’ve managed to lose the picture on both screens, you’re not stuck.
Connect to an external monitor: How to use USB-C ports
USB-C has one specific disadvantage, and it’s the fact that many laptops have a limited number of USB-C ports. In that case, you may find you’ll need to get a USB-C hub to widen your options. Make sure it has a passthrough for the power supply, and ideally an extra USB-C port too. Many hubs also have an HDMI connection for added versatility.
Now, you may be wondering, if USB-C is supposed to replace everything else, why it’s not even more common. The answer comes, once again, from manufacturers playing fast and loose with the standard.
You might be surprised to learn, in fact, that different types of USB-C ports can do different things. For example, the more modern “gen 2” ports are able to fit USB 3.0 or 3.1, and have the capability for HDMI or DisplayPort signals. In contrast, its predecessor “gen 1”, are only able to function with USB 2.0 signals, which nowadays isn’t good enough for your average monitor.
What if I need more than two monitors?

What happens when you want more than two displays? This will depend, once again, on your graphics card, your machine, and how much cash you’re putting aside to invest in this. It’s worth being aware that you might only be able to have one monitor, especially on older or lower spec machines, whereas you can connect up to four screens on more modern machines.
Splitters are supported in DisplayPort connections, for example, which will allow you to use one port on the laptop to connect a number of monitors, although this isn’t a very economical way to do it since it might be a bit expensive.
You might find that occasionally monitors will have an additional port to allow you to connect the signal from your device to each monitor by “daisy chaining” from one monitor to the next, although it’s worth pointing out this isn’t very common.
Alternatively, if you have a hub or a laptop with a DVI, USB-C, DisplayPort, and HDMI, feel free to mix and match the monitors. Do bear in mind that you’ll need to select the best input for each monitor’s specification so that you get the best refresh rate and resolution out of each one. This is known as the “all-hands-on-deck” strategy.
If you're in the market for a new laptop, be sure to have a look at our best business laptops guide, as we always value devices with plenty of connectivity options.
As technology continues to progress and new standards are created, it’s becoming more frequent to find difficulties in achieving the result you want. This also applies to monitors. The everyday, casual, user might not be familiar with USB-C, DisplayPort, or HDMI, and it’s not always clear for them.
Usually, a task which should essentially be “plug this into this” becomes complex and time consuming. However, don’t let this dissuade you from accomplishing your monitor goal, just make sure you do plenty of research before buying a cable, and make sure it’s the one you need.
Once you’ve overcome this, the rest is more or less quite straightforward.
Chris Merriman has been writing about technology since the 1990s for a variety of titles including Computer Shopper, MSN, TechRadar, Tom’s Guide and The Inquirer, where he broke a number of major tech news stories that were picked up globally. He has appeared on BBC, Sky News and Al Jazeera and was the resident tech expert at TalkRadio for a number of years. In between times, he has also been a consultant for several major tech firms.
Chris is fascinated by automation and the internet of things, as well as the evolution of the ways we communicate in the digital era. He's also a frequent contributor to ITPro's software guides, including Windows operating systems. Other specialisms include storage, peripherals, and web apps, and any gadget he’s allowed to take apart and fiddle with, preferably after throwing away the box, manual and receipt.