Office for iPad: Tips and Tricks
Office 365 subscribers get a host of useful editing features on the move.
We've had a chance to download the Word, Excel and PowerPoint iPad applications and explore the interface.
Microsoft has stuck to the basics here, offering up core functionality in an easy-to-digest manner. If you haven't got an Office 365 subscription, you get get a 30-day free trial. Here, we give you a taste of what to expect with the full version of the apps.
1. Create a duplicate to edit
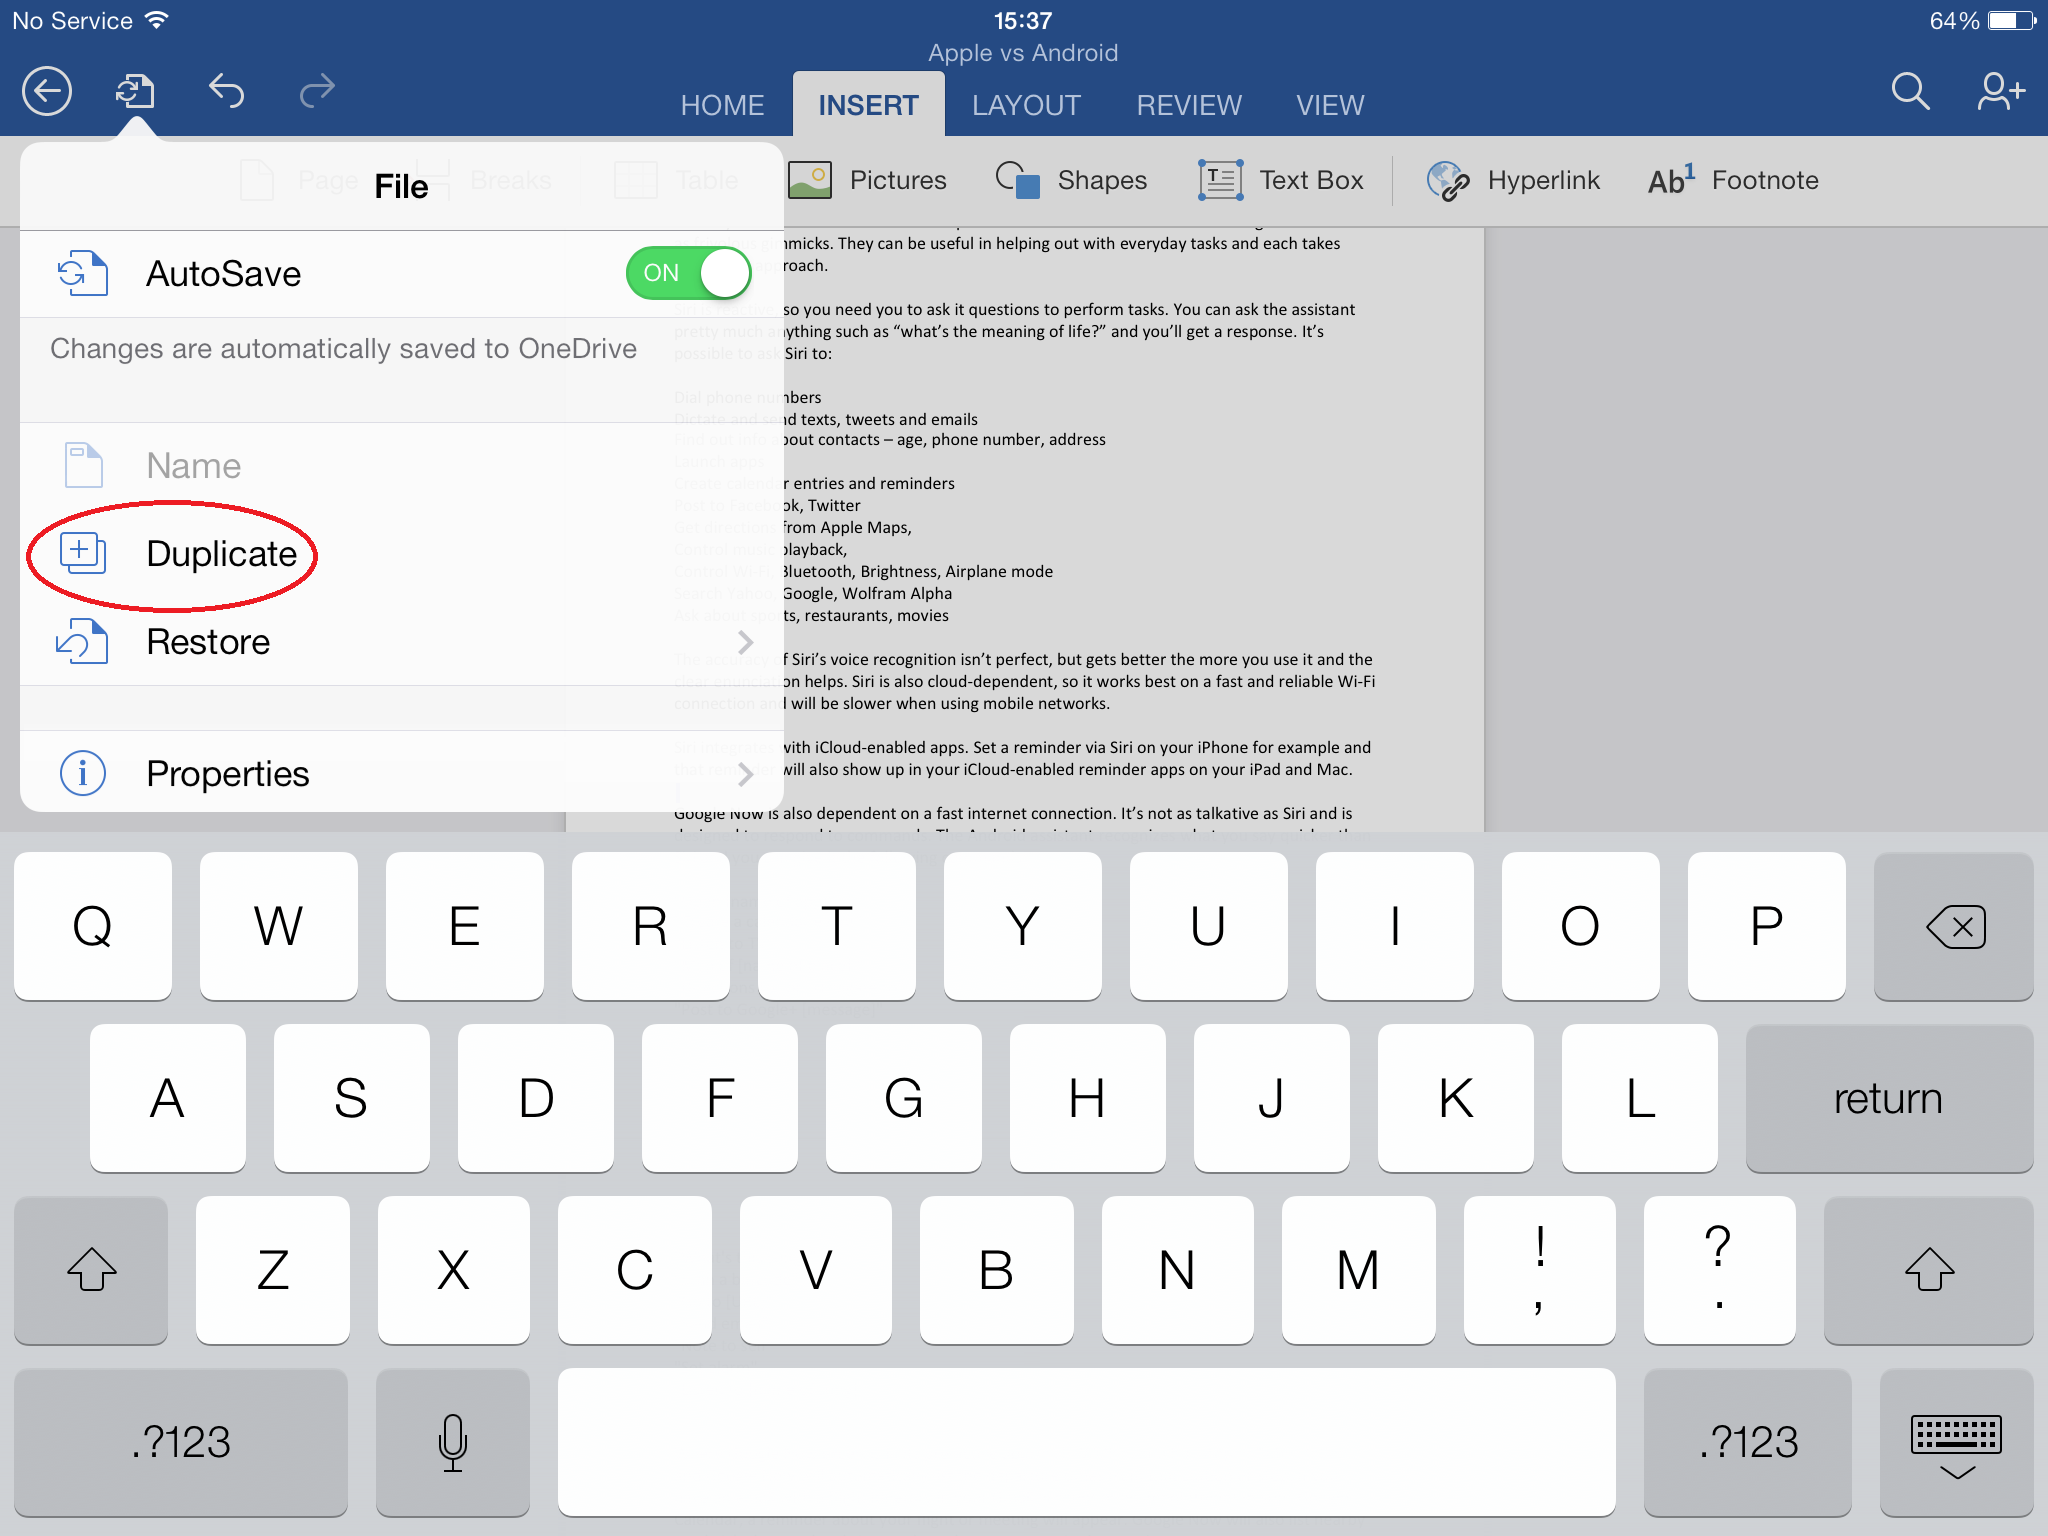
If you're about to start editing a document, spreadsheet or presentation, it's possible to create a duplicate so the original remains untouched.
Click on the page with refresh logo in the top left corner and then hit duplicate.
2. Track changes
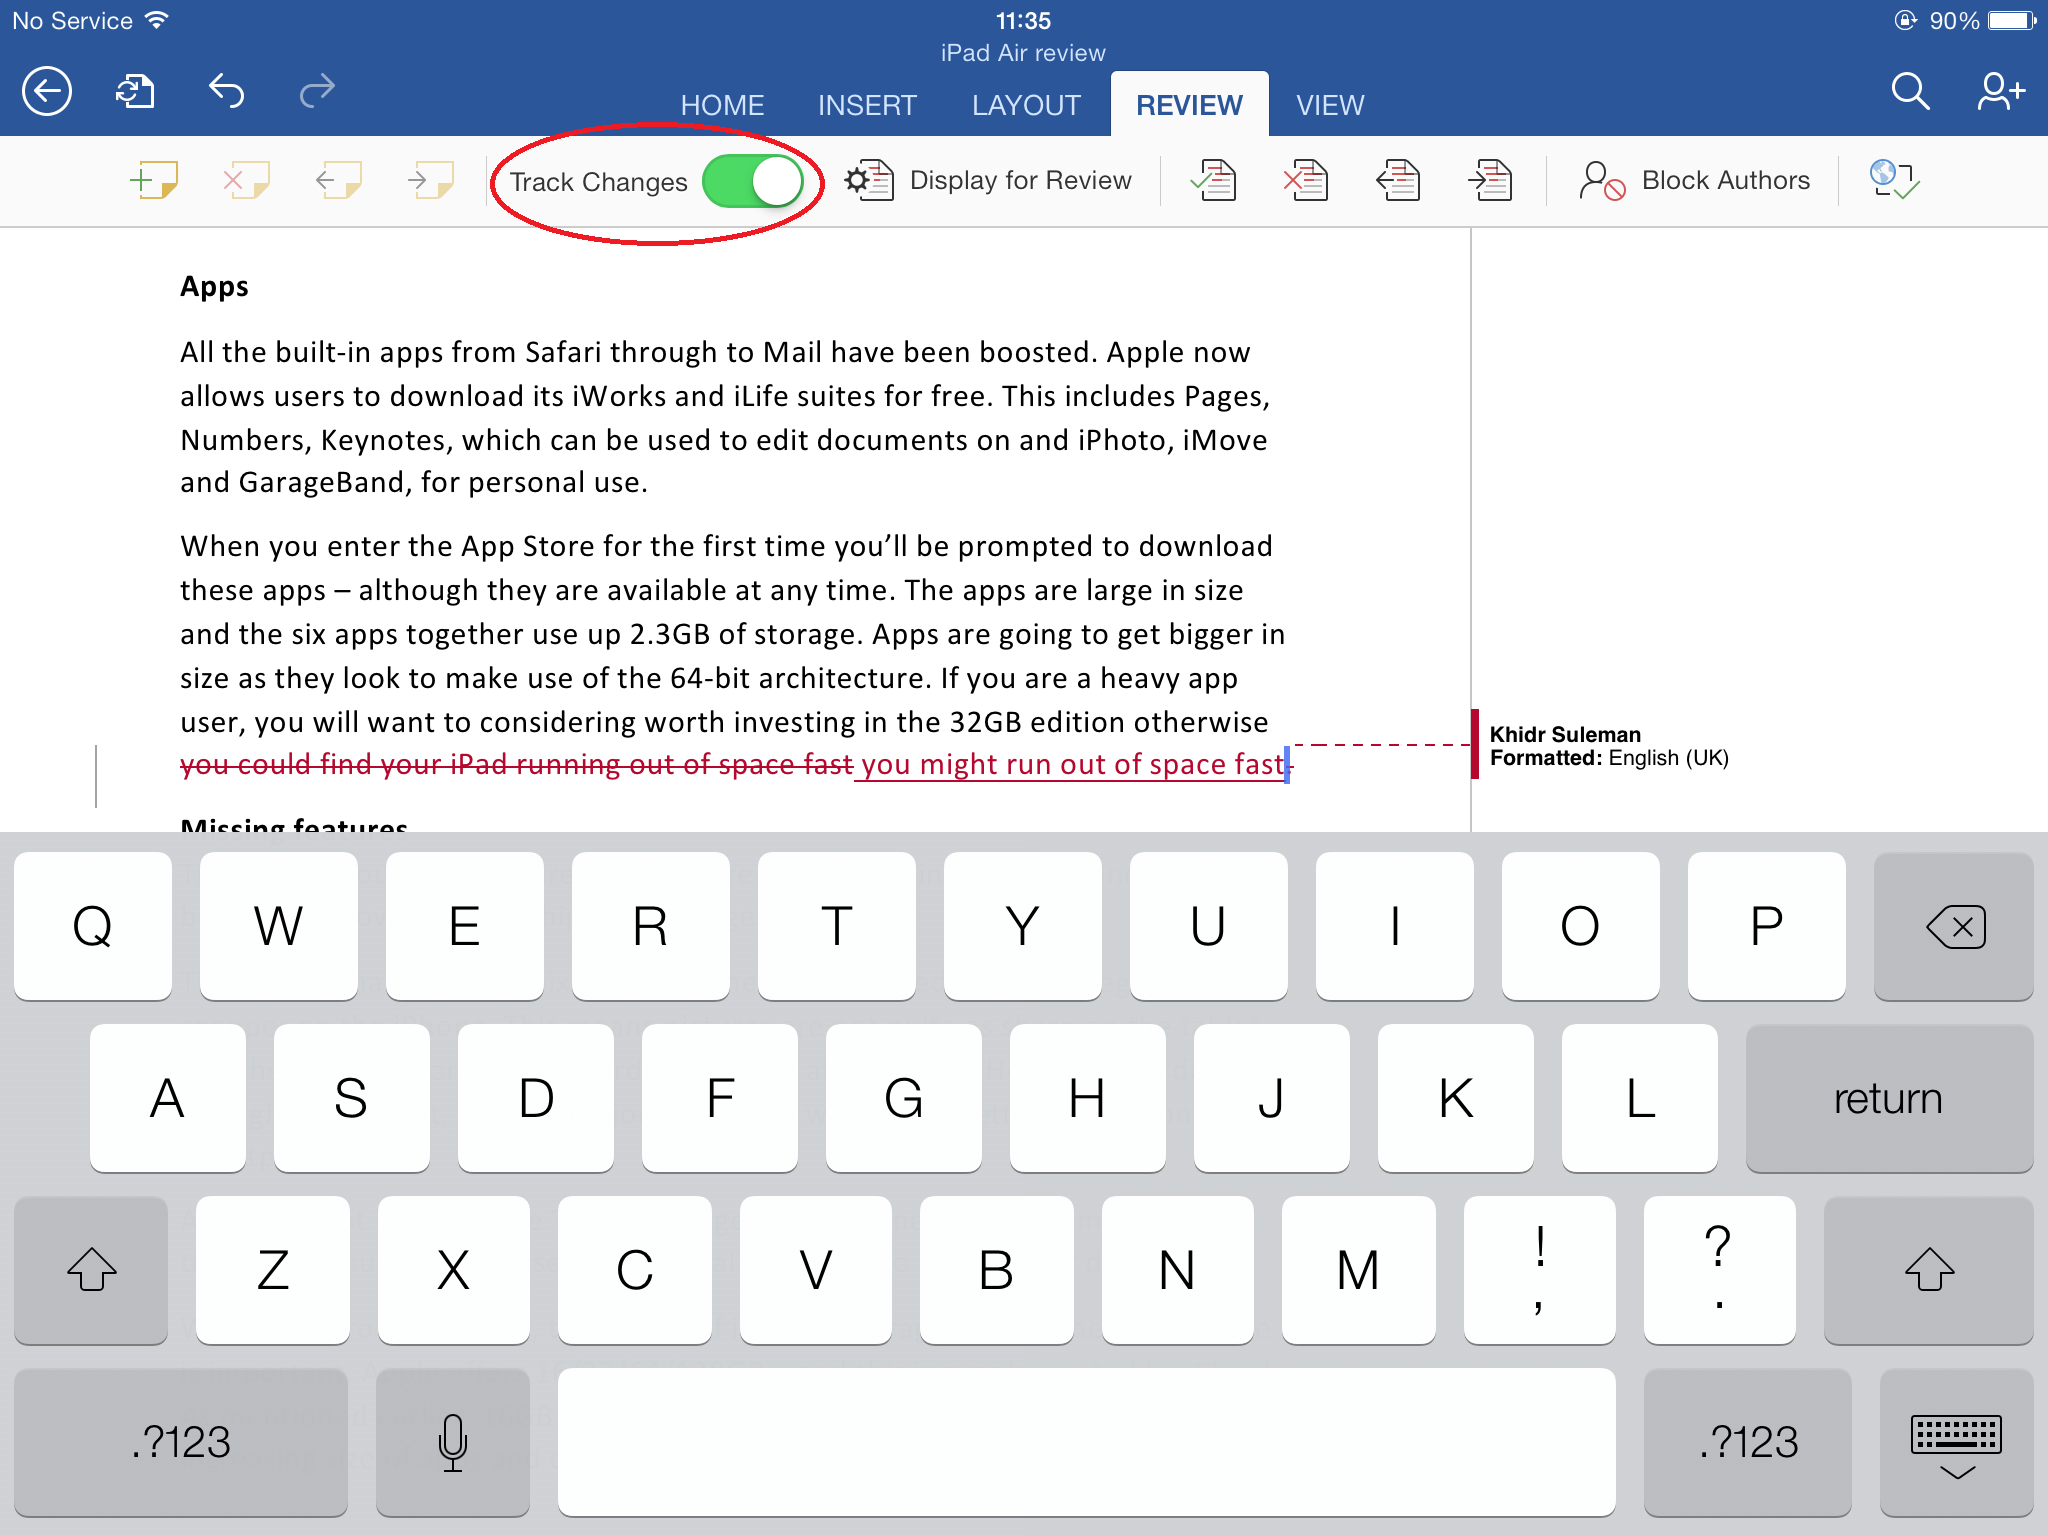
If you want to collaborate with other employees or provide feedback, the best way to do this is to track changes. In Word, hit the Review tab and then slide the indicator to the right.
Get the ITPro daily newsletter
Sign up today and you will receive a free copy of our Future Focus 2025 report - the leading guidance on AI, cybersecurity and other IT challenges as per 700+ senior executives
3. Add photos from your camera roll & hyperlinks
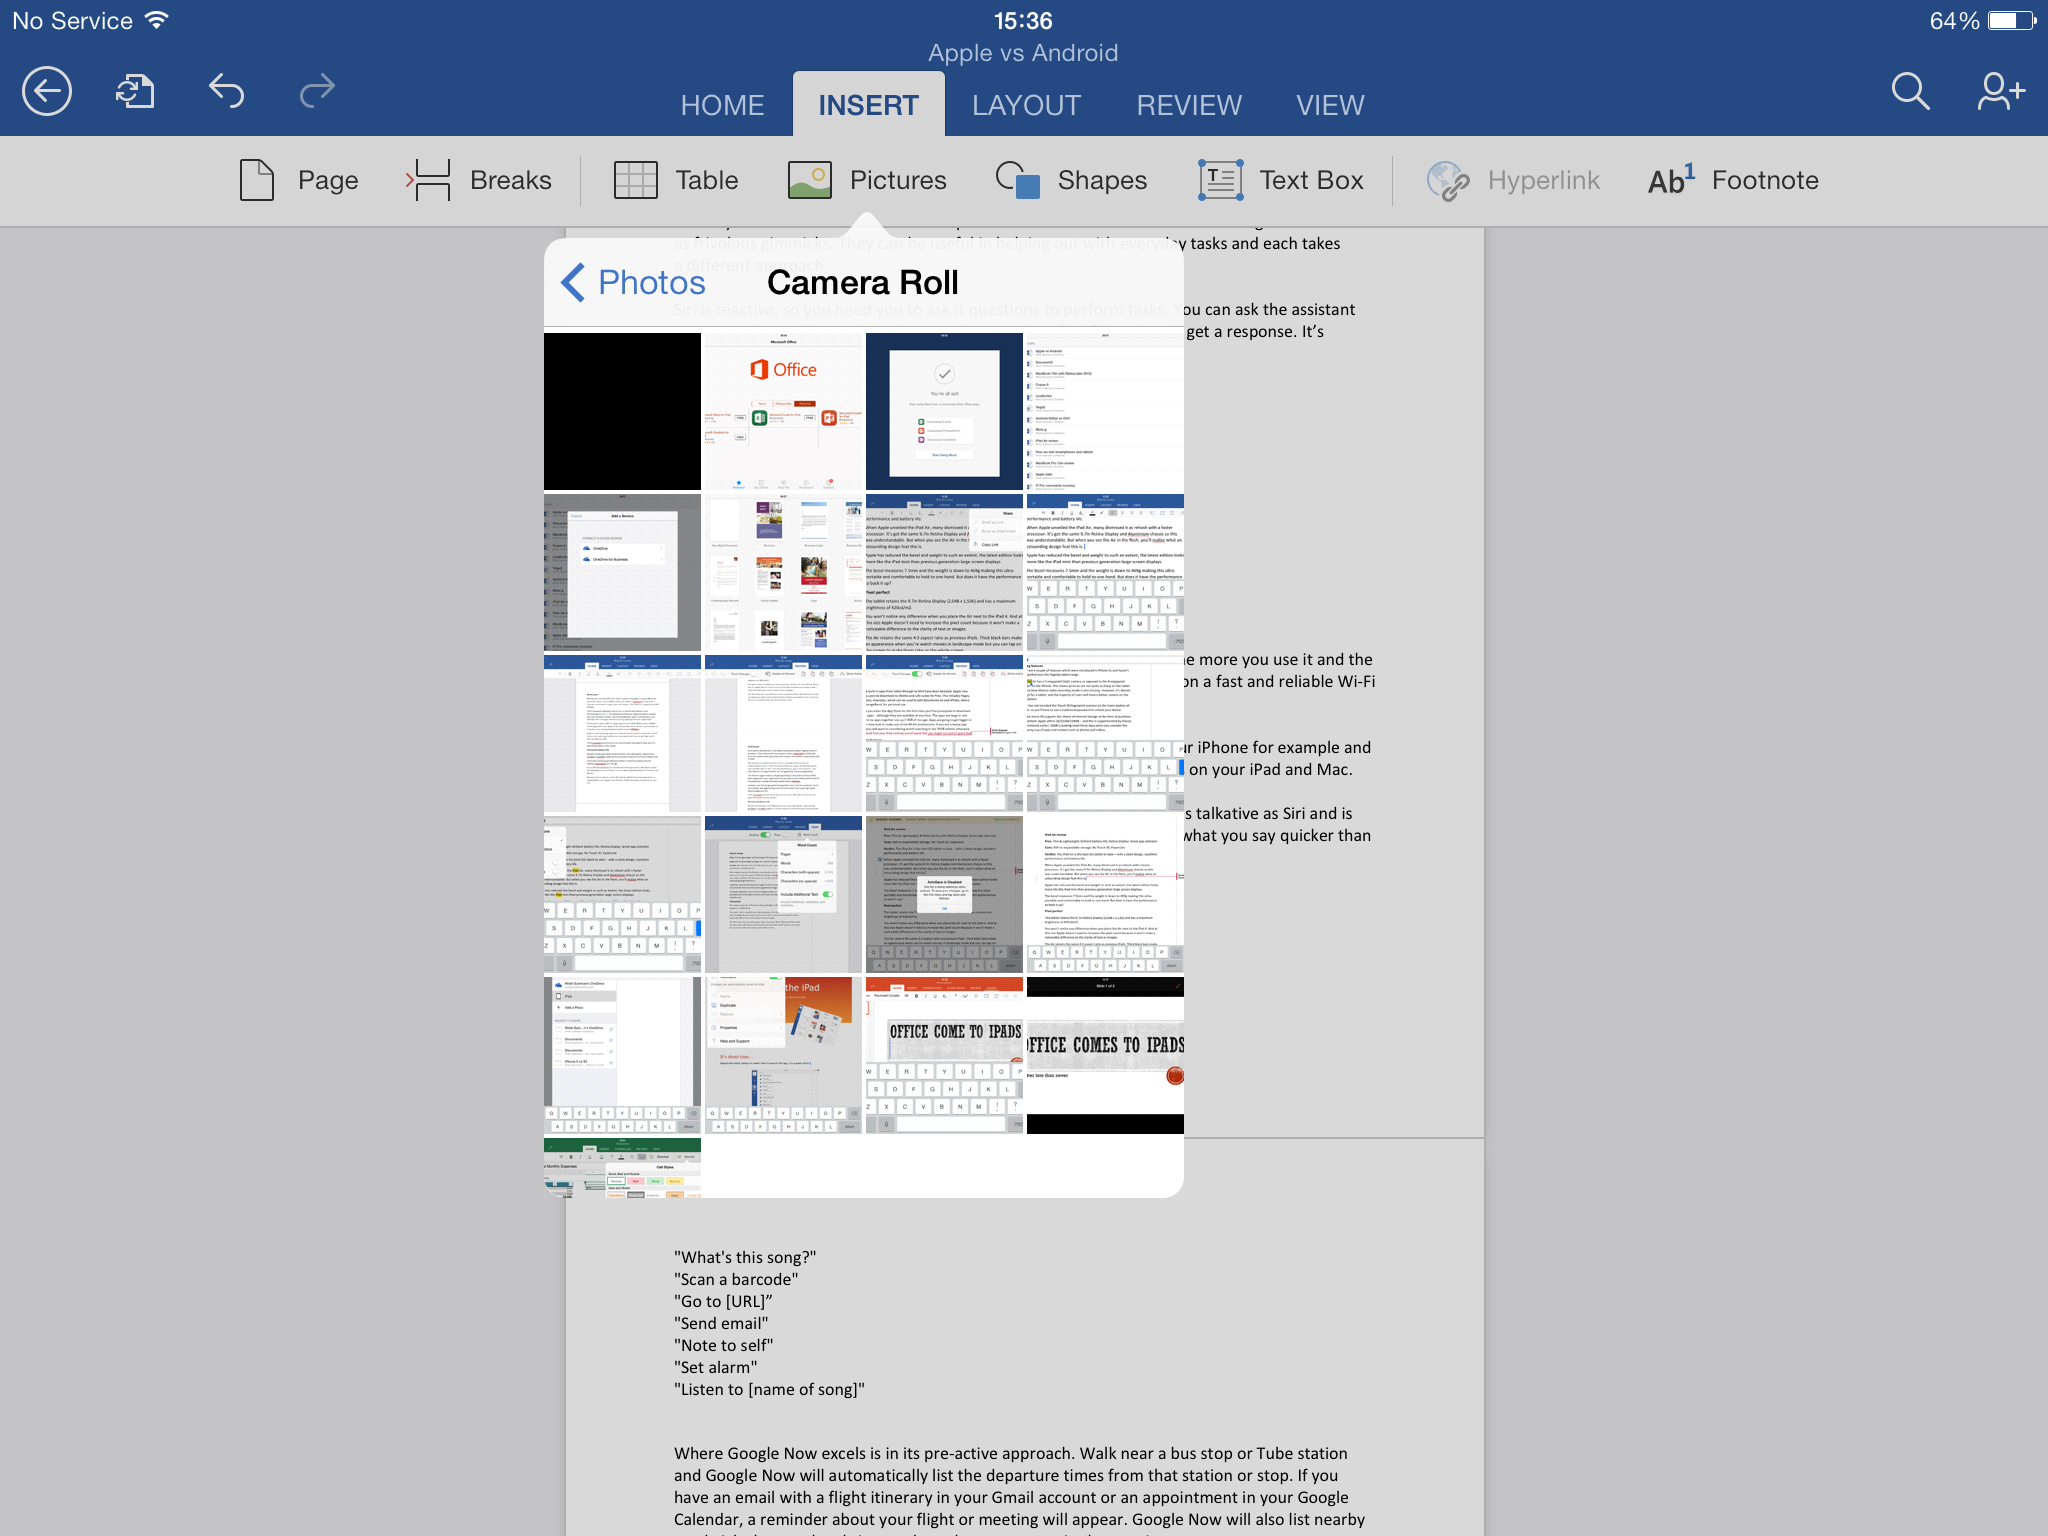
You can insert pictures from your device by hitting the Insert tab, giving the applications access to your camera roll. This will work on the Word, Excel and PowerPoint apps.
Staying under the Insert tab - it's also possible to hyperlink text. Highlight the content you want to hyperlink and then hit the button in the ribbon. This is restricted to Word.
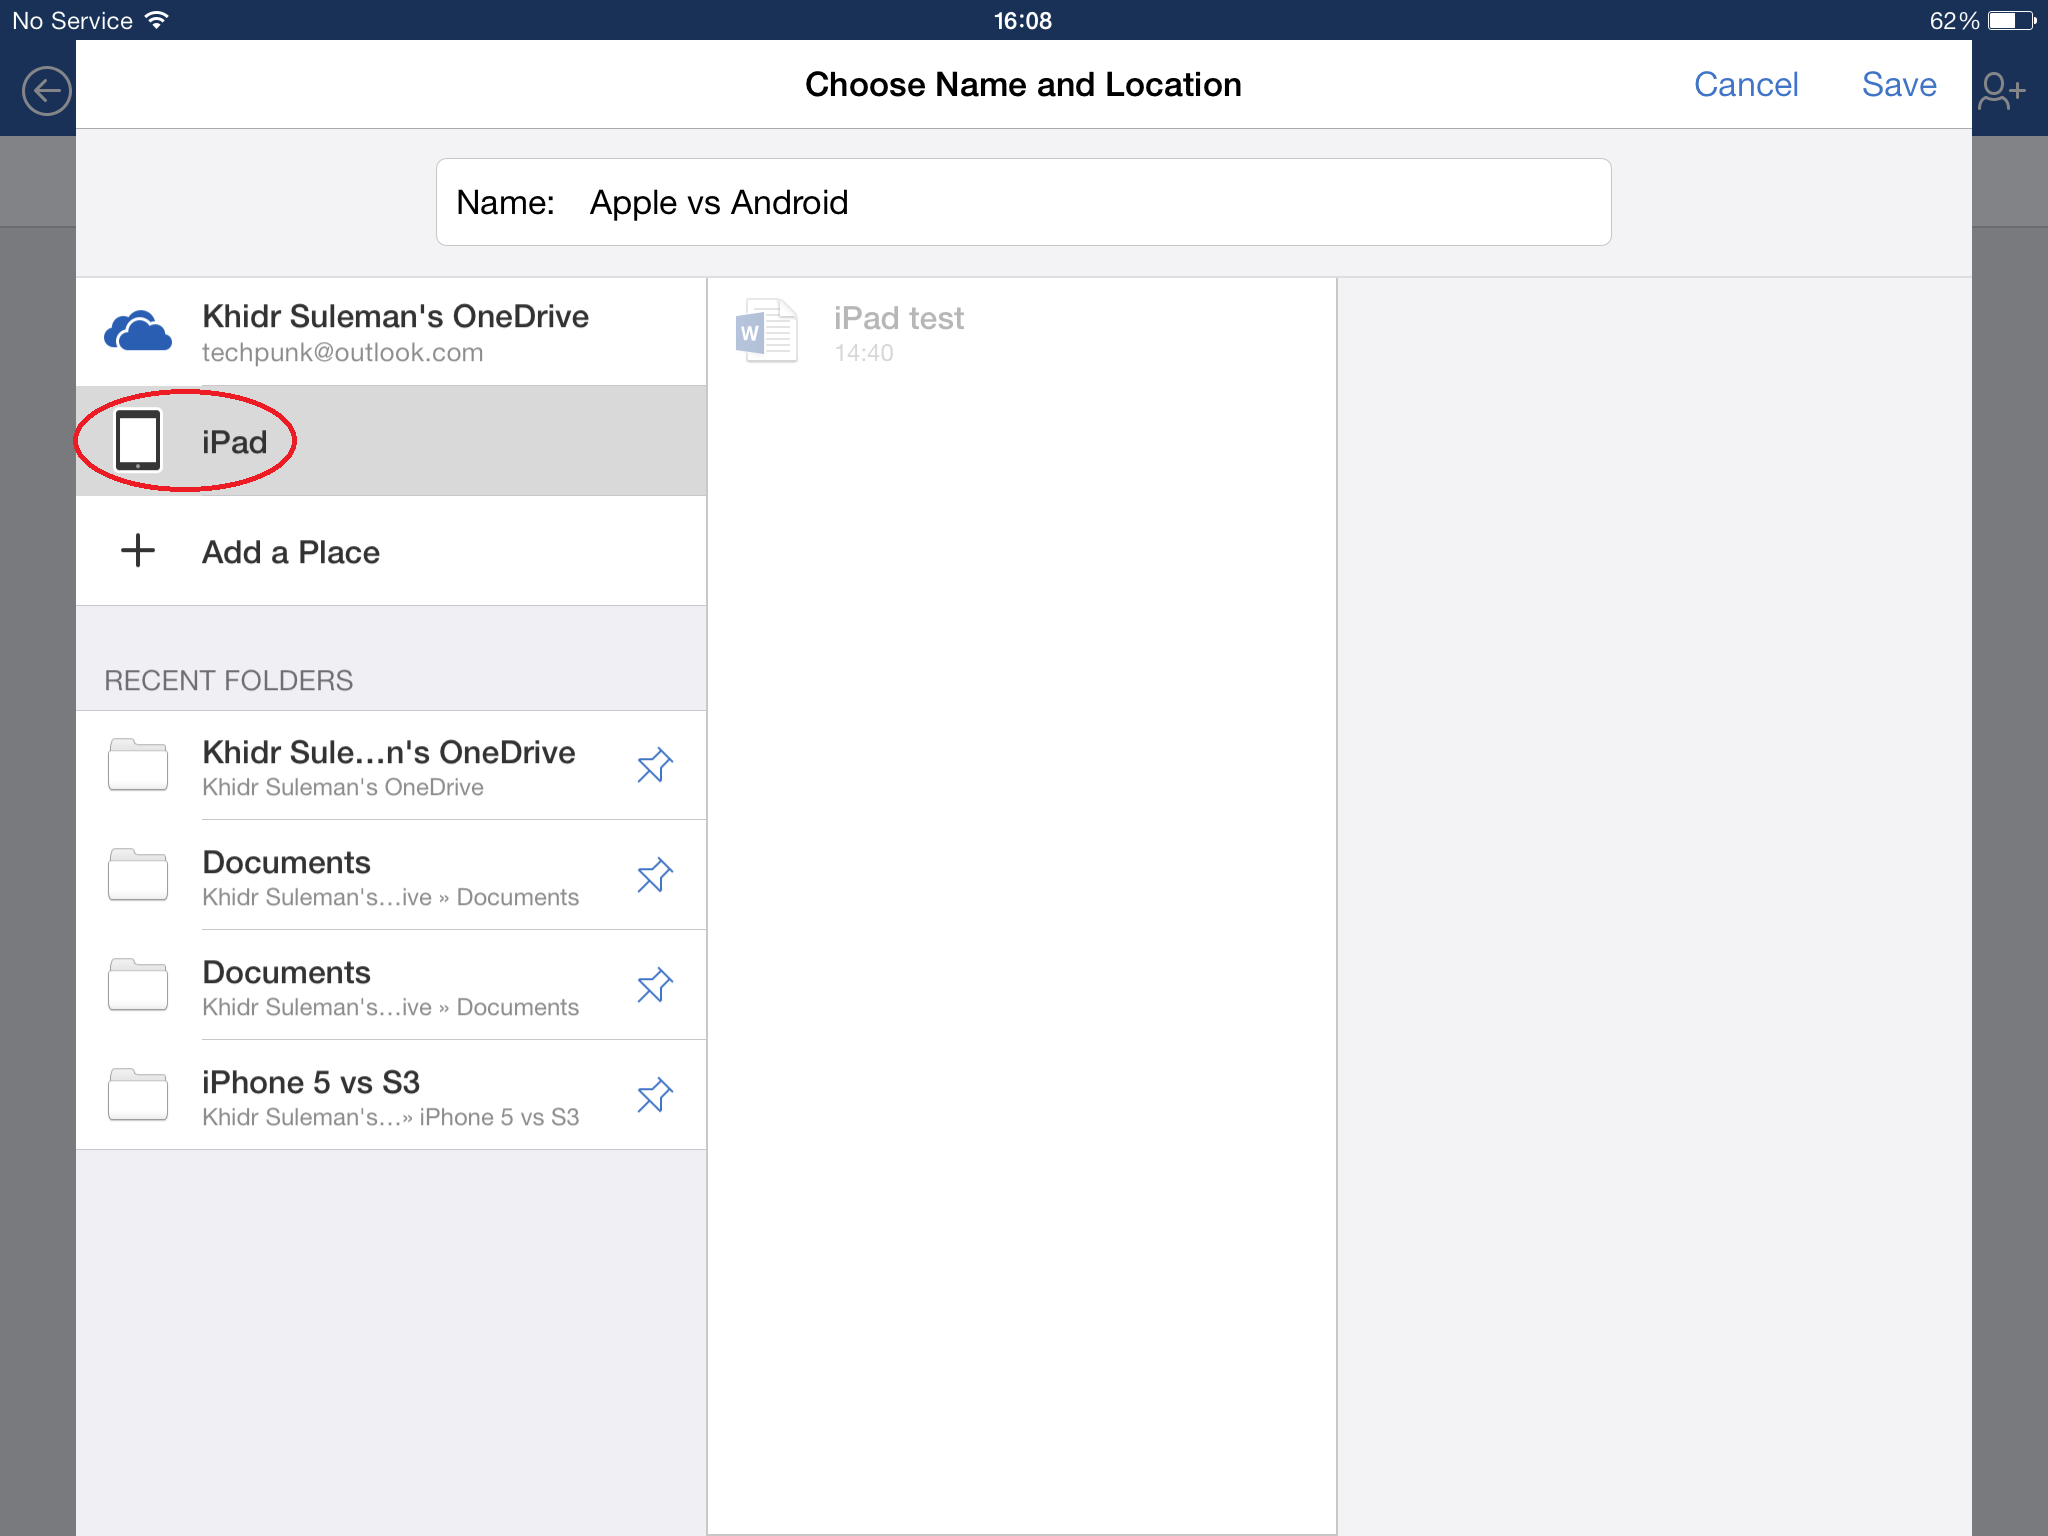
4. Save content locally
Office is set up to automatically sync content to OneDrive, but it is possible to save files directly to your iPad. This is useful when you are working on a project if there is no internet connection.
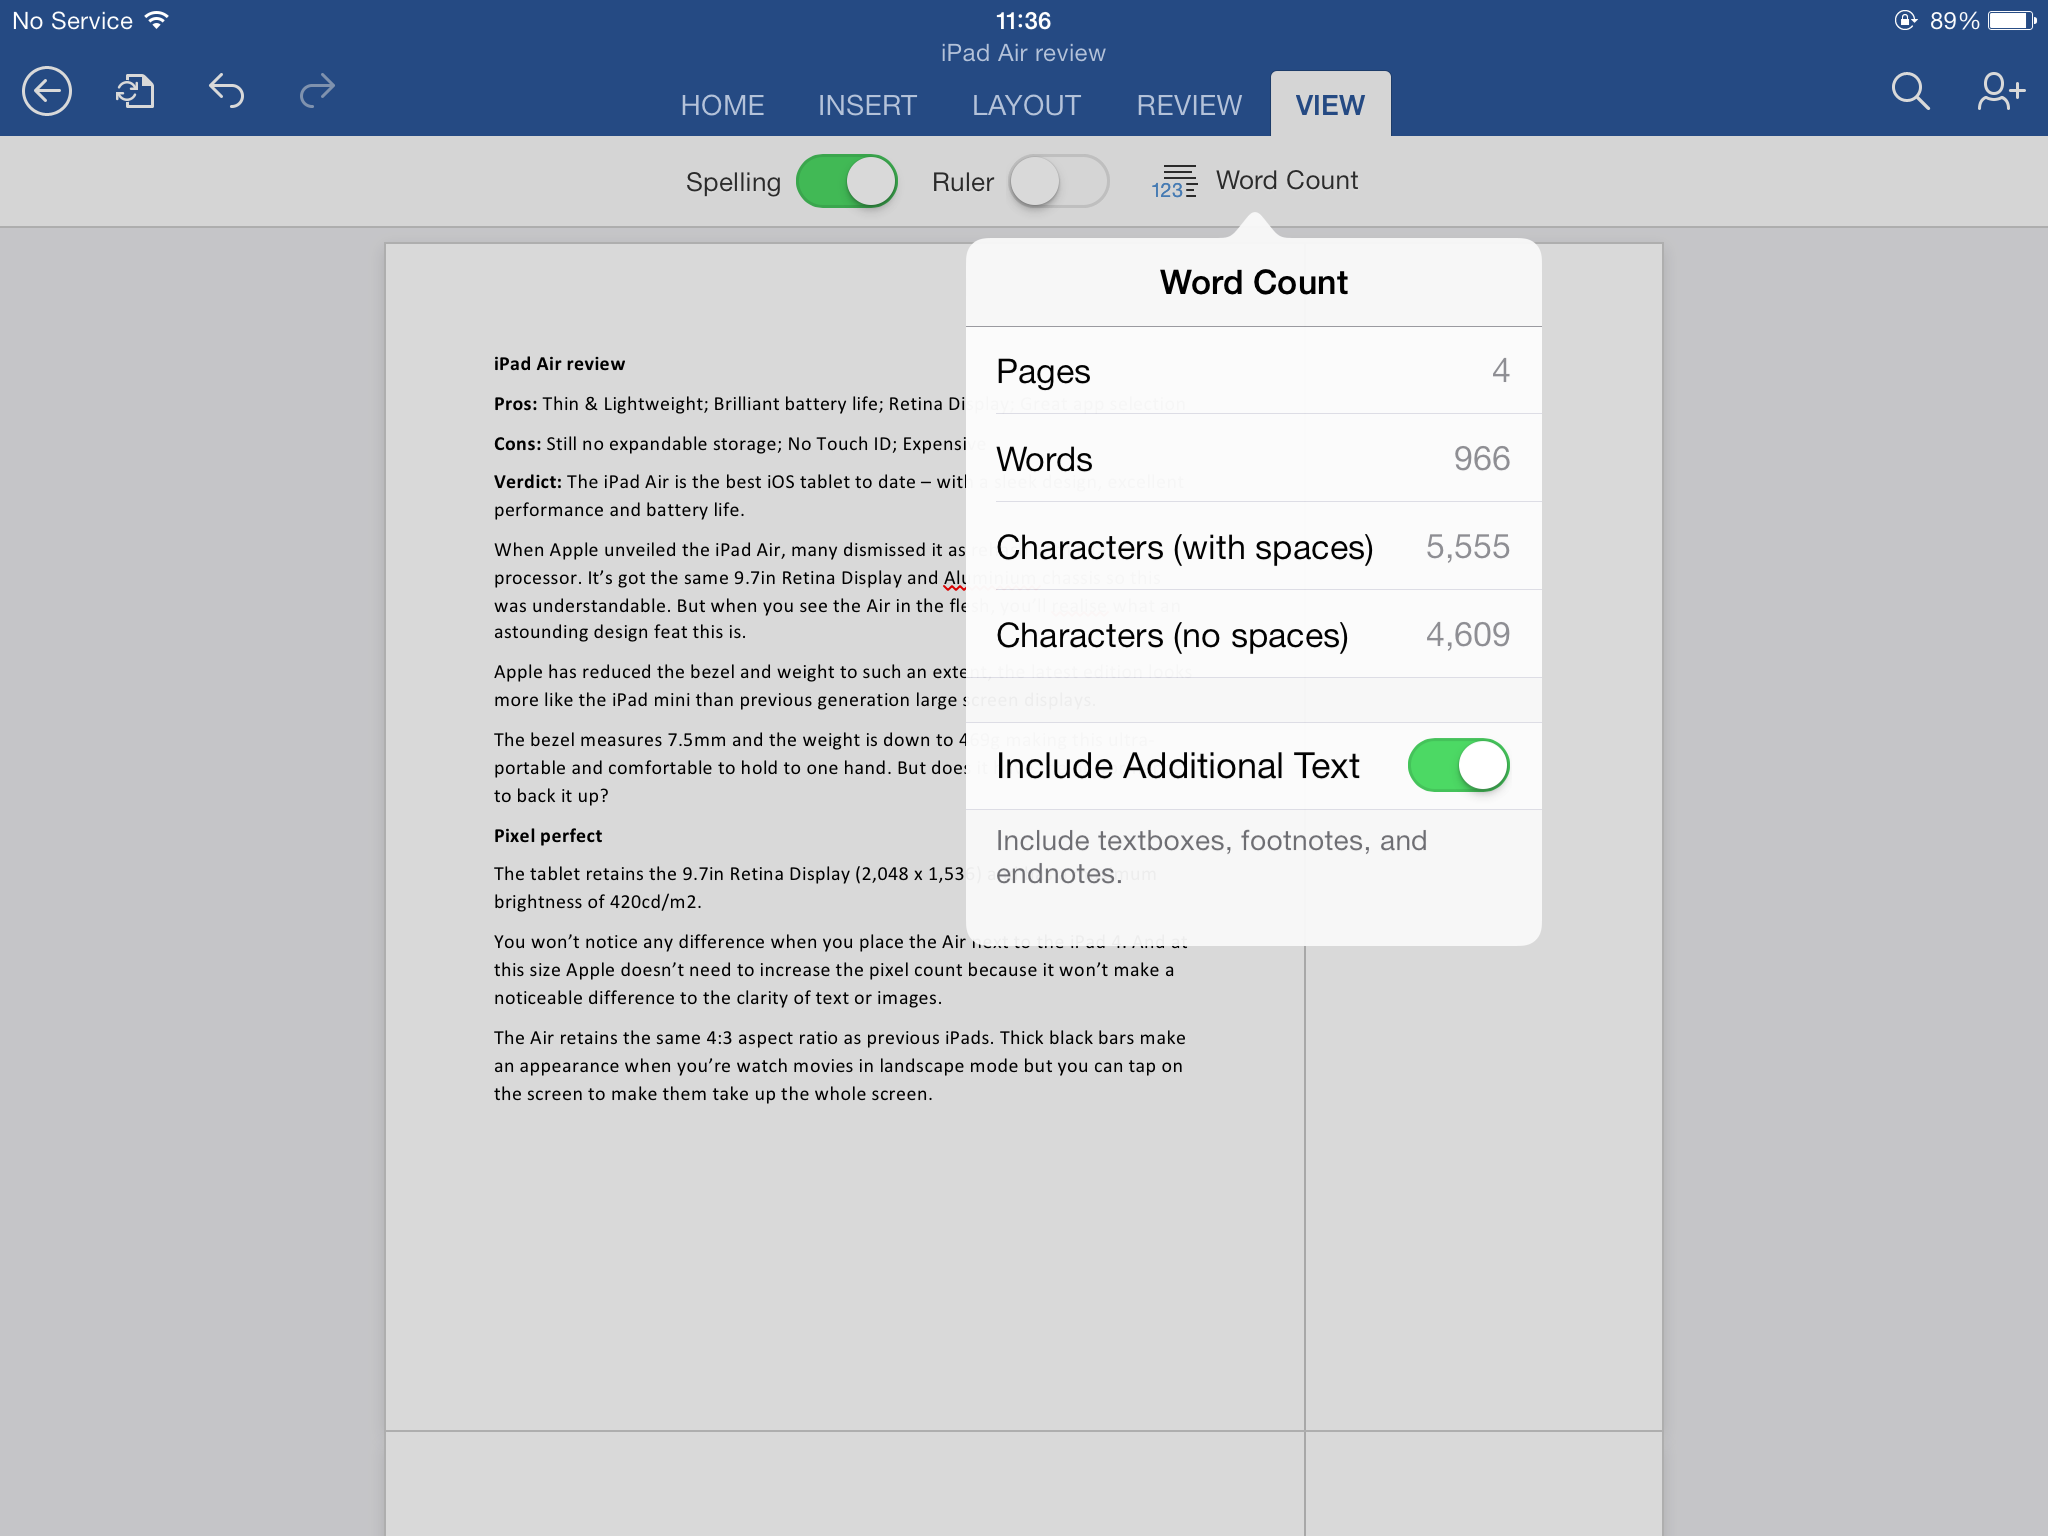
5. Check spelling and word counts
The trusty Microsoft spell checker is available under the "View" tab. It should be on as default. You can also get a detailed breakdown of the word count under this tab.
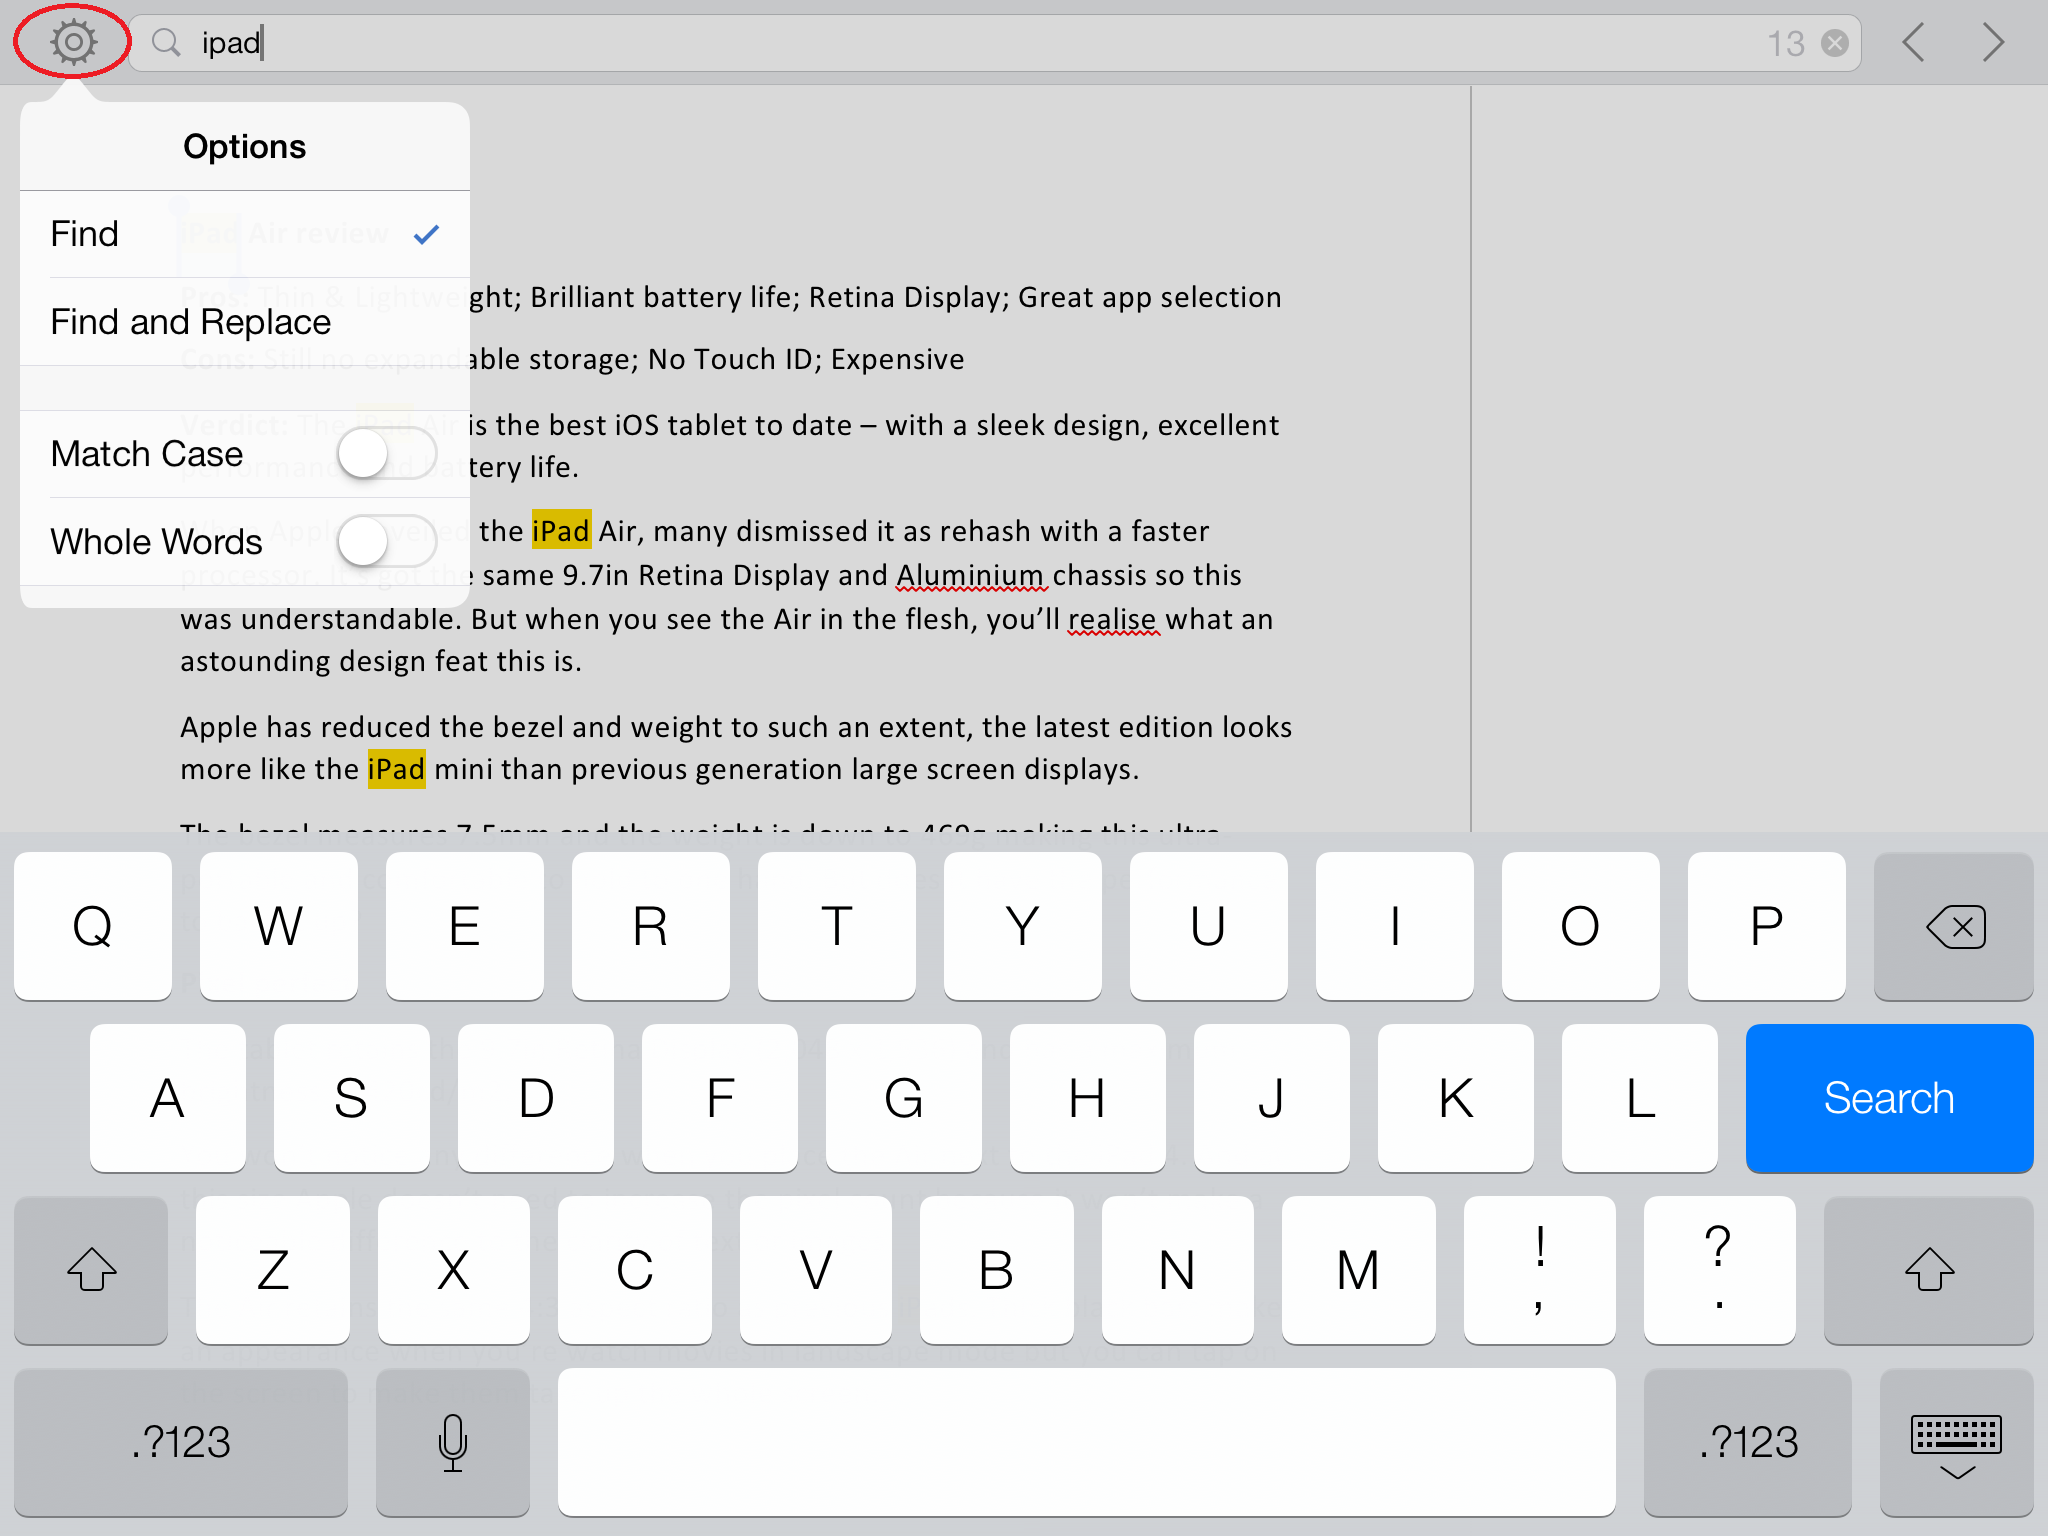
6. Find and replace words
If you've got a long document to read through and need to look for specific mentions of a particular word, you can get Word to scan the document. First click the Magnifying glass in the top right corner. This will bring up the search bar. If you want to find and replace, just hit the cog on the left hand side and tick the appropriate option.
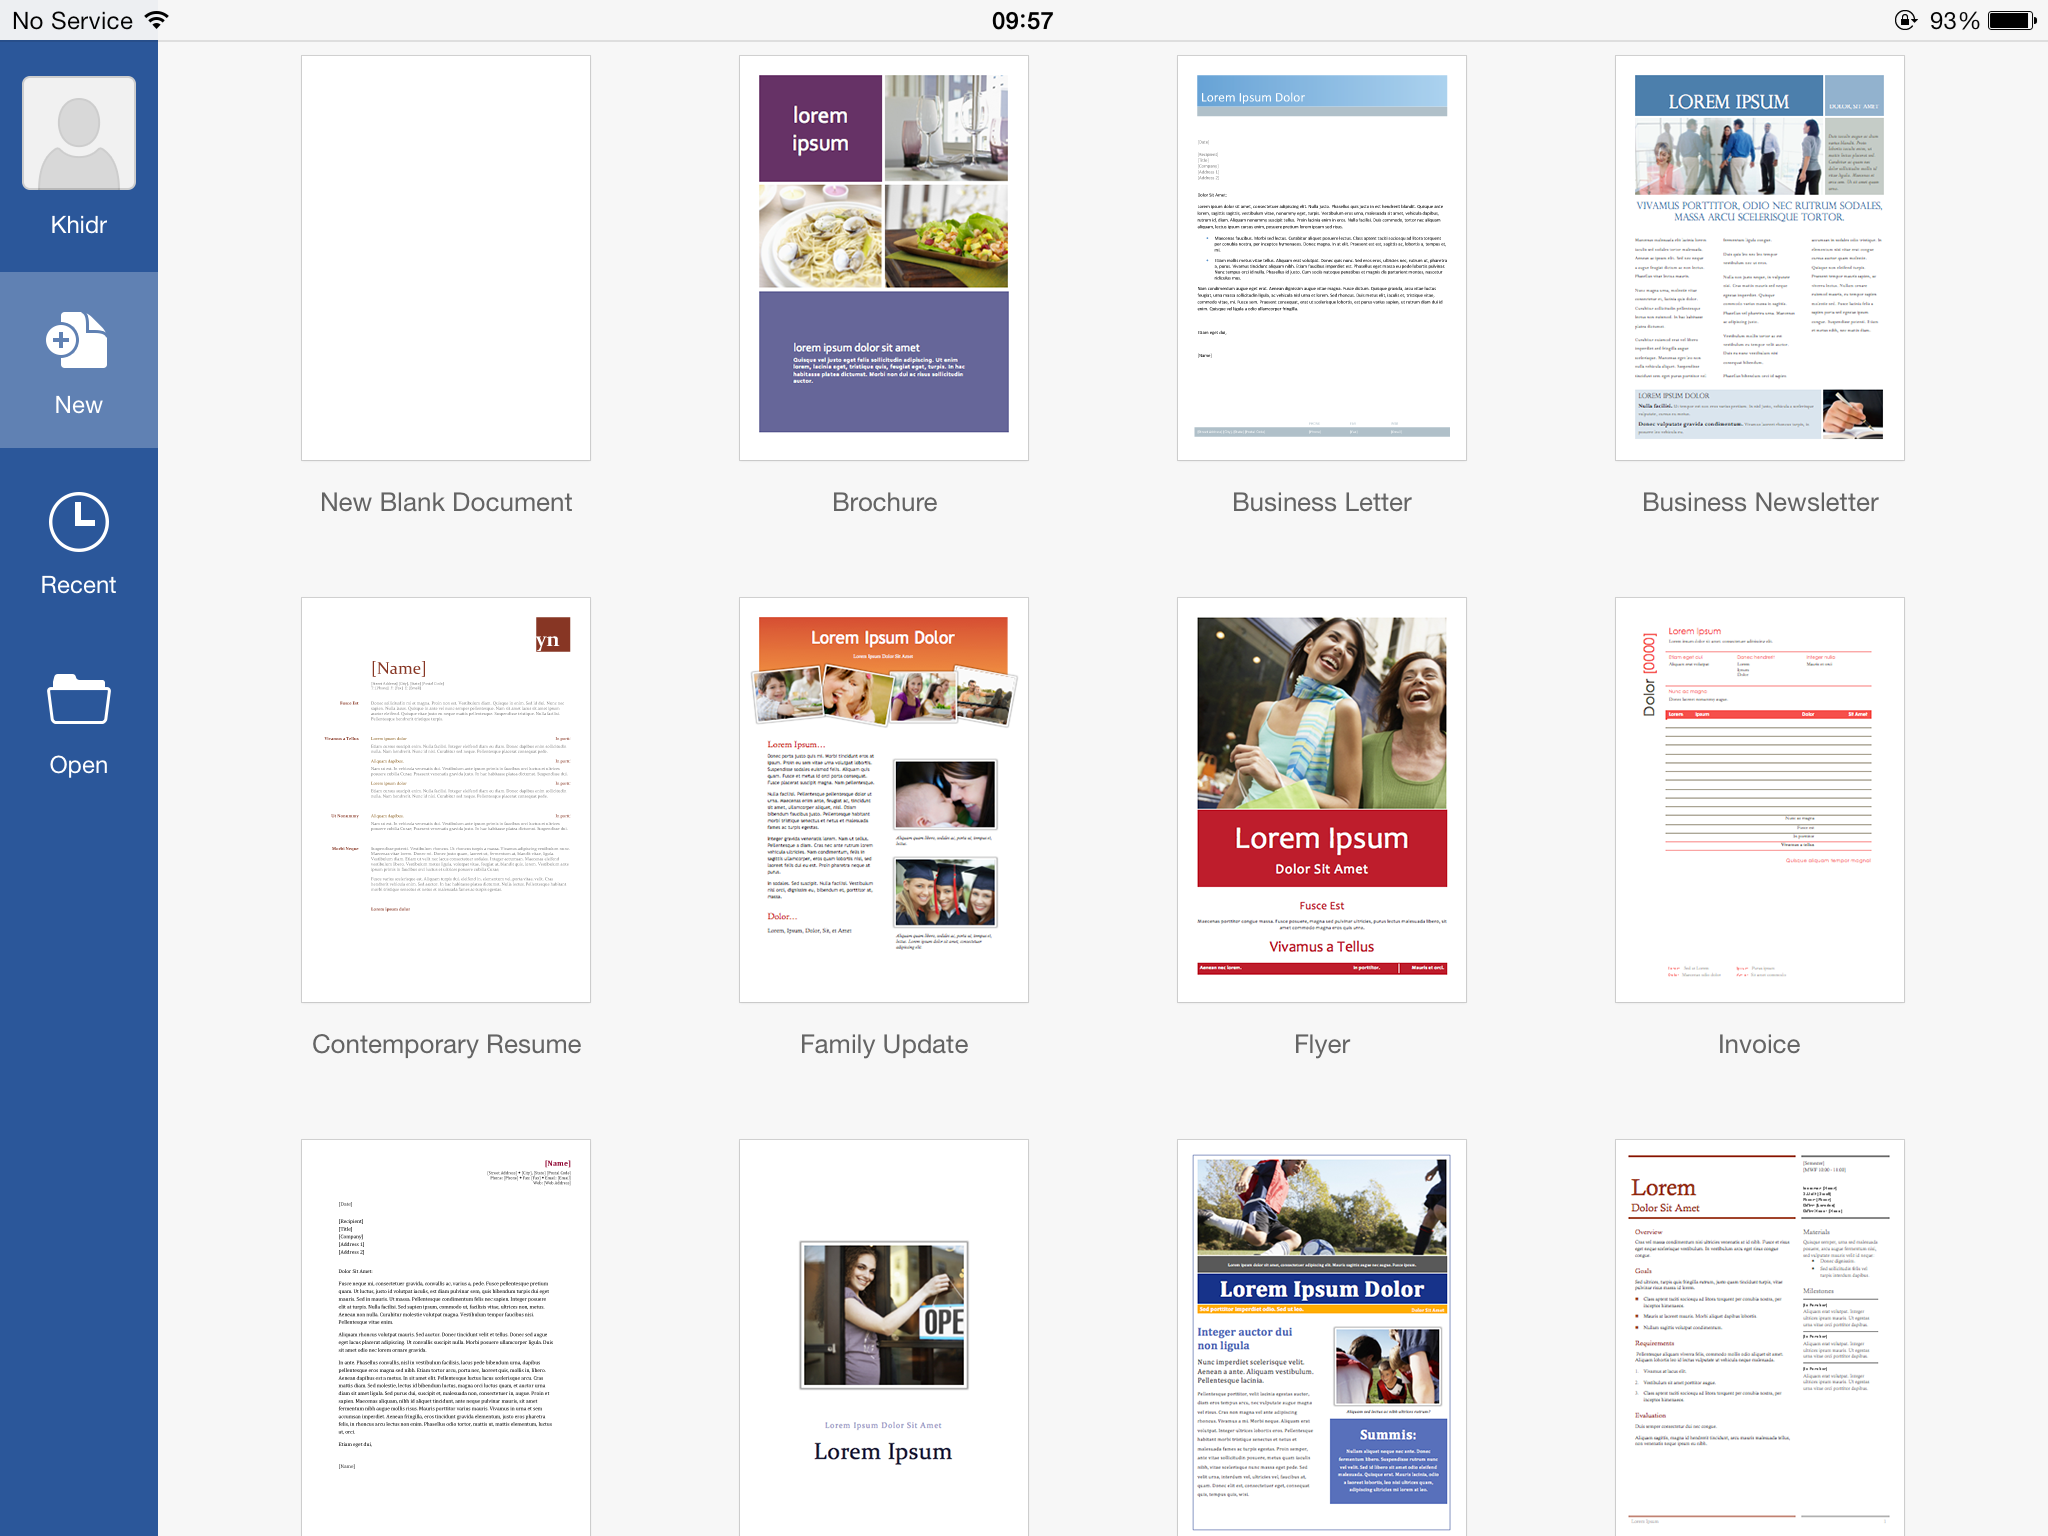
7. Use templates
All the Office apps are pre-loaded with a number of templates. It's a good idea to make use of them when creating a document, spreadsheet or presentation from scratch as you can get a headstart on it.
8. Make use of text styles
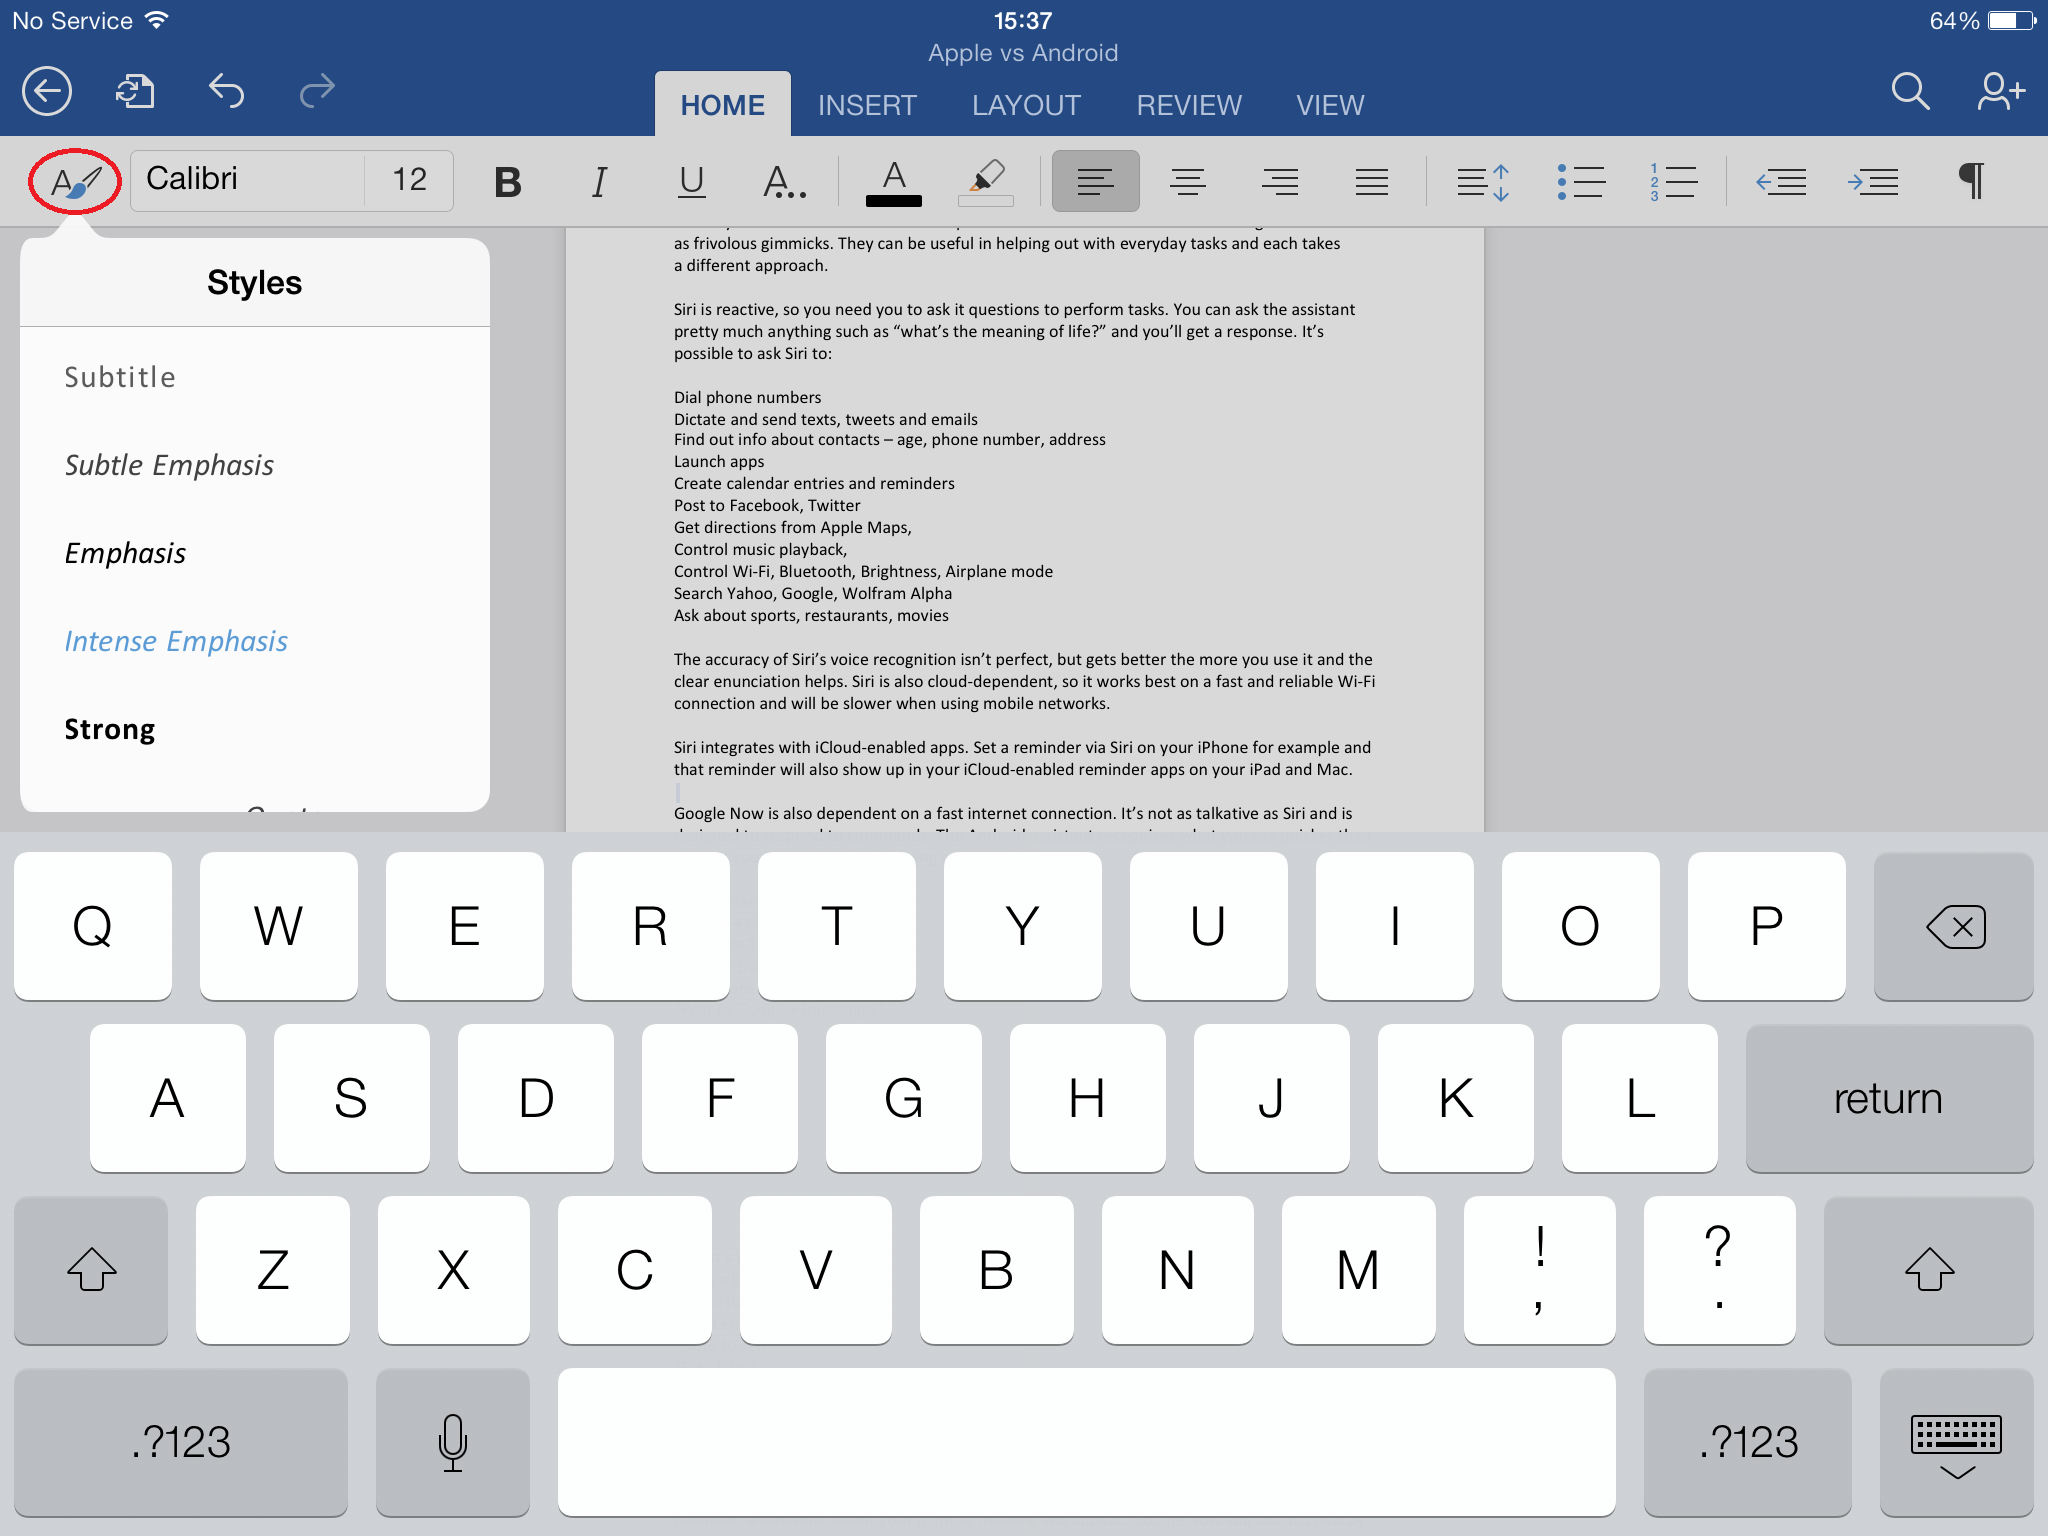
Under the Home tab there will be an A symbol with paintbrush next to it. This allows you to change the style of text - useful if you want to emphasise text, or help quotes and sub heading stand out.
9. Practice giving a powerpoint on the move
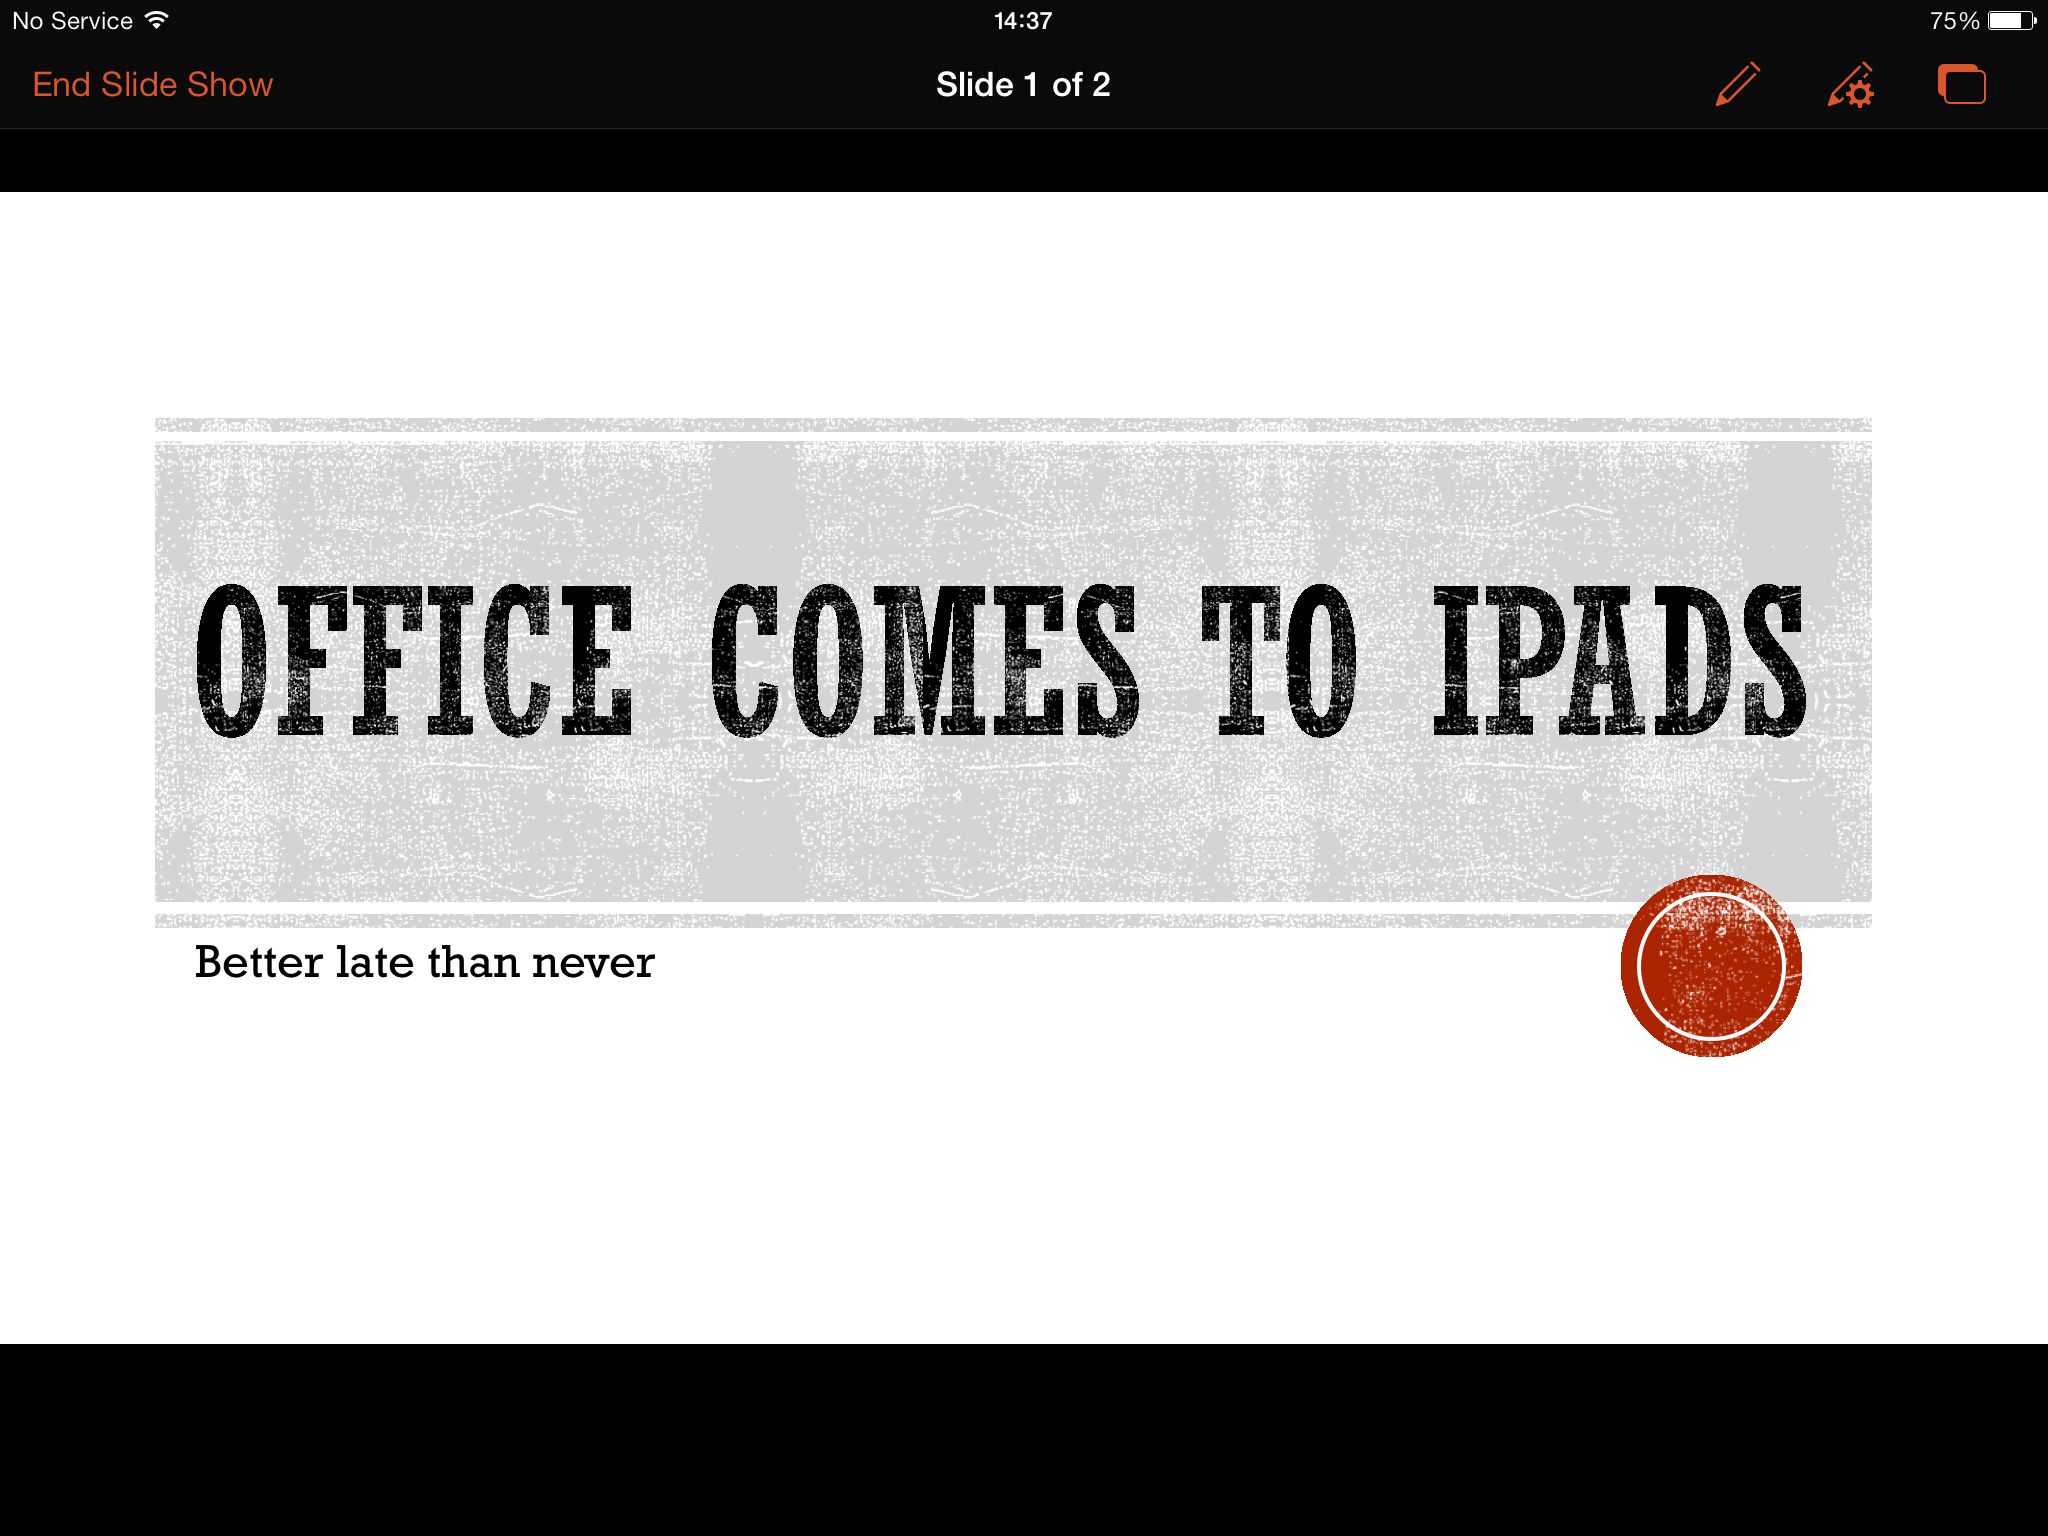
You can add in last minute slides or transitions to a PowerPoint presentation or hit slide-show and have a run through before the main event.
10. Undo errors
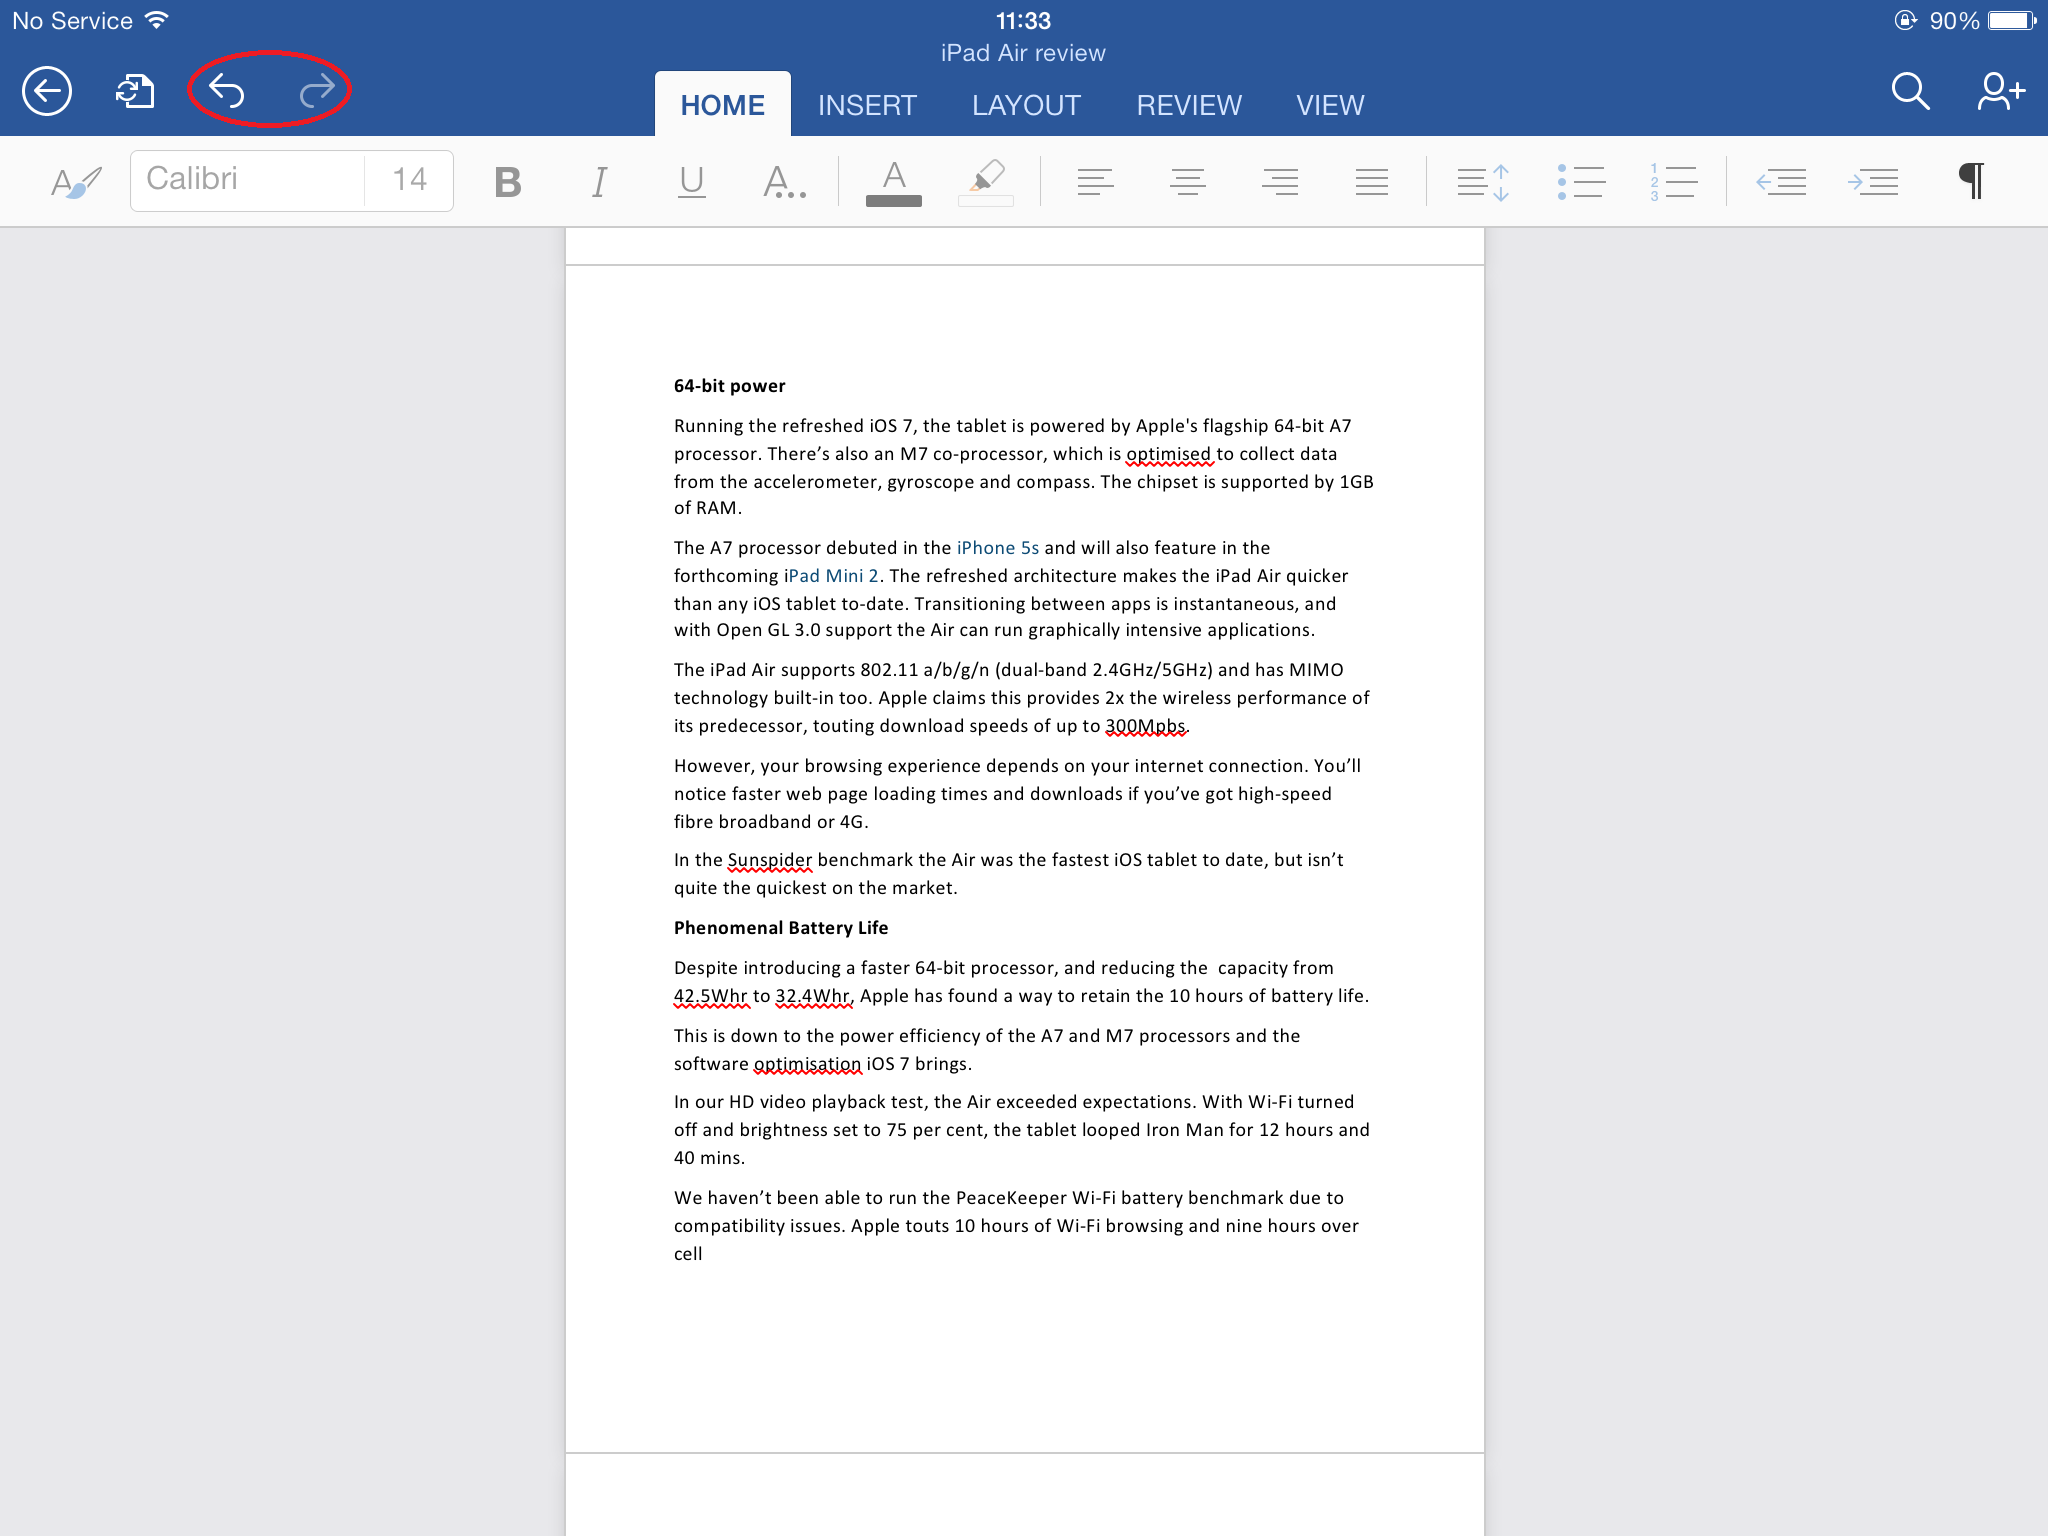
Don't worry if you make mistakes, as they can be undone easily. There are back and forward arrows on the left hand side of the ribbon and these mimic Ctrl + Z and Ctrl + Y.
11. Share your content
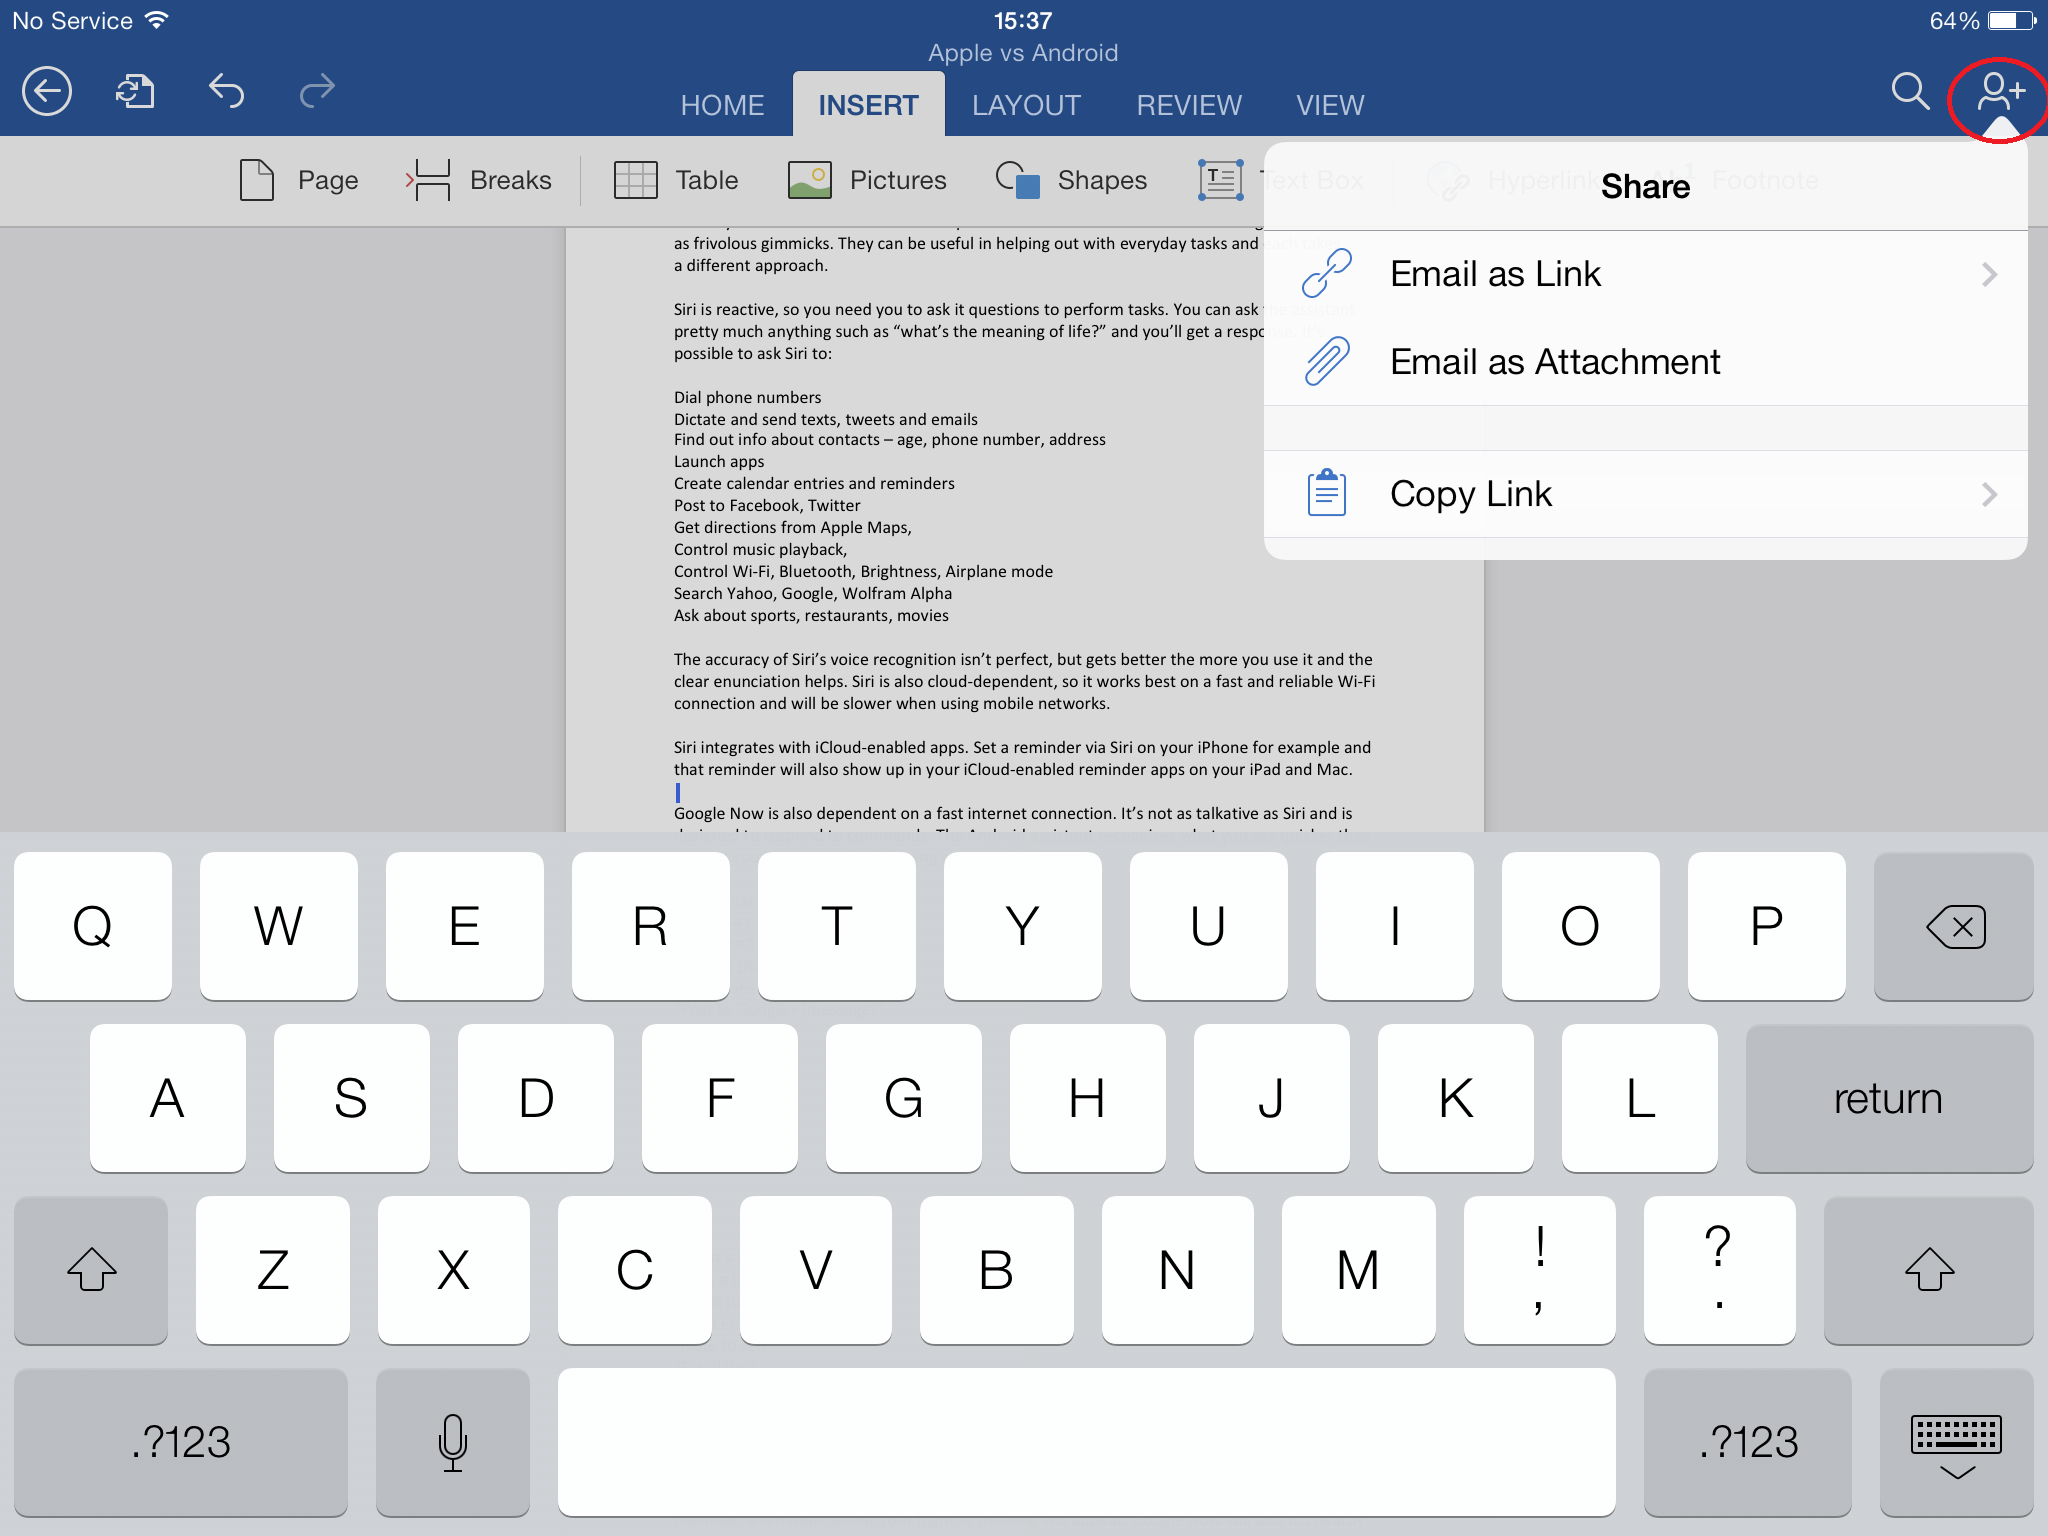
There's no way to print content from the Office apps at the moment, so the ability to share content is invaluable. Just tap the icon with the person and + symbol on the far right hand edge. You'll have the option to email documents as a link or email an attachment.
-
 Should AI PCs be part of your next hardware refresh?
AI PCs are fast becoming a business staple and a surefire way to future-proof your business
By Bobby Hellard Published
-
 Westcon-Comstor and Vectra AI launch brace of new channel initiatives
News Westcon-Comstor and Vectra AI have announced the launch of two new channel growth initiatives focused on the managed security service provider (MSSP) space and AWS Marketplace.
By Daniel Todd Published