How to move Windows 10 from HDD to SSD
Moving Windows 10 from an HDD to an SSD is one of the best ways to revive a sluggish system. Here are six simple steps to follow

Moving Windows from HDD to SSD is one of the best ways to speed up a Windows operating system, and Windows 10 is no exception.
With no moving parts and much faster read/write speeds compared to hard disk drives (HDDs), the best solid state drives (SSDs) can breathe new life into a computer. The benefits can be seen immediately, with faster boot speeds, smoother navigation round the system, and applications loading much more quickly.
It's now common to find an SSD in a brand new laptop, and you can buy 1TB+ SSDs for as little as $100/£100, so this advice is largely for those that are running older systems.
How to prepare to move Windows 10 from HDD to SSD
RELATED RESOURCE

Innovation to boost productivity and provider better data insights
Dell Technologies continuously modern storage
Before we starting moving any Windows files over to an SSD, some initial house keeping will help the process along. It's worth deleting any large files or videos that you may not want, and moving important files to a separate drive or cloud storage.
The process of moving Windows 10 from HDD to SDD will involve using cloning tools to move the operating system files. Once it's complete, you will have both an OS powered by an SSD, and a spacious hard drive for data.
If you are using a desktop PC, it's very likely that you will have a spare disk bay somewhere in your computer case that's capable of housing the SSD. You shouldn't need to move your old hard disk.
If you're using a laptop, things will be a little more difficult. As there is usually only one disk bay, you will either need to remove the optical drive to create space for a second storage drive, or ensure that the SSD you are buying has plenty of room to accommodate your entire HDD.
Get the ITPro daily newsletter
Sign up today and you will receive a free copy of our Future Focus 2025 report - the leading guidance on AI, cybersecurity and other IT challenges as per 700+ senior executives
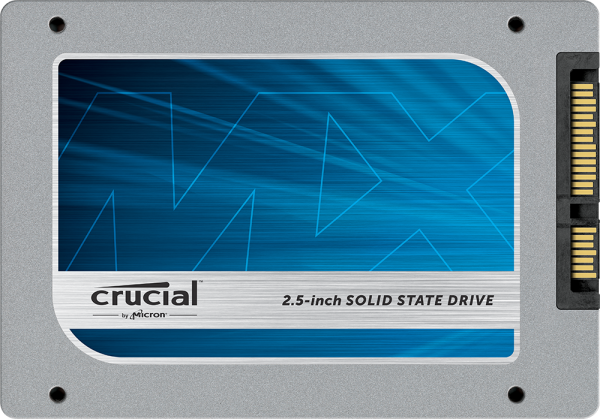
For this project you will need:
- Your current hard drive, from which you will migrate data.
- Your new SSD, to which data will be migrated.
- A backup of all your data, as you can only clone the system files.
How to move Windows to an SSD step-by-step
Step 1 - Make a backup
Before you do anything, back up your data to ensure that it can be restored if necessary.
To back up the data, you will need to obtain a backup tool if you do not already have one, and there is a wide range of free backup software available from which you can choose.
An external HDD can be used for this, or if you have a strong internet connection and sizable business cloud storage you can back up to the cloud.
Step 2 - Defrag and tidy your data
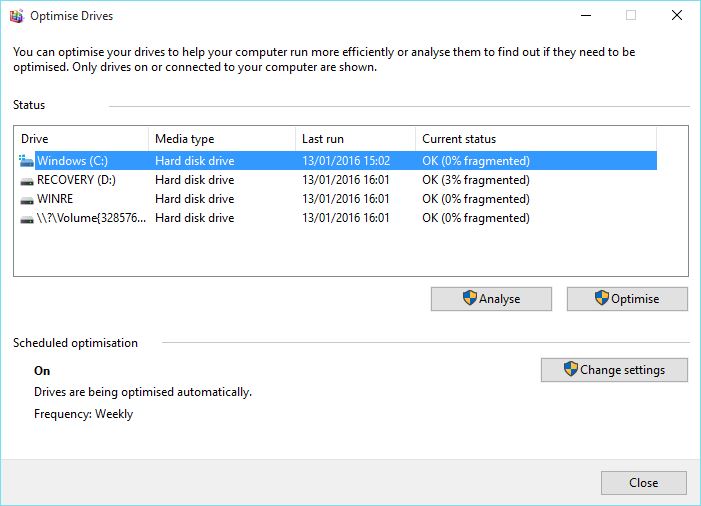
As we are cloning a disc, it is a good idea to defrag the file system before we start anything – this will reduce the time it takes to copy all the data.
- Click on the ‘Start’ Menu
- Type in 'defrag', and click on the option for Disk Defragmenter.
- Run the tool to arrange the disk more efficiently. How long this takes depends on the size of the disk - it may take several minutes or several hours.
Step 3 - Delete unwanted data
It's also a good idea at this point to ensure that the data on your disk doesn't exceed the SSD's available volume, which may have a smaller capacity than the HDD. There are a few main ways of reducing the bulk on your disk.
- Check folders such as My Downloads which can be full of large, old files. Delete anything you do not need.
- Click on the 'Start' menu and search 'Disk Cleanup', then select the option for the program of the same name. Select your HDD and press 'OK' to be presented with check boxes of files you want to delete such as temporary files or old drivers.
- Delete applications you no longer use.
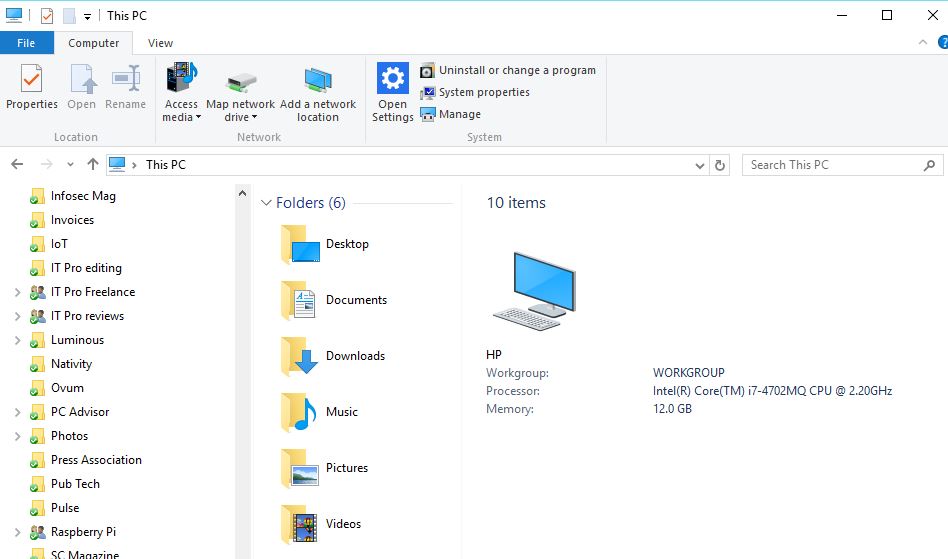
Once your backup has completed and you have verified the data is properly backed up, then delete the data within these folders but not the folders themselves, as you may need them later.
You will most likely want to keep applications in the Program Files folder. This is so they are included in the transfer, to benefit from the speed boost that an SSD offers.
Step 4 - Cloning the drive
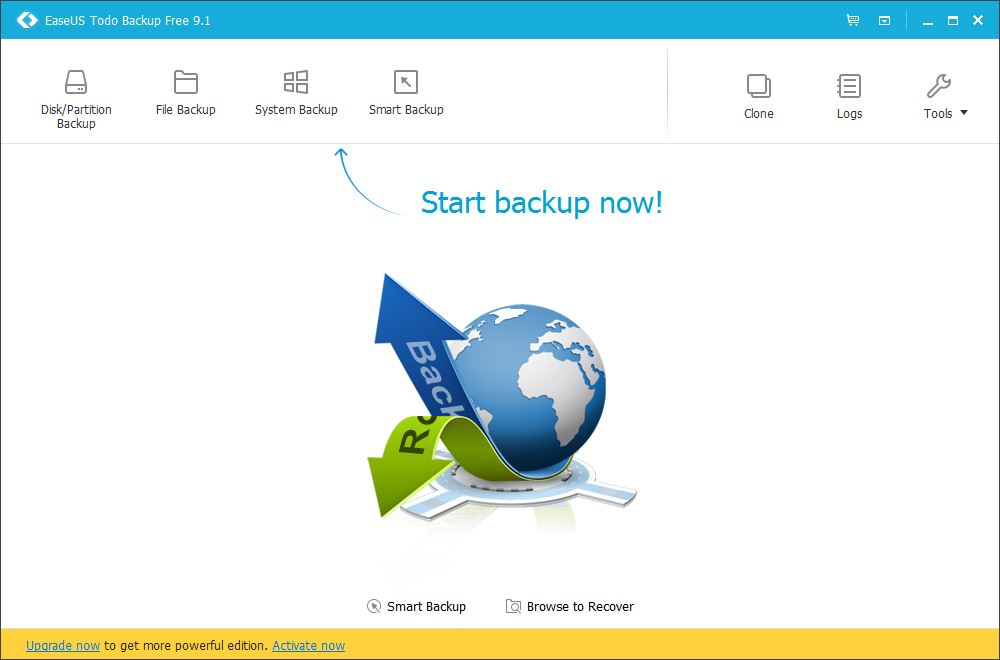
Once you have removed all unnecessary data from the drive, you can begin the cloning process. For this example, we used EaseUS Todo Backup.
- Open the software you are using to clone the drive.
- Select 'Clone' from the left-hand panel.
- Choose your HDD as the clone source from the list shown, and your SSD as the target location.
- Be sure to check 'Optimize for SSD' as this will ensure the transfer goes smoothly and the SSD can offer the best performance on the other side.
- You may receive an error message stating that the source disk is too big. If you do, go back to step 2 and repeat until the data on the HDD is below the SSD's maximum capacity.
- The software you use will likely ask for you to shut down your PC once the cloning process is completed. Allow this to happen, then reboot.
Step 5 - Delete the old drive
It's likely that on the first startup after moving Windows 10 to your SSD, you are asked to pick the drive from which to boot the OS. Select your SSD.
The last step remaining is to wipe all the data off your old HDD - it might be worth double checking that it safely backed up in step 1 before proceeding.
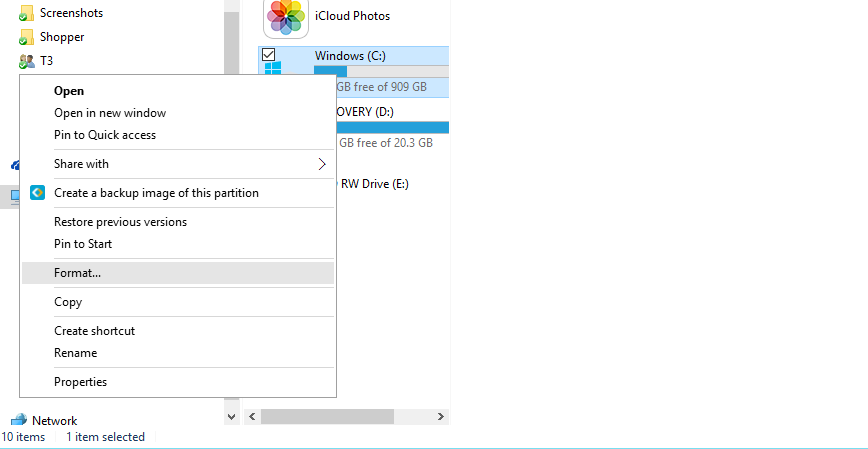
- Once logged back in, open Windows Explorer.
- Right-click the old drive in the list on the left, and select 'Format'.
- A menu will open. Select 'NTFS' as the format, and enable 'Default allocation size' and 'Quick format'.
Step 6 - Recover data from a backup
You can now recover your data from the backup, since you’ve now deleted the old drive.
- Open Windows Explorer.
- Open up the folders on the backup drive, or download the files from cloud storage.
- You can now drag and drop any folders from the backup drive onto the now clean hard drive, or onto the SSD for files that require fast access.
Now consider what to do with the backup you created. It could be a good plan to keep your personal data backed up in the rare case that your device is lost or stolen.
Having a backup helps you to install your files on a completely new device if you need to, meaning that you’re protected from unexpected problems and can get back up and running much faster.
Is moving Windows to an SSD worth it?
In short, yes. SSDs are a newer generation of storage medium and are considered superior in most cases.
SSDs create a far more enjoyable Windows experience. Booting up a system to the Start Menu using an SSD usually takes less than 10 seconds, and applications will launch and react to user input near-instantly in some cases. System actions like copying, deleting, and saving will all process significantly faster on an SSD.
That said, it's important to note that users may encounter hurdles during the migration process. If your are handling sensitive data, or simply data you can't afford to lose, backing up data is an essential first step before any migration takes place. If you can't verify the integrity of your backups, it's best to avoid the migration process entirely.
How long does it take to move Windows from an HDD to an SSD?
The whole process of moving Windows 10 from an HDD to an SSD can take multiple hours to complete. The cloning process itself usually takes around 15-20 minutes. However, if we factor in the various other steps we have covered, including defragmenting your old hard drive, the whole process could take a couple of hours.

Clare is the founder of Blue Cactus Digital, a digital marketing company that helps ethical and sustainability-focused businesses grow their customer base.
Prior to becoming a marketer, Clare was a journalist, working at a range of mobile device-focused outlets including Know Your Mobile before moving into freelance life.
As a freelance writer, she drew on her expertise in mobility to write features and guides for ITPro, as well as regularly writing news stories on a wide range of topics.