How to take screenshots on a Windows 10 laptop or PC
A guide to all the various tools and shortcuts you can use to take a screenshot on Windows 10
Whether you’ve run into an error on your machine, or want to share some information without giving someone access to a whole document, the screenshot tool in Windows is incredibly useful. But Windows doesn't exactly make it crystal clear to users how to take a screenshot.
The good news is that there are many different ways to take a screenshot on Windows 10. These handy little functions can help you be more productive by saving on editing time and making sure the image you capture is exactly what you’re looking for.
You might be asking yourself why there are so many, and that’s because each has a slightly different function, including screenshotting only your active window or the area you’ve highlighted.
How to screenshot using Windows 10's print screen button
This is one of the simpler ways to take a screenshot on a Windows laptop or desktop PC. All you have to do is hit the Print Screen button on your keyboard, which will capture a copy of your entire screen, across all the monitors you’re using. This will be saved to your clipboard so you can now simply paste it into an application you're using. For example, you could paste it into an email, Paint, a chat box, or however else you plan to send it or save it.
The easiest way to save a Print Screen screenshot is to open an image editor like Paint, paste the image in, and then save it in your desired image format, like jpeg.
Alternatively, you can map your Print Screen button to open a different tool called Snip & Sketch. This will help you trim or crop the screenshot to a smaller area without having to paste it in your image editor first.
To map it to the Print Screen button, simply search for 'Settings' and navigate to 'Ease of Access' and 'Keyboard'. Here you can scroll down until you see the 'Print Screen shortcut' and then toggle 'Use the PrtScn' button to open screen snipping option to 'On'. Now this is activated, when you press the Print Screen button on your keyboard, it should open the useful Snip & Sketch tool.
Sign up today and you will receive a free copy of our Future Focus 2025 report - the leading guidance on AI, cybersecurity and other IT challenges as per 700+ senior executives
How to use Windows 10's Snip & Sketch to take a screenshot
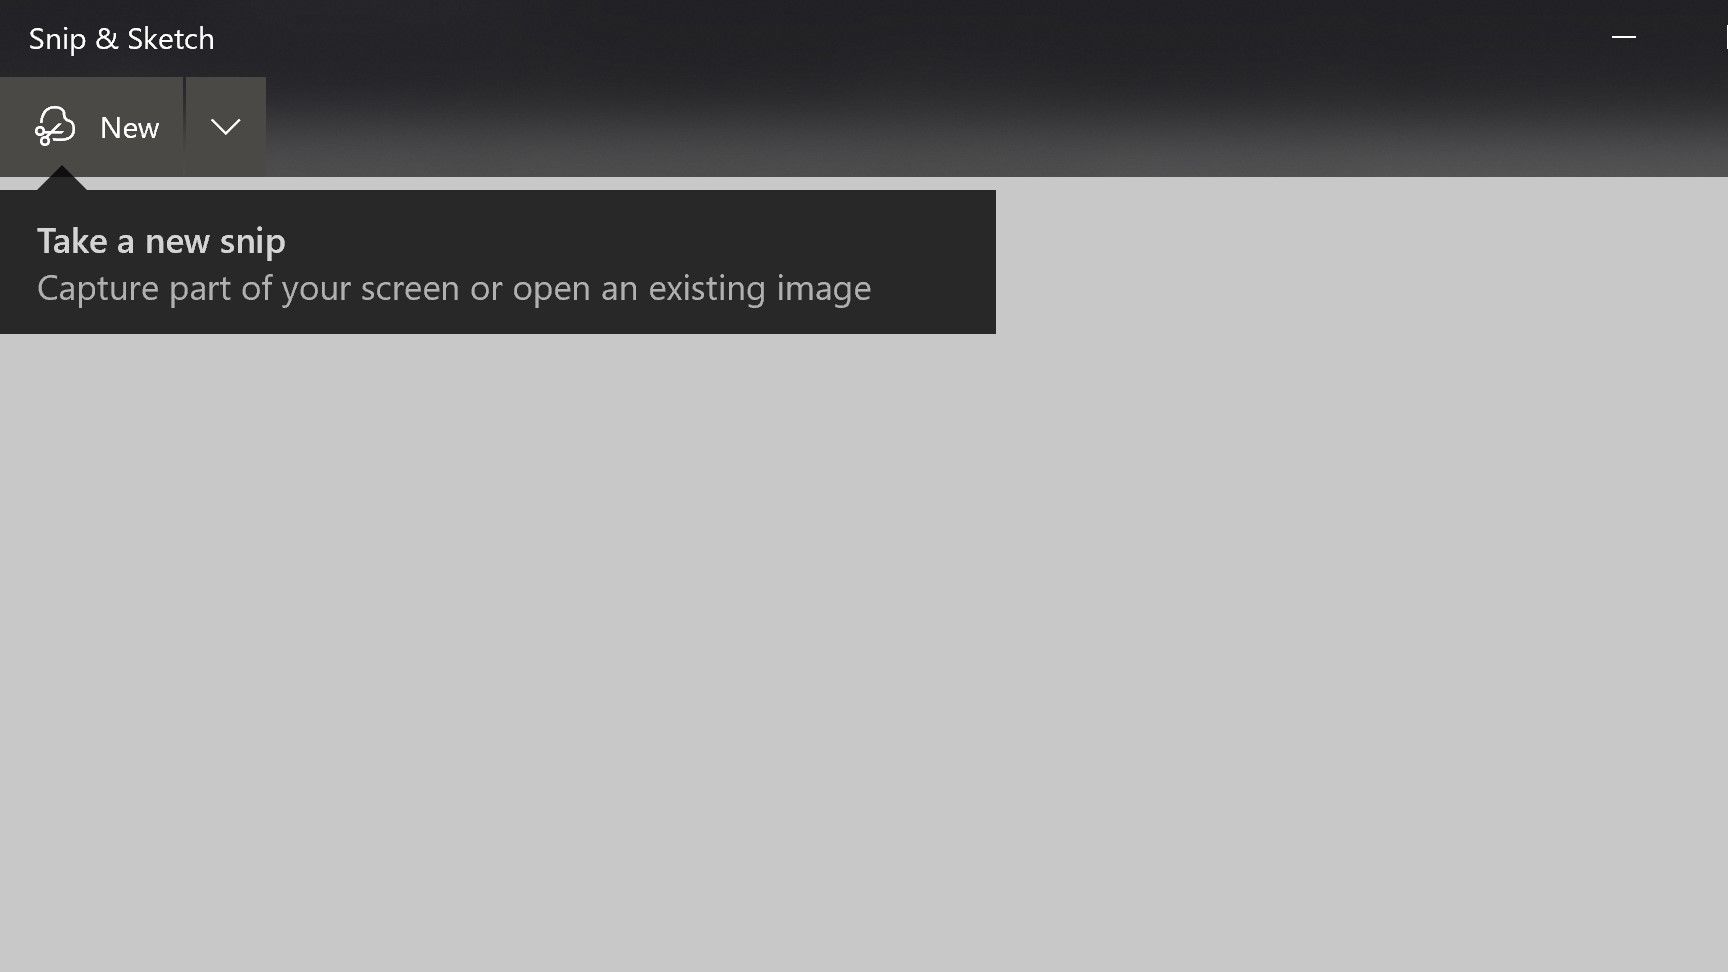
If you haven’t mapped Snip & Sketch to a particular button, then the easiest way to find this tool is by searching for it. Head to start, find search, and type in 'Snip & Sketch', and the tool should appear. Alternatively, you can also use this keyboard shortcut to open it: Windows button + Shift + S.
Once the application is open, a small window will appear, meaning the tool is ready to use. At the top of the window, there will be three options to select. The first is simply 'New'. When you click this, the screen will darken and four snipping options will appear, each allowing for a different kind of screenshot:
- Rectangle snip
- Freeform snip
- Window snip
- Fullscreen snip
For example, when you click the Rectangle Snip, the screenshot you take will be, as you might have guessed, in a rectangle that you create. Once selected, click and drag anywhere on your screen and a rectangle box will appear. Drag further to increase its size and change its shape. Everything inside the rectangle will be converted into a screenshot.

Likewise, the Freeform Snip option allows you to draw any kind of shape you like which will then be turned into a screenshot. The Window Snip will take a full screenshot of whichever window you select, while the Fullscreen Snip will take a screenshot of your entire screen.
Once you’ve worked out the best option for your screenshot, simply click, drag, and release to capture a screenshot. Snip & Sketch will then display it in its window.
How to edit your screenshot in Windows 10’s Snip & Sketch
There are several Snip & Sketch tools you can use to make changes to your screenshot. There’s a ballpoint pen, highlighter, and eraser if you want to draw on the image, which could be pretty handy if you need to make annotations for an upcoming meeting. Additionally, there’s also a ruler and protractor if you need to make measurements of any kind.
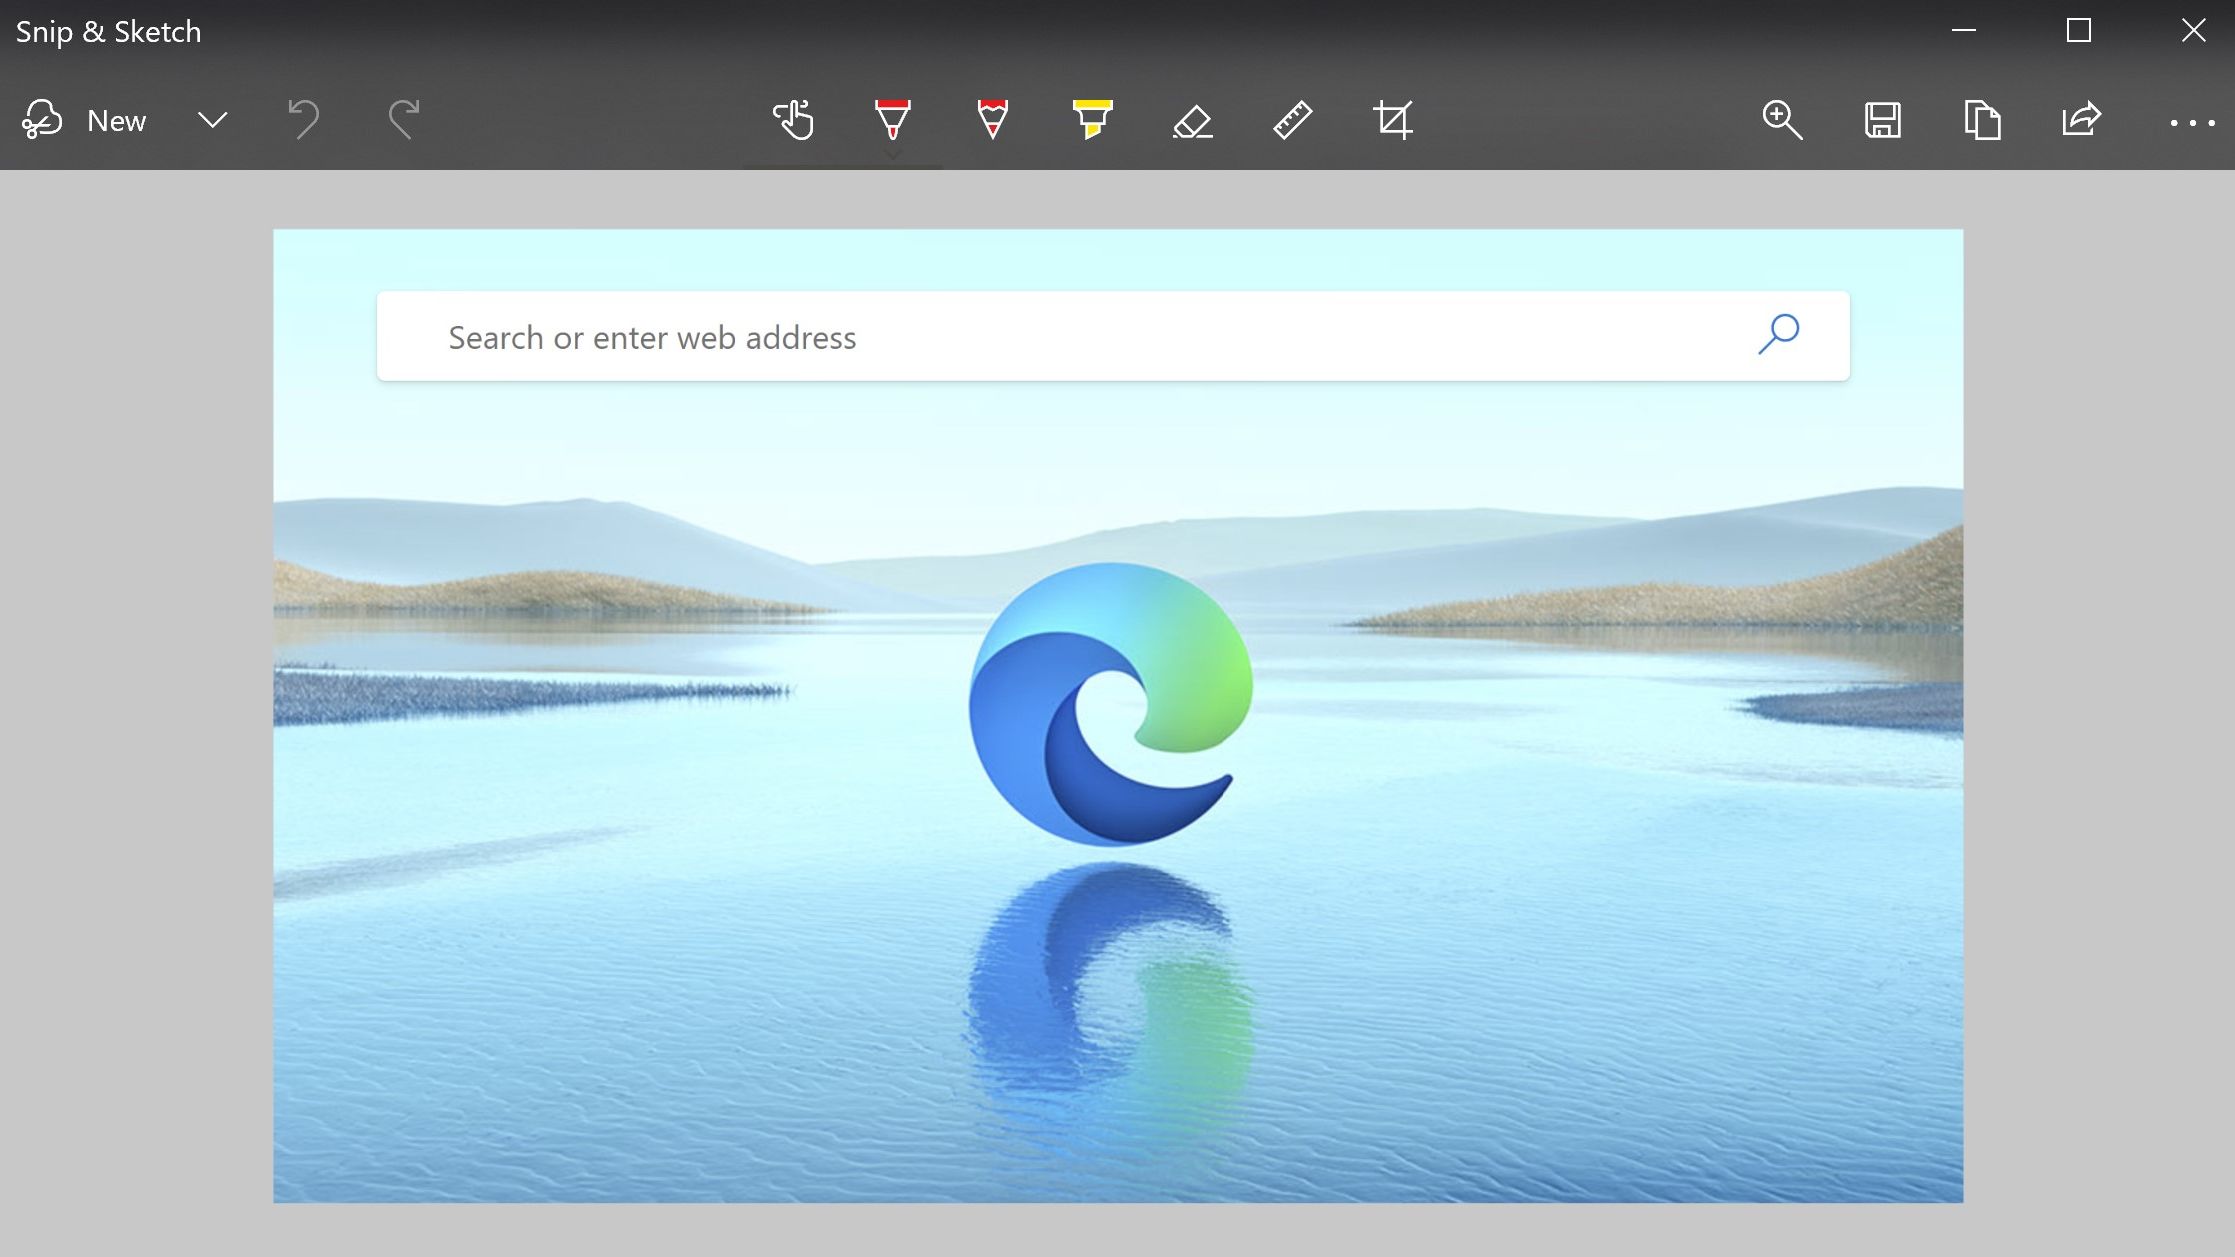
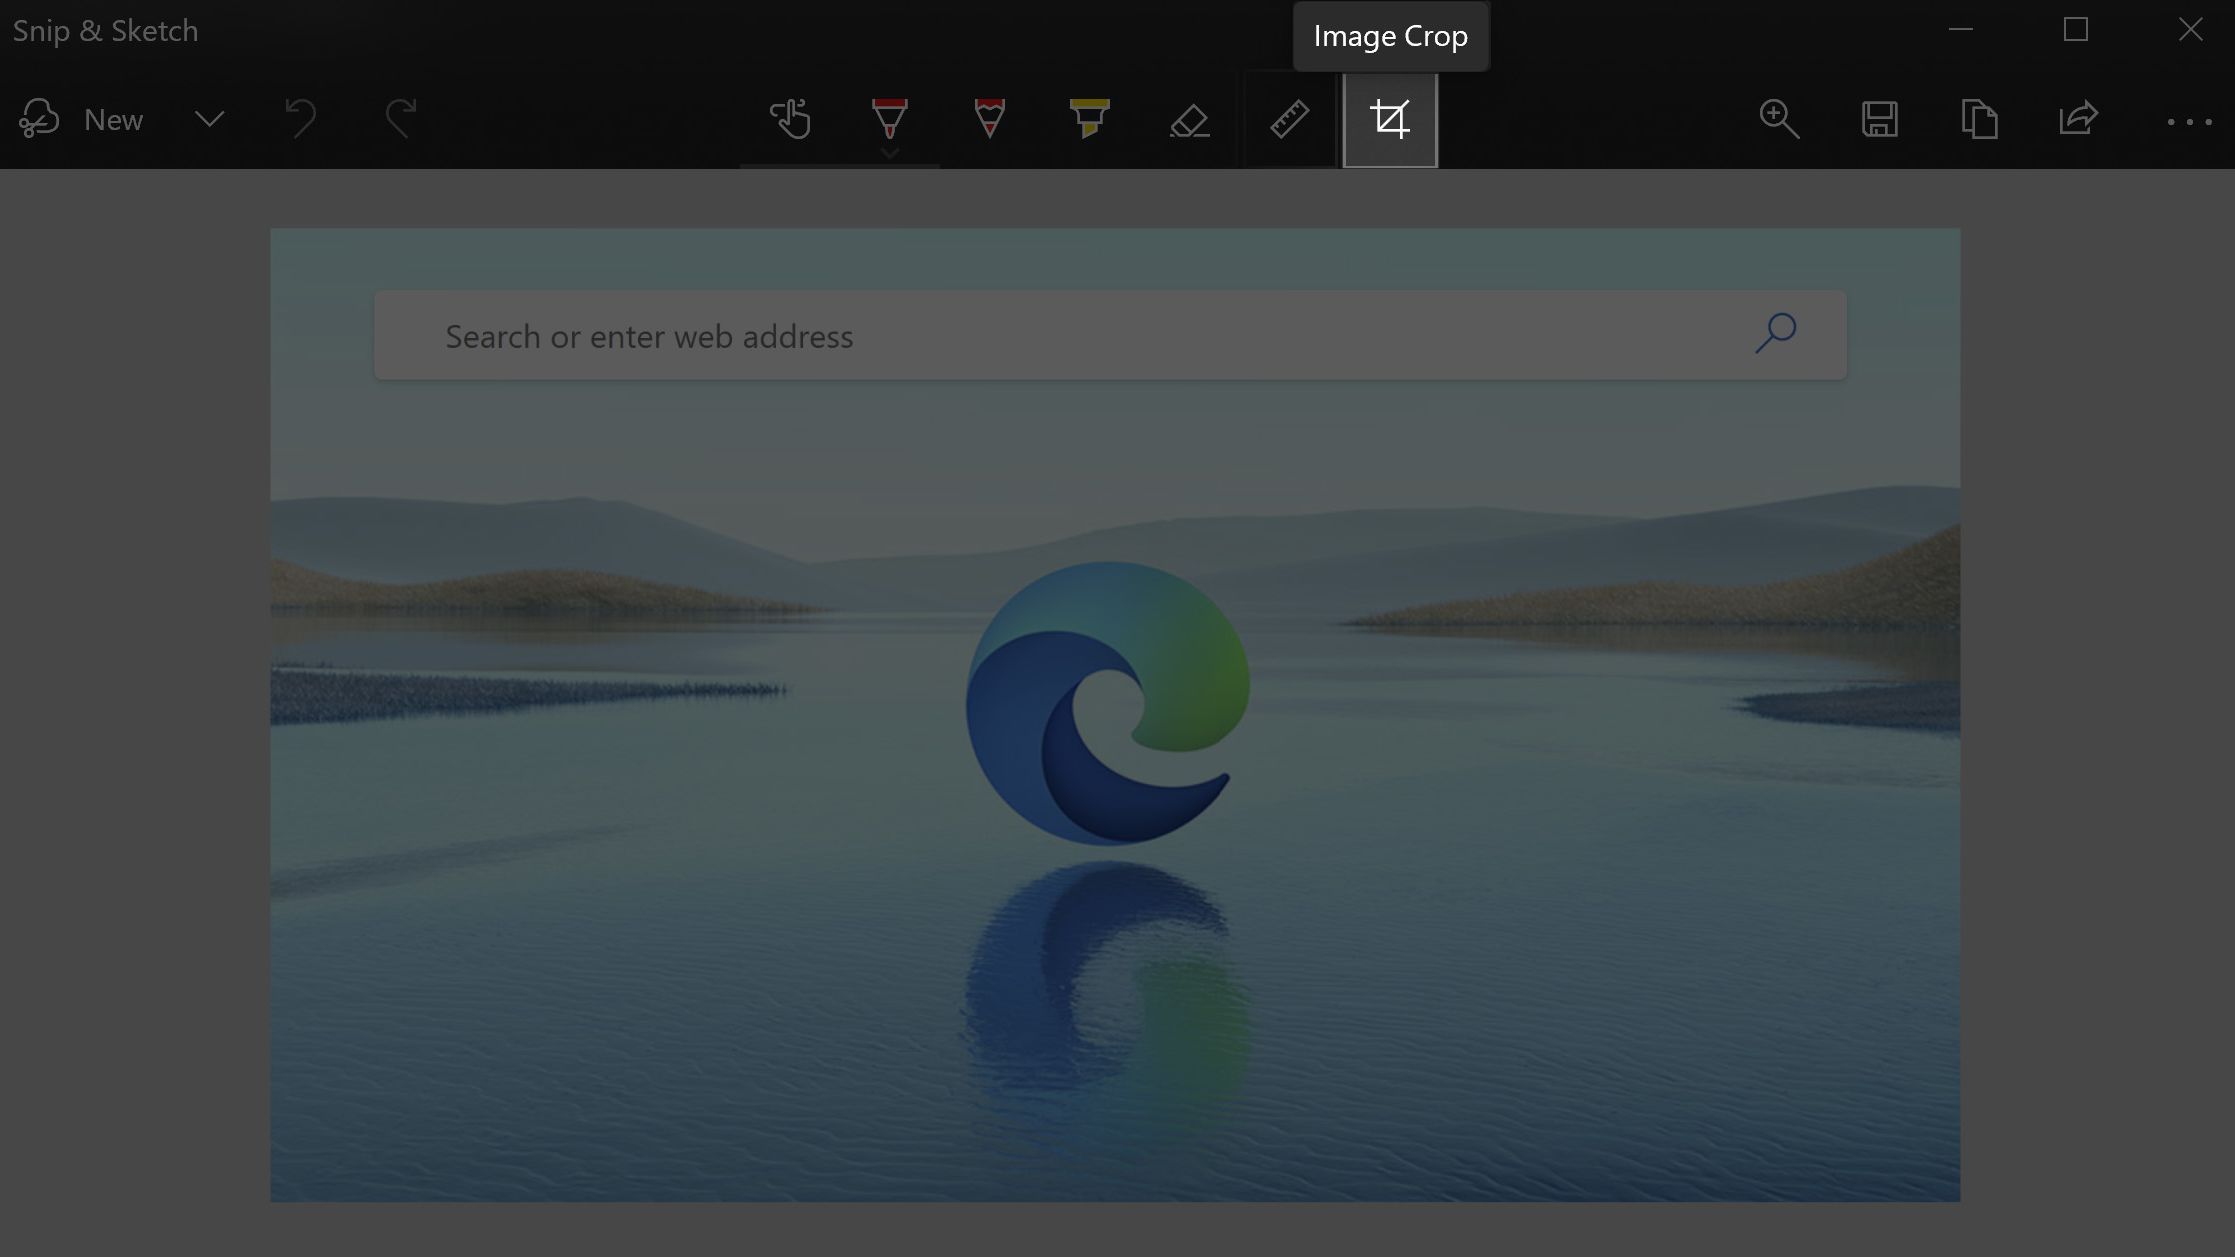
If your device has a touchscreen, select the Touch Writing tool to use your pen to make changes to the image. Lastly, there’s also the old reliable cropping tool, to make changes to what the screenshot displays by simply clicking and dragging the four corners of the image. You can also crop the image using a pre-defined aspect ratio.
On the upper right hand side of Snip & Sketch, there are some more options for you to use. There’s a zoom tool, so you can zoom in and out on your image. Next to it, you’ll also find the save button. You’ll need to hit this to save your screenshot and any changes you’ve made to it. Be aware, if you exit the programme without saving, your screenshot will not be saved.
Another useful tool is the copy button, which once you press it, or use Ctrl + C, copies the image into your clipboard. You can now paste it to share it, in an email or WhatsApp message for example. If you have no more use for this screenshot, you don’t even have to save it after sharing it, saving you on disk space.
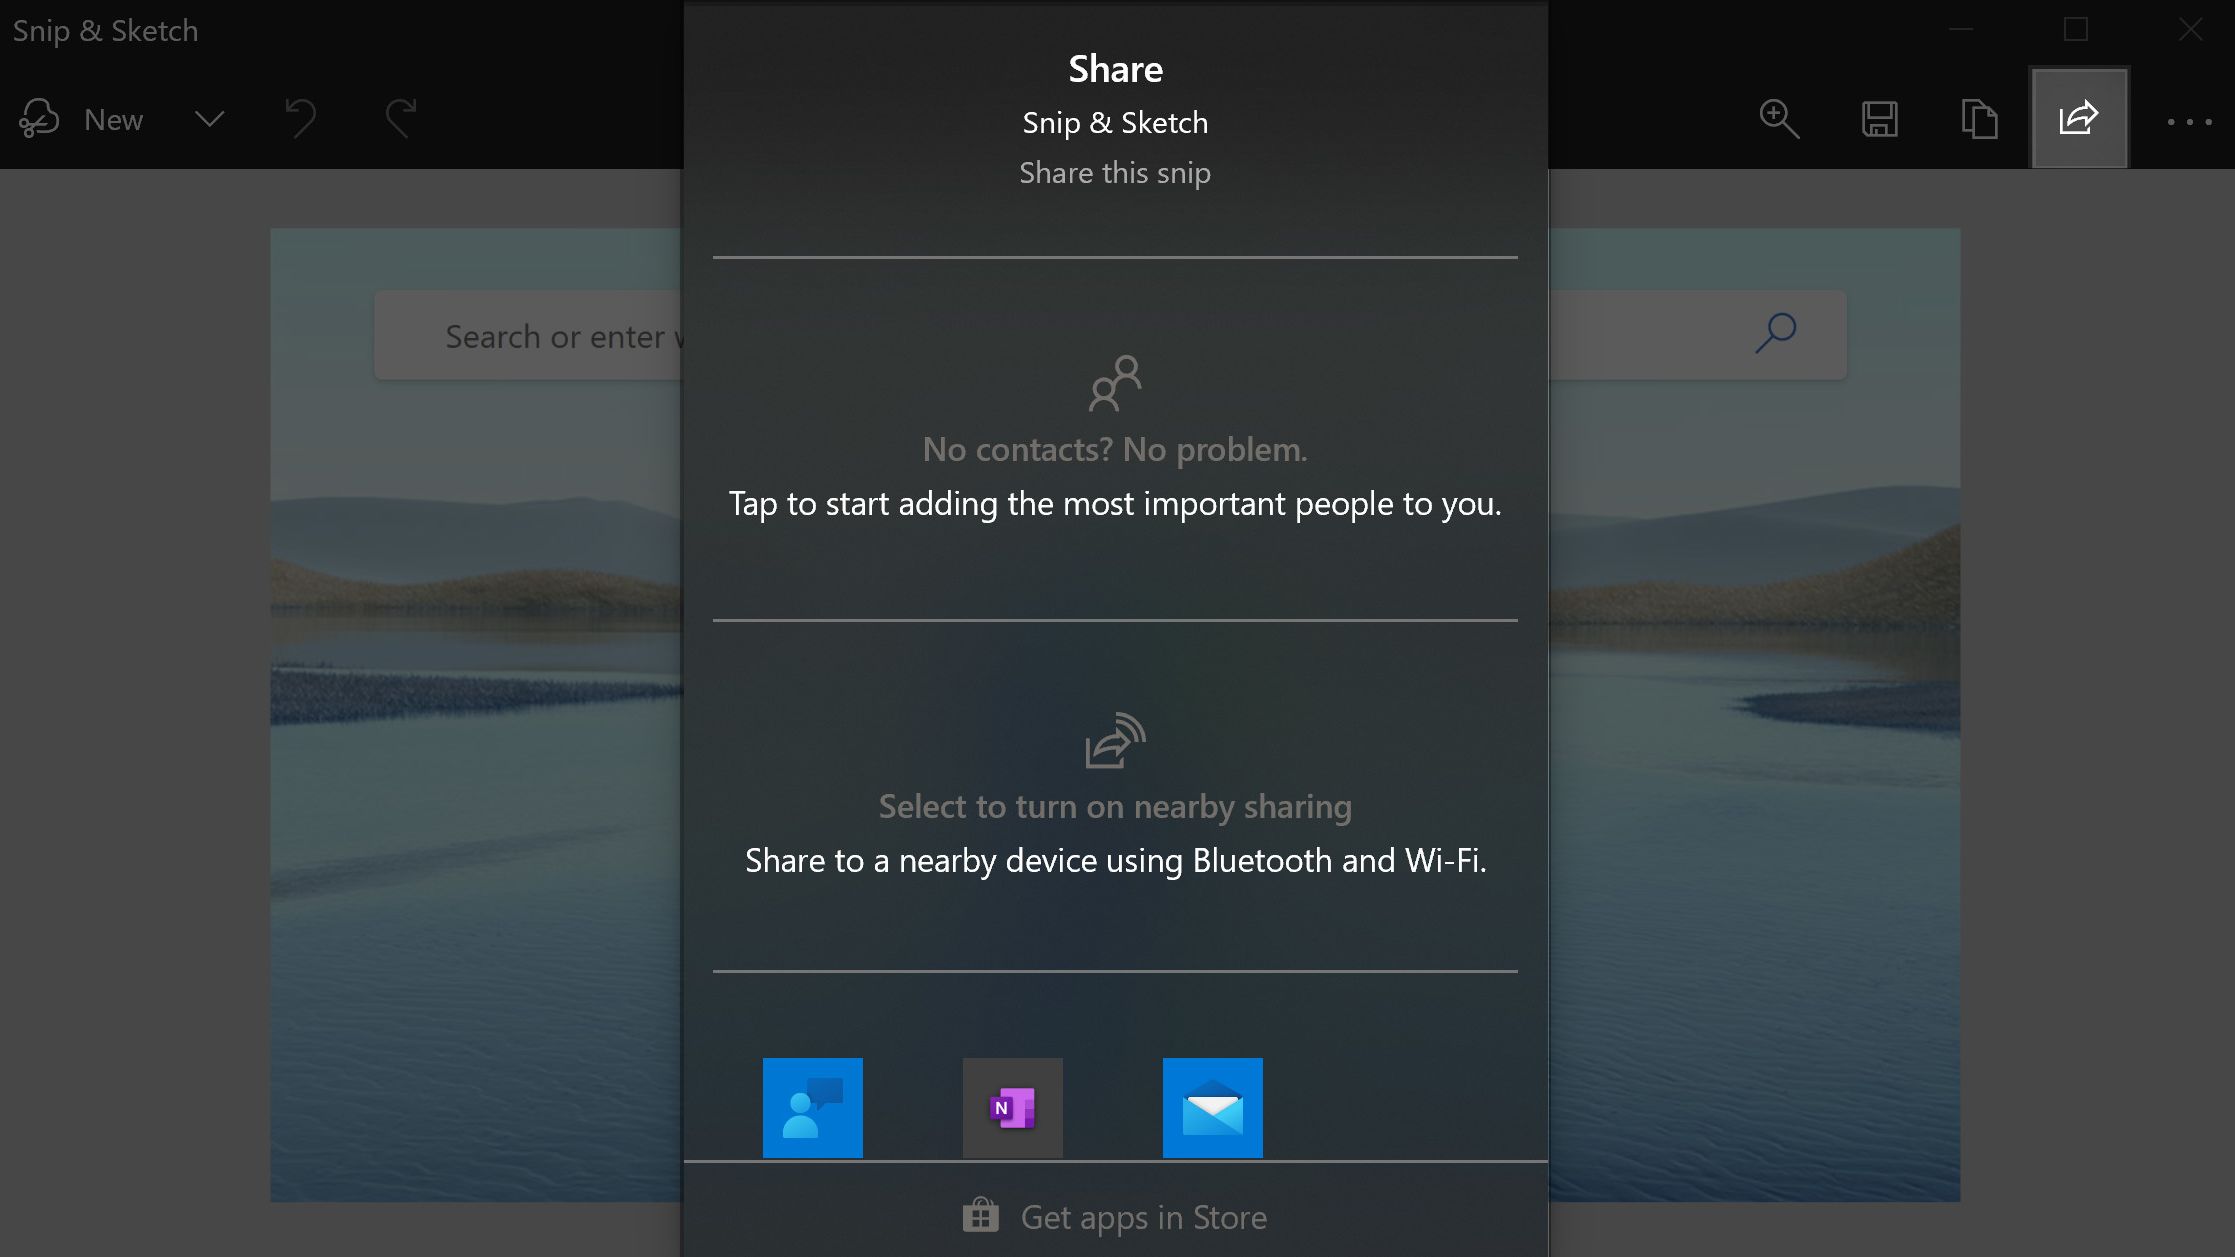
There’s also a share button next to the copy tool, which you click on to bring up a small window. This window will have options to share the image through an app, like your email app, and through nearby sharing if the device you want to send the image to has its Bluetooth on.
Additionally, through Snip & Sketch you can also open up other images saved on your computer and use all of the programme’s tools on them. This could be useful if you want to stop using so many applications to edit your images and also want to share them easily. Snip & Sketch also lets you print images, either by hitting Ctrl + P or going to the three dots in the right hand corner and finding “Print” in the drop down box.
What Windows keyboard shortcuts can I use to take a screenshot?
There are a number of shortcuts on your keyboard that you can use to take a screenshot in Windows 10. If you’re a shortcut whiz, or training to be one, these could save you some time when it comes to accessing this function.
Windows Key + Print Screen
By hitting the Windows key and Print Screen at the same time, you’ll activate this shortcut. Windows 10 will take a screenshot across all your screens and automatically save it to the Screenshots folder. Your Screenshots folder can be found in your Pictures folder which you can access through File Explorer.
When you use this shortcut, your screen will go dim for a fraction of a second, which alerts you the screenshot was successful. From there, it’ll save the screenshot to the Pictures > Screenshots folder.
Windows key + Shift + S
When you combine the Windows Key, Shift and “S,” this will activate the Snip & Sketch feature mentioned above. Your screen will dim, and you can use Snip & Sketch as you normally would. From here, simply select the shape you want the screenshot to be in and use the tool as normal.
Alt + Print Screen
Do you want to take a screenshot of your active window only? You can do that by pressing Alt and Print Screen. This will save a screenshot of the active window to the clipboard, and you can then paste it into an image editor, email or chat.
Game Bar
You can also perform a screenshot via the game bar, which you access by pressing Windows Key and “G”. In the game bar, you’ll see a camera icon in the top-left corner, press this to take a screenshot. Alternatively, you can press Windows key + Alt + Print Screen together with the game bar active.
This will snap a full-screen shot of whatever game you’re playing and save it in the Videos > Captures file.
Windows logo + volume down button
If you own a Microsoft Surface tablet running Windows 10, you can press the Windows logo and volume down key to take a screenshot of your entire screen. This automatically saves the screenshot in the Pictures > Screenshots folder.
What apps can I use to take a screenshot on Windows 10?
If you’re not happy with the options that Microsoft has provided to help you take a screenshot, then there are some decent third-party alternatives.
Greenshot
Do you value simplicity over everything else? Then Greenshot might be the app for you. It’s a free and open-source screenshot program for Microsoft Windows.
You can quickly create screenshots of a selected region, window, or fullscreen. It also allows for annotations, highlights, or even obscuring part of the screenshot.
Your image can be saved to file, attached to email, sent to Office programmes, or even uploaded to photo sites like Flickr.
Screenrec
Screenrec is a simple but powerful screenshot tool which only has one hotkey that you need to remember: Alt + S. This will either screenshot or record your screen and also allows you to add annotations or even comments with a couple of mouse clicks.
Users can also share their screenshot very easily as the application produces a sharing link. You can copy this to your clipboard to then embed or paste the link in an email or message.
If you’re capturing a video with this app, you’ll also get analytics information about who watched your videos and how long they spent doing so.
Snagit
Snagit takes screenshots to the next level, giving you access to a whole range of features. Be aware, however, that this tool will set you back around £60.
You can use premade layouts within the application to create visual documentation, tutorials, and training materials. You can also create video from images, even talking and drawing over a series of screenshots to create short videos of Gifs.
Snagit also lets you share your screenshots directly to Slack and Box, meaning that if you need to share lots of images with your team, it will save you time from having to send lots of messages, or even manually uploading each file to each team member. Simply direct them to the correct folder instead.
You’re also able to take a full-page, scrolling screenshot. Using Snagit's screen capture tool, you can grab vertical and horizontal scrolls, infinitely scrolling webpages, long chat messages, and more.
One of its impressive features is that it can extract the text from a screen capture or file quickly and paste it into another document for edits. It allows you to quickly copy information without having to retype all the text.