How to make and receive phone calls through Windows 10
A guide to setting up Microsoft's 'Your Phone' app, including its updated call features
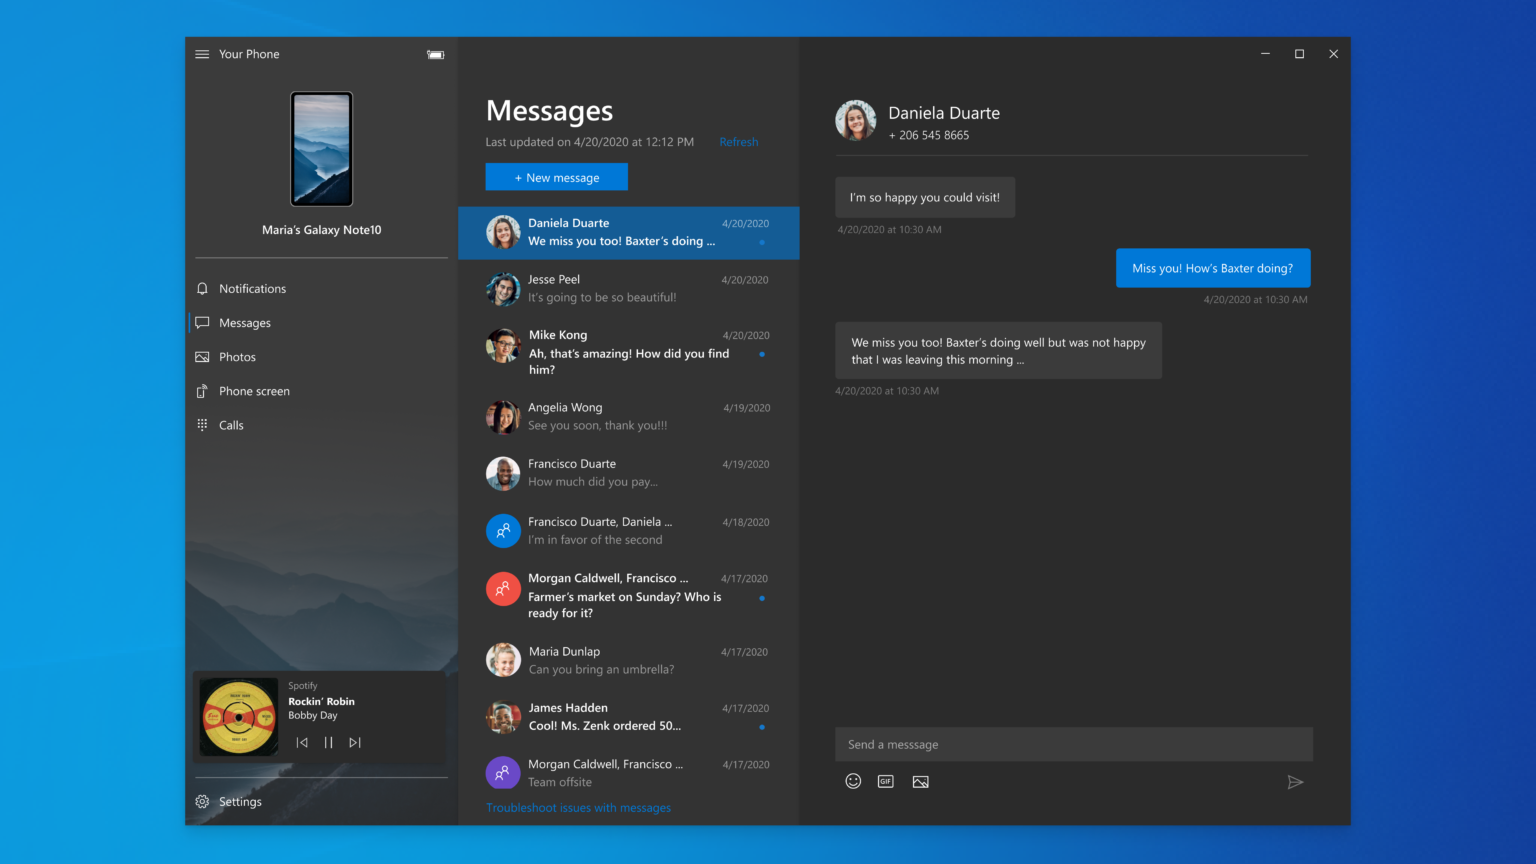
If you rely on your mobile device as part of your daily work, you’ll understand the frustration of constantly switching between your PC or laptop and your smartphone, especially when you’re having to make calls. Fortunately, Microsoft has worked to try and eliminate this problem with a string of recent software updates and an overhaul of its smartphone companion app.
With Microsoft’s ‘Your Phone’ app for Windows 10, it’s now possible to make and receive calls directly through your PC from a connected Android device, on top of all the regular features you’ve come to expect, such as file transfer and charging.
Following a reveal of the app in May 2018, itself a successor to the legacy ‘Phone Companion’ app, Your Phone initially only allowed users to access multimedia stored on their smartphones and send and receive SMS messages. It wasn’t until the reveal of the Galaxy Note 10 in August 2019 that the Samsung-only feature of making and receiving calls was unveiled, something that was made generally available to all Android devices in February 2020.
What can you do with the 'Your Phone' app?
The Your Phone app lets you:
- Make and receive calls (only on Android) and access call history
- Access your phone’s address book
- Send and receive texts
- Receive notifications sent to your mobile
- Access photos from your phone, which can be dragged to an email or document
- Access the all-in-one Office app
How to link your Android phone to your Windows 10 PC
In order to run the Your Phone app you simply need to be using a Windows 10 PC that’s running an OS version of 1803 (build 17134.0) or higher, and a smartphone running Android 7.0 or higher.
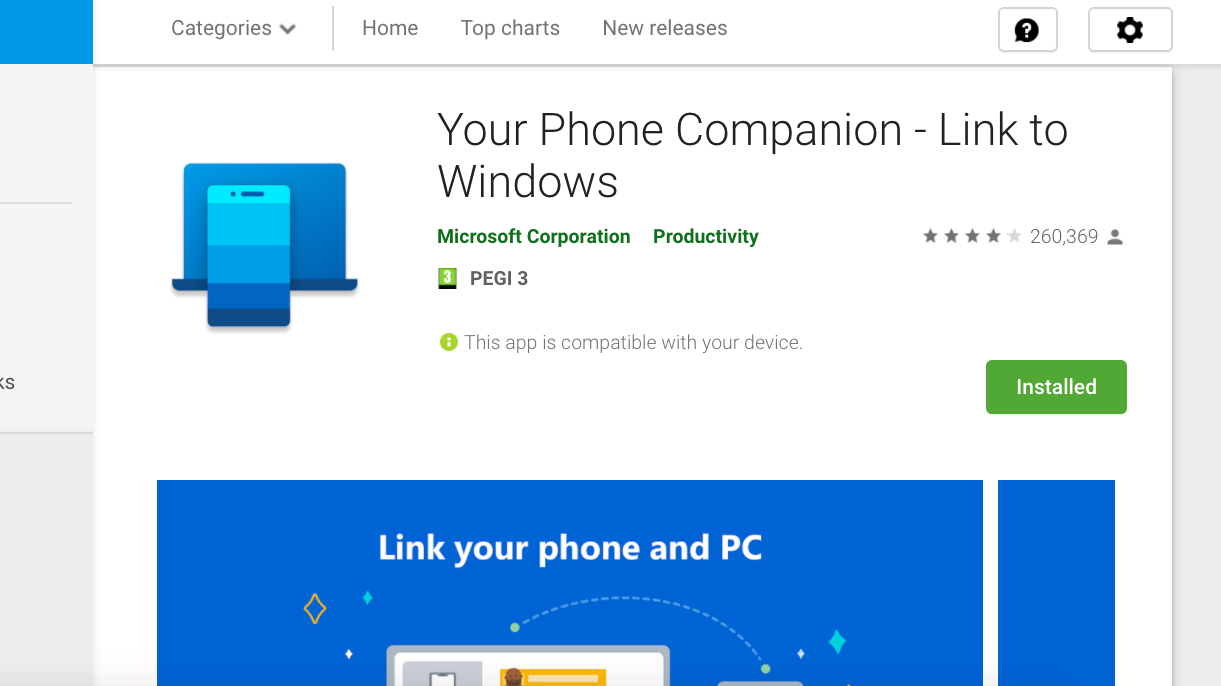
Step 1: To get started, first navigate to the Your Phone page on the Google Play Store on your mobile device – this appears as ‘Your Phone Companion - Link to Windows’, a download of 33.15 MB at the time of writing. Once installed, it’s time to get the same app on Windows.
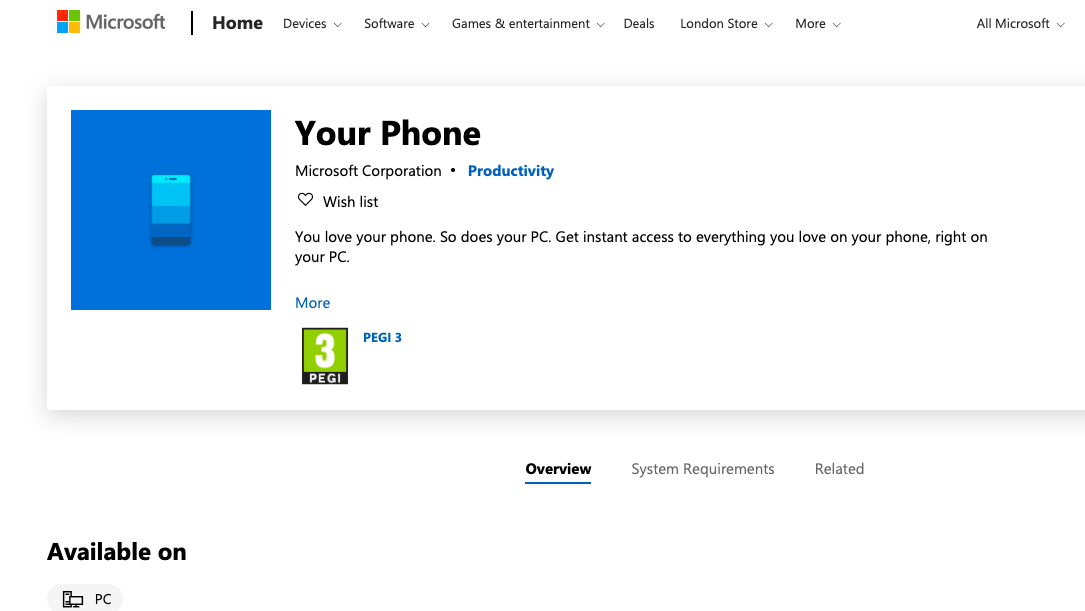
Step 2: To get the desktop version, you’ll need to head to the Microsoft store page, which lists the app as ‘Your Phone’. To access this page, you’ll need to be signed into your Microsoft account. You may find this app is already installed with your version of Windows – if so, proceed to the next step.
Sign up today and you will receive a free copy of our Future Focus 2025 report - the leading guidance on AI, cybersecurity and other IT challenges as per 700+ senior executives
Step 3: Once both apps are installed, sign into the Android version of the Your Phone app using your Microsoft account details. Follow the on-screen prompts showing the app’s capabilities, and hit ‘Allow’ on the app permissions, which you will need to accept if you want the app to communicate fully with Windows 10.
How to switch from Windows 10 to Linux How to download and carry out a clean install of Windows 10 17 common Windows 10 problems and how to fix them
Step 4: With both apps signed in, you will now be able to link them together (make sure both devices are connected to the same Wi-Fi network before proceeding). To start, launch the Windows 10 app, which should automatically attempt to link itself to the Android version. If a screen appears asking whether you are using Android or iOS on your mobile device, this means you either haven’t logged into your Android app using the Microsoft details, or the app has signed out.
Step 5: At this stage, your smartphone should have a notification asking permission to pair with the Windows 10 app. Hitting ‘Allow’ should pair the two successfully.
Step 6: You will know everything is working correctly when your smartphone appears in the Windows 10 app screen. Here you should also see a set of options, including Messages, Notifications, Photos, and importantly, Calls. Unfortunately, you’re still not ready to actually make and receive these.
Step 7: The app handles calls using Bluetooth, so we will need to ensure the desktop and your mobile are connected. The good news is that the app does most of the work for you. Click ‘Calls’ in the app screen, it should ask you to enable Bluetooth using an ‘Enable’ button. It will then ask you to enable it on your phone too using a notification prompt.
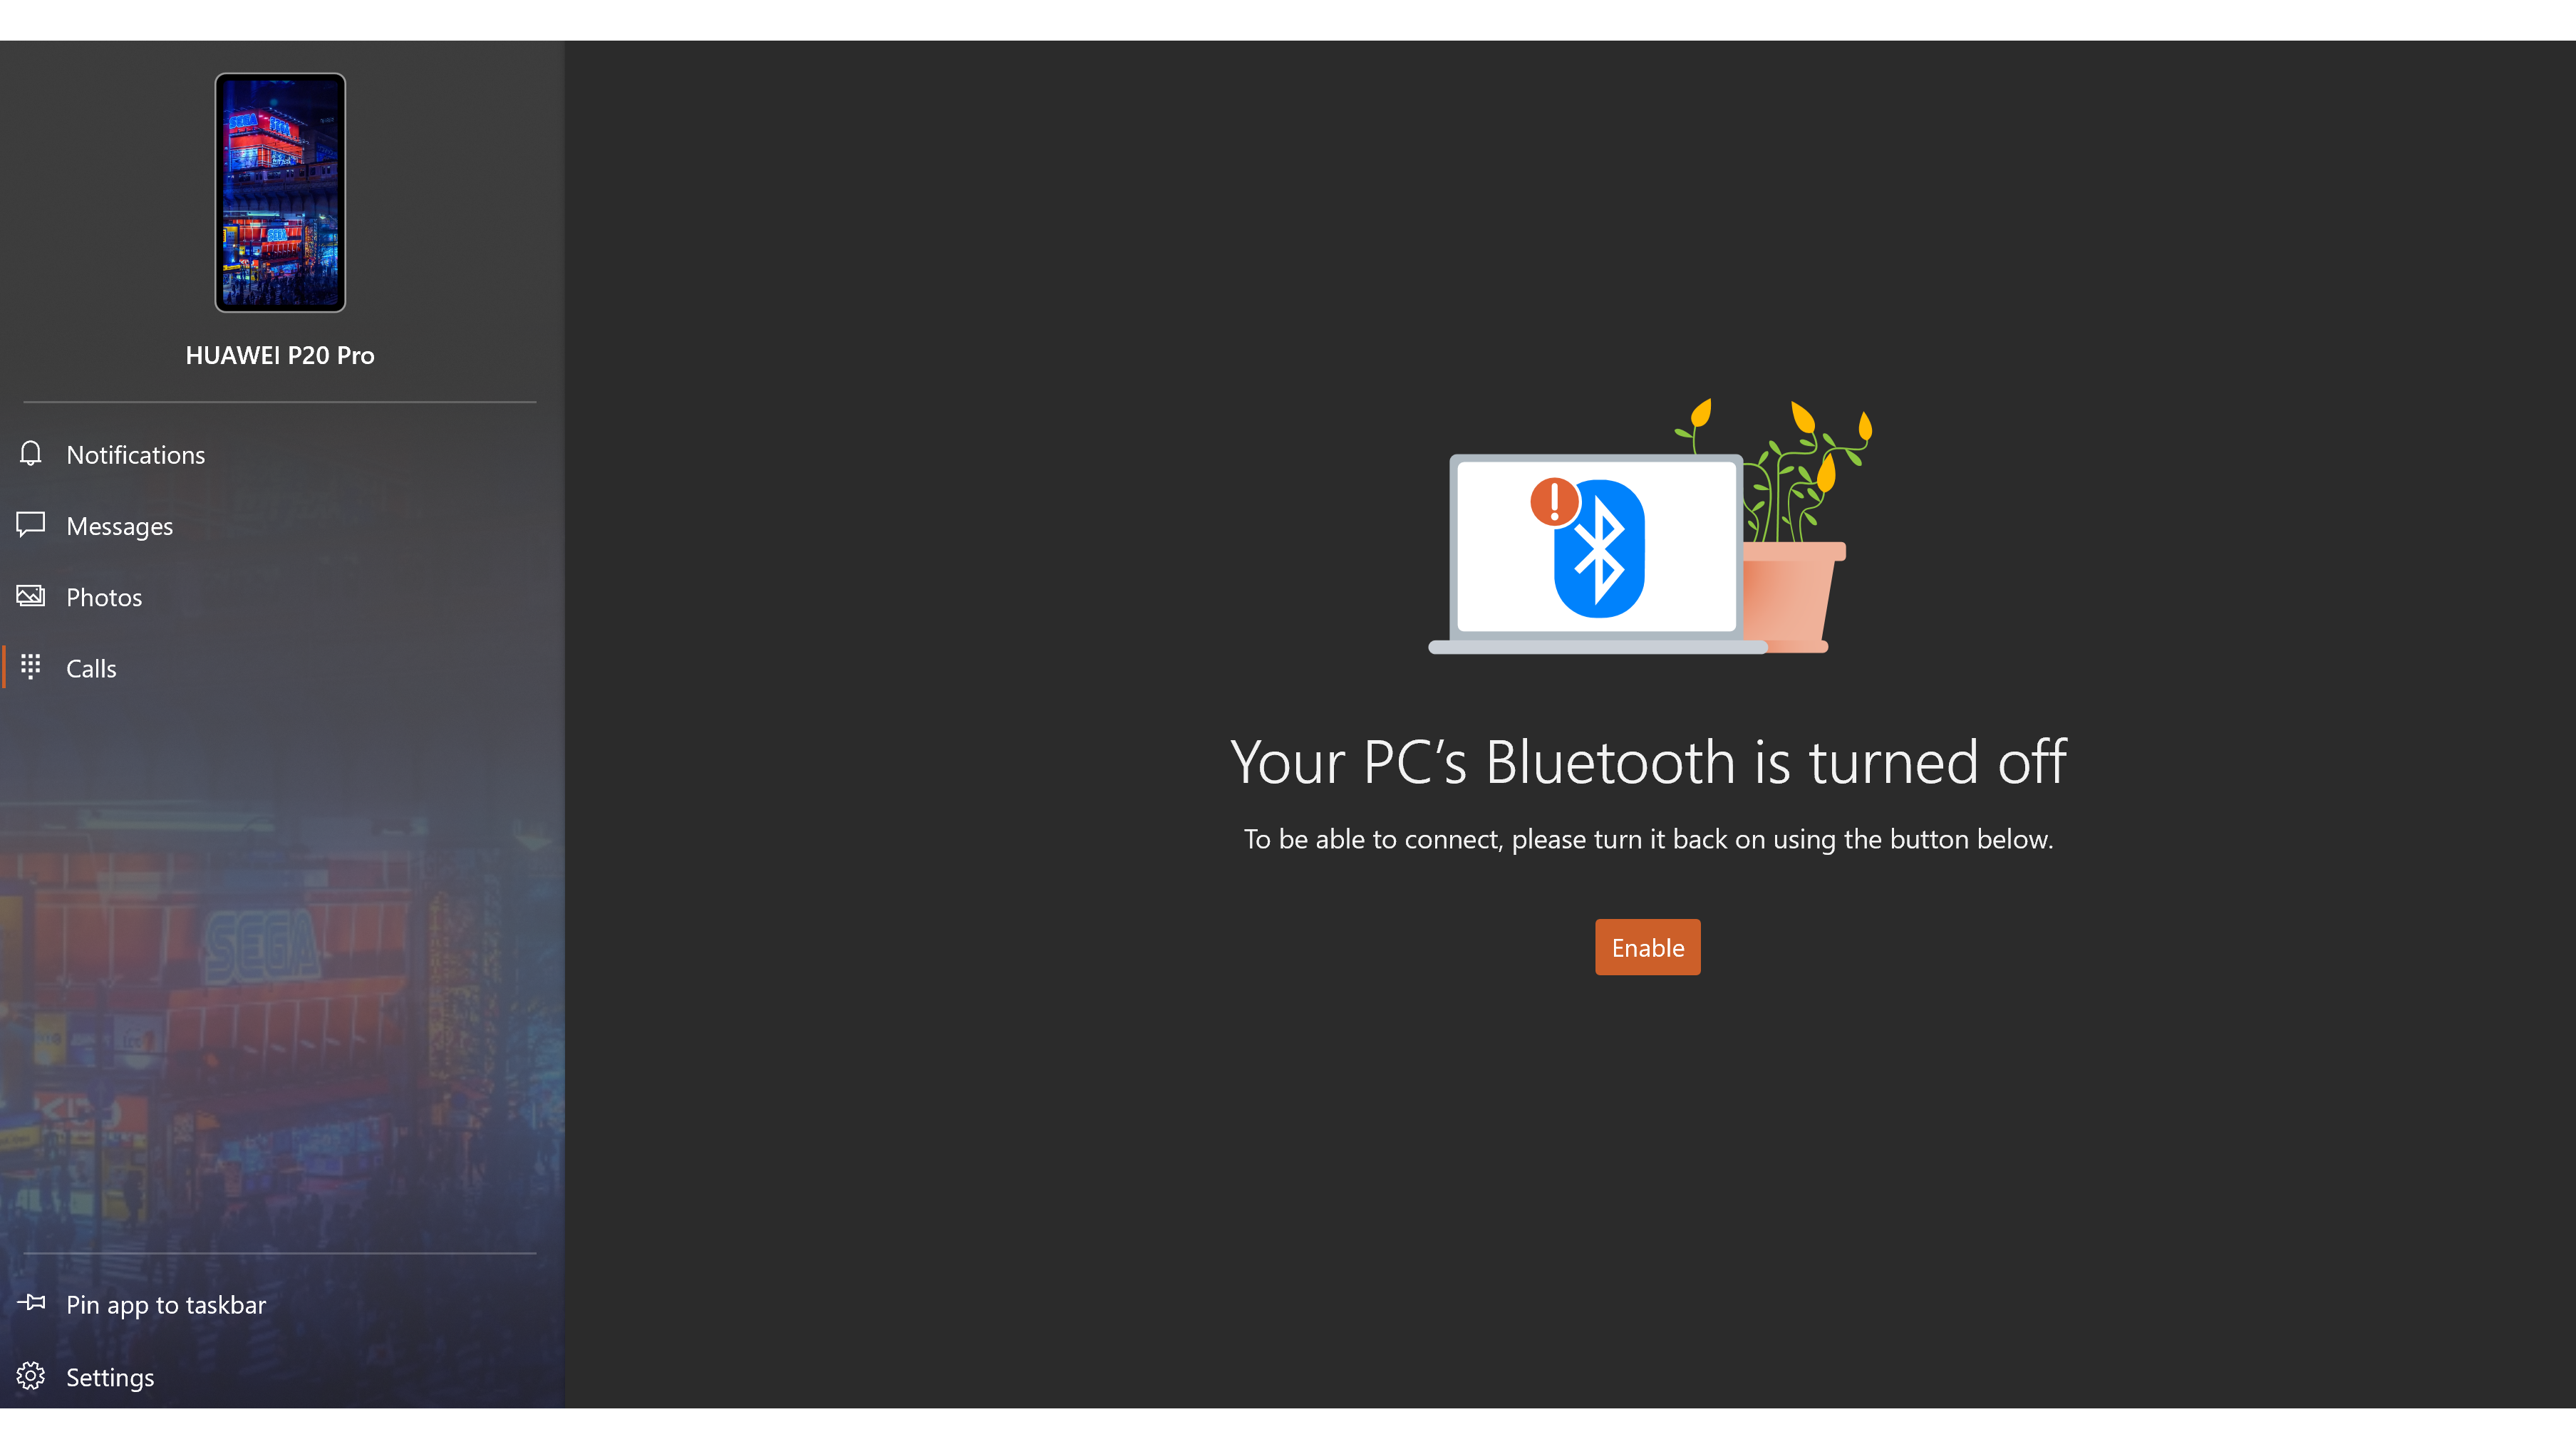
This stage can be fiddly. When the prompt appears on your desktop asking if the code is the same, make sure you click ‘Allow’ on your mobile first before clicking 'Yes' on the Windows app, otherwise the app will attempt to connect before your phone is ready. If this happens, you will get an error saying that the connection failed, and you will have to repeat the pairing process.
If for some reason the process repeatedly fails, you will need to manually connect the two devices. First, open the Bluetooth menu in your Android settings (swipe down on your phone and look for the cog), and make sure Bluetooth is enabled. Do the same on your desktop by typing ‘Bluetooth into your search bar and opening the settings menu. Click to add a new device in the Windows settings and it should start searching for your smartphone. Click on the smartphone listed to pair, and you should get a prompt asking if the code displayed matches the one on your phone.
Some apps are interfering with making calls error: At this stage, you may encounter an error that says some apps are preventing the app from making calls.
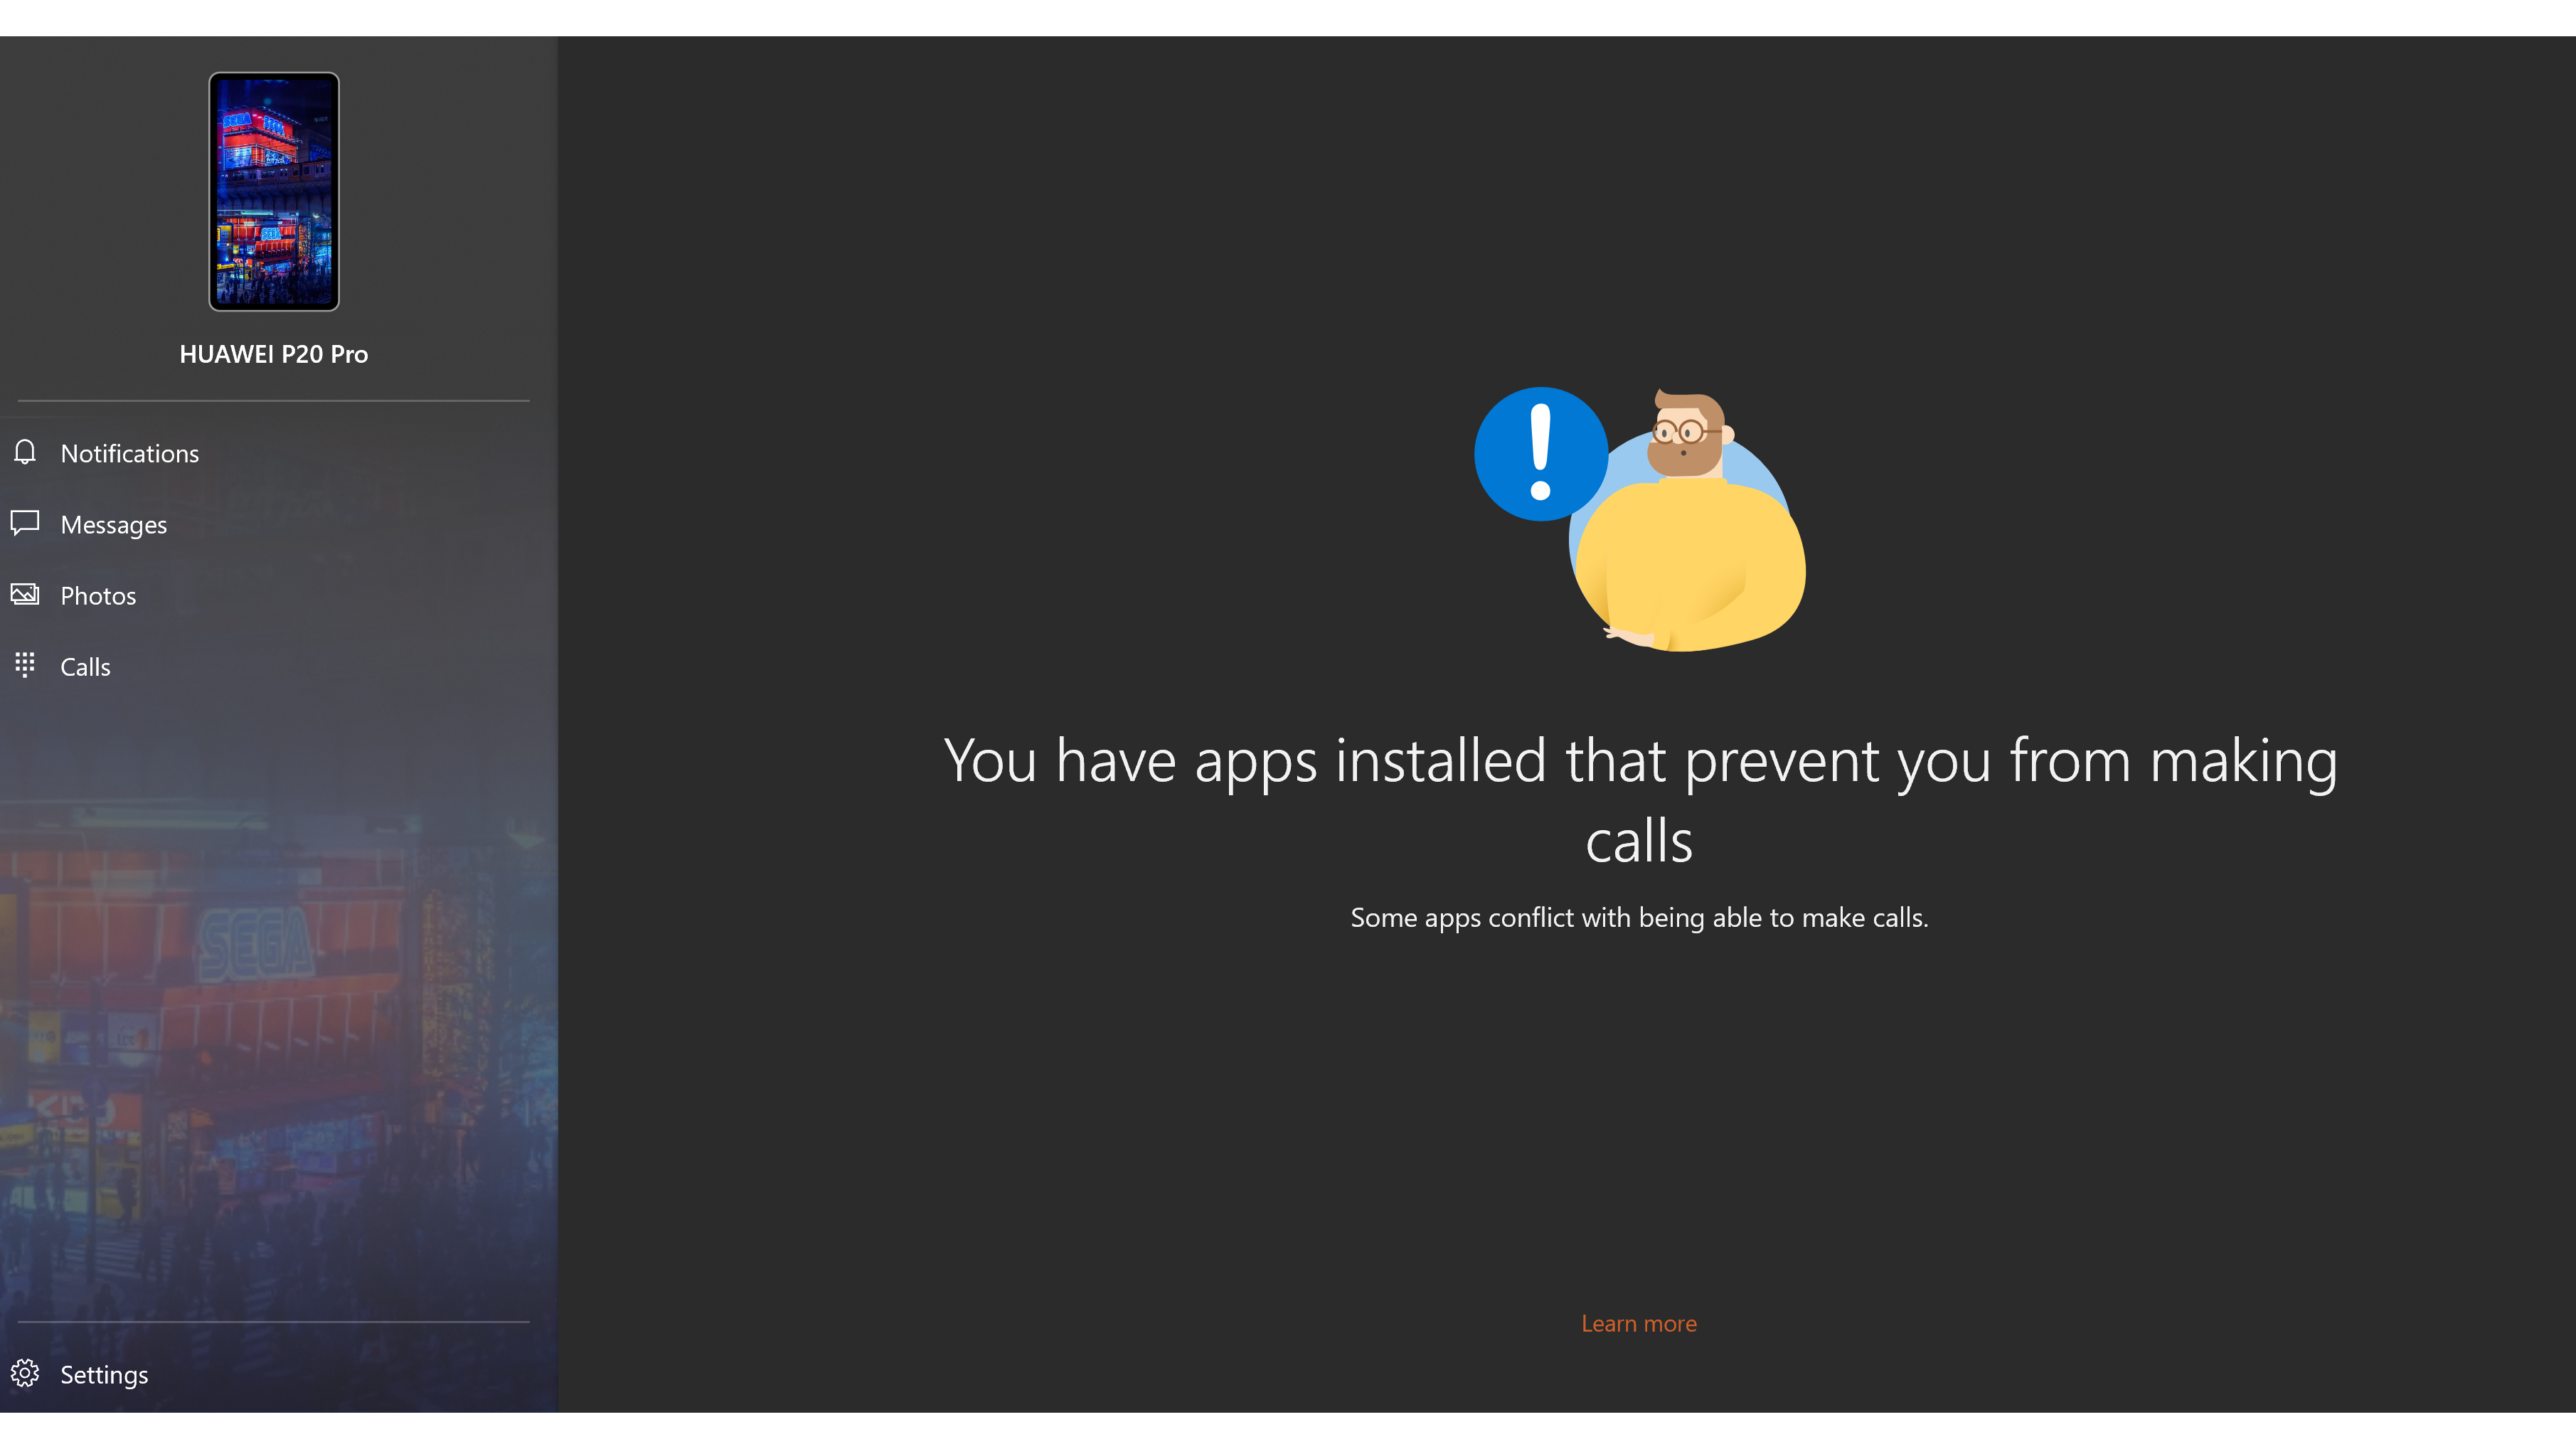
This is usually caused by already installed Windows software having control over call management, and so this needs to be removed in order to continue. This is generally vendor-specific software relating to Mobile connections – for example, Dell’s Mobile Connect app and drivers, which will prevent the Windows app from placing calls.
Step 8: Once the two devices are connected, we next need to authorise the Windows app to make and receive calls. Click ‘Calls’ in the Windows 10 app and you should see a screen with a dialer on the right and a message in the centre asking for permission from the mobile device. Click to send the notification and accept this on your smartphone.
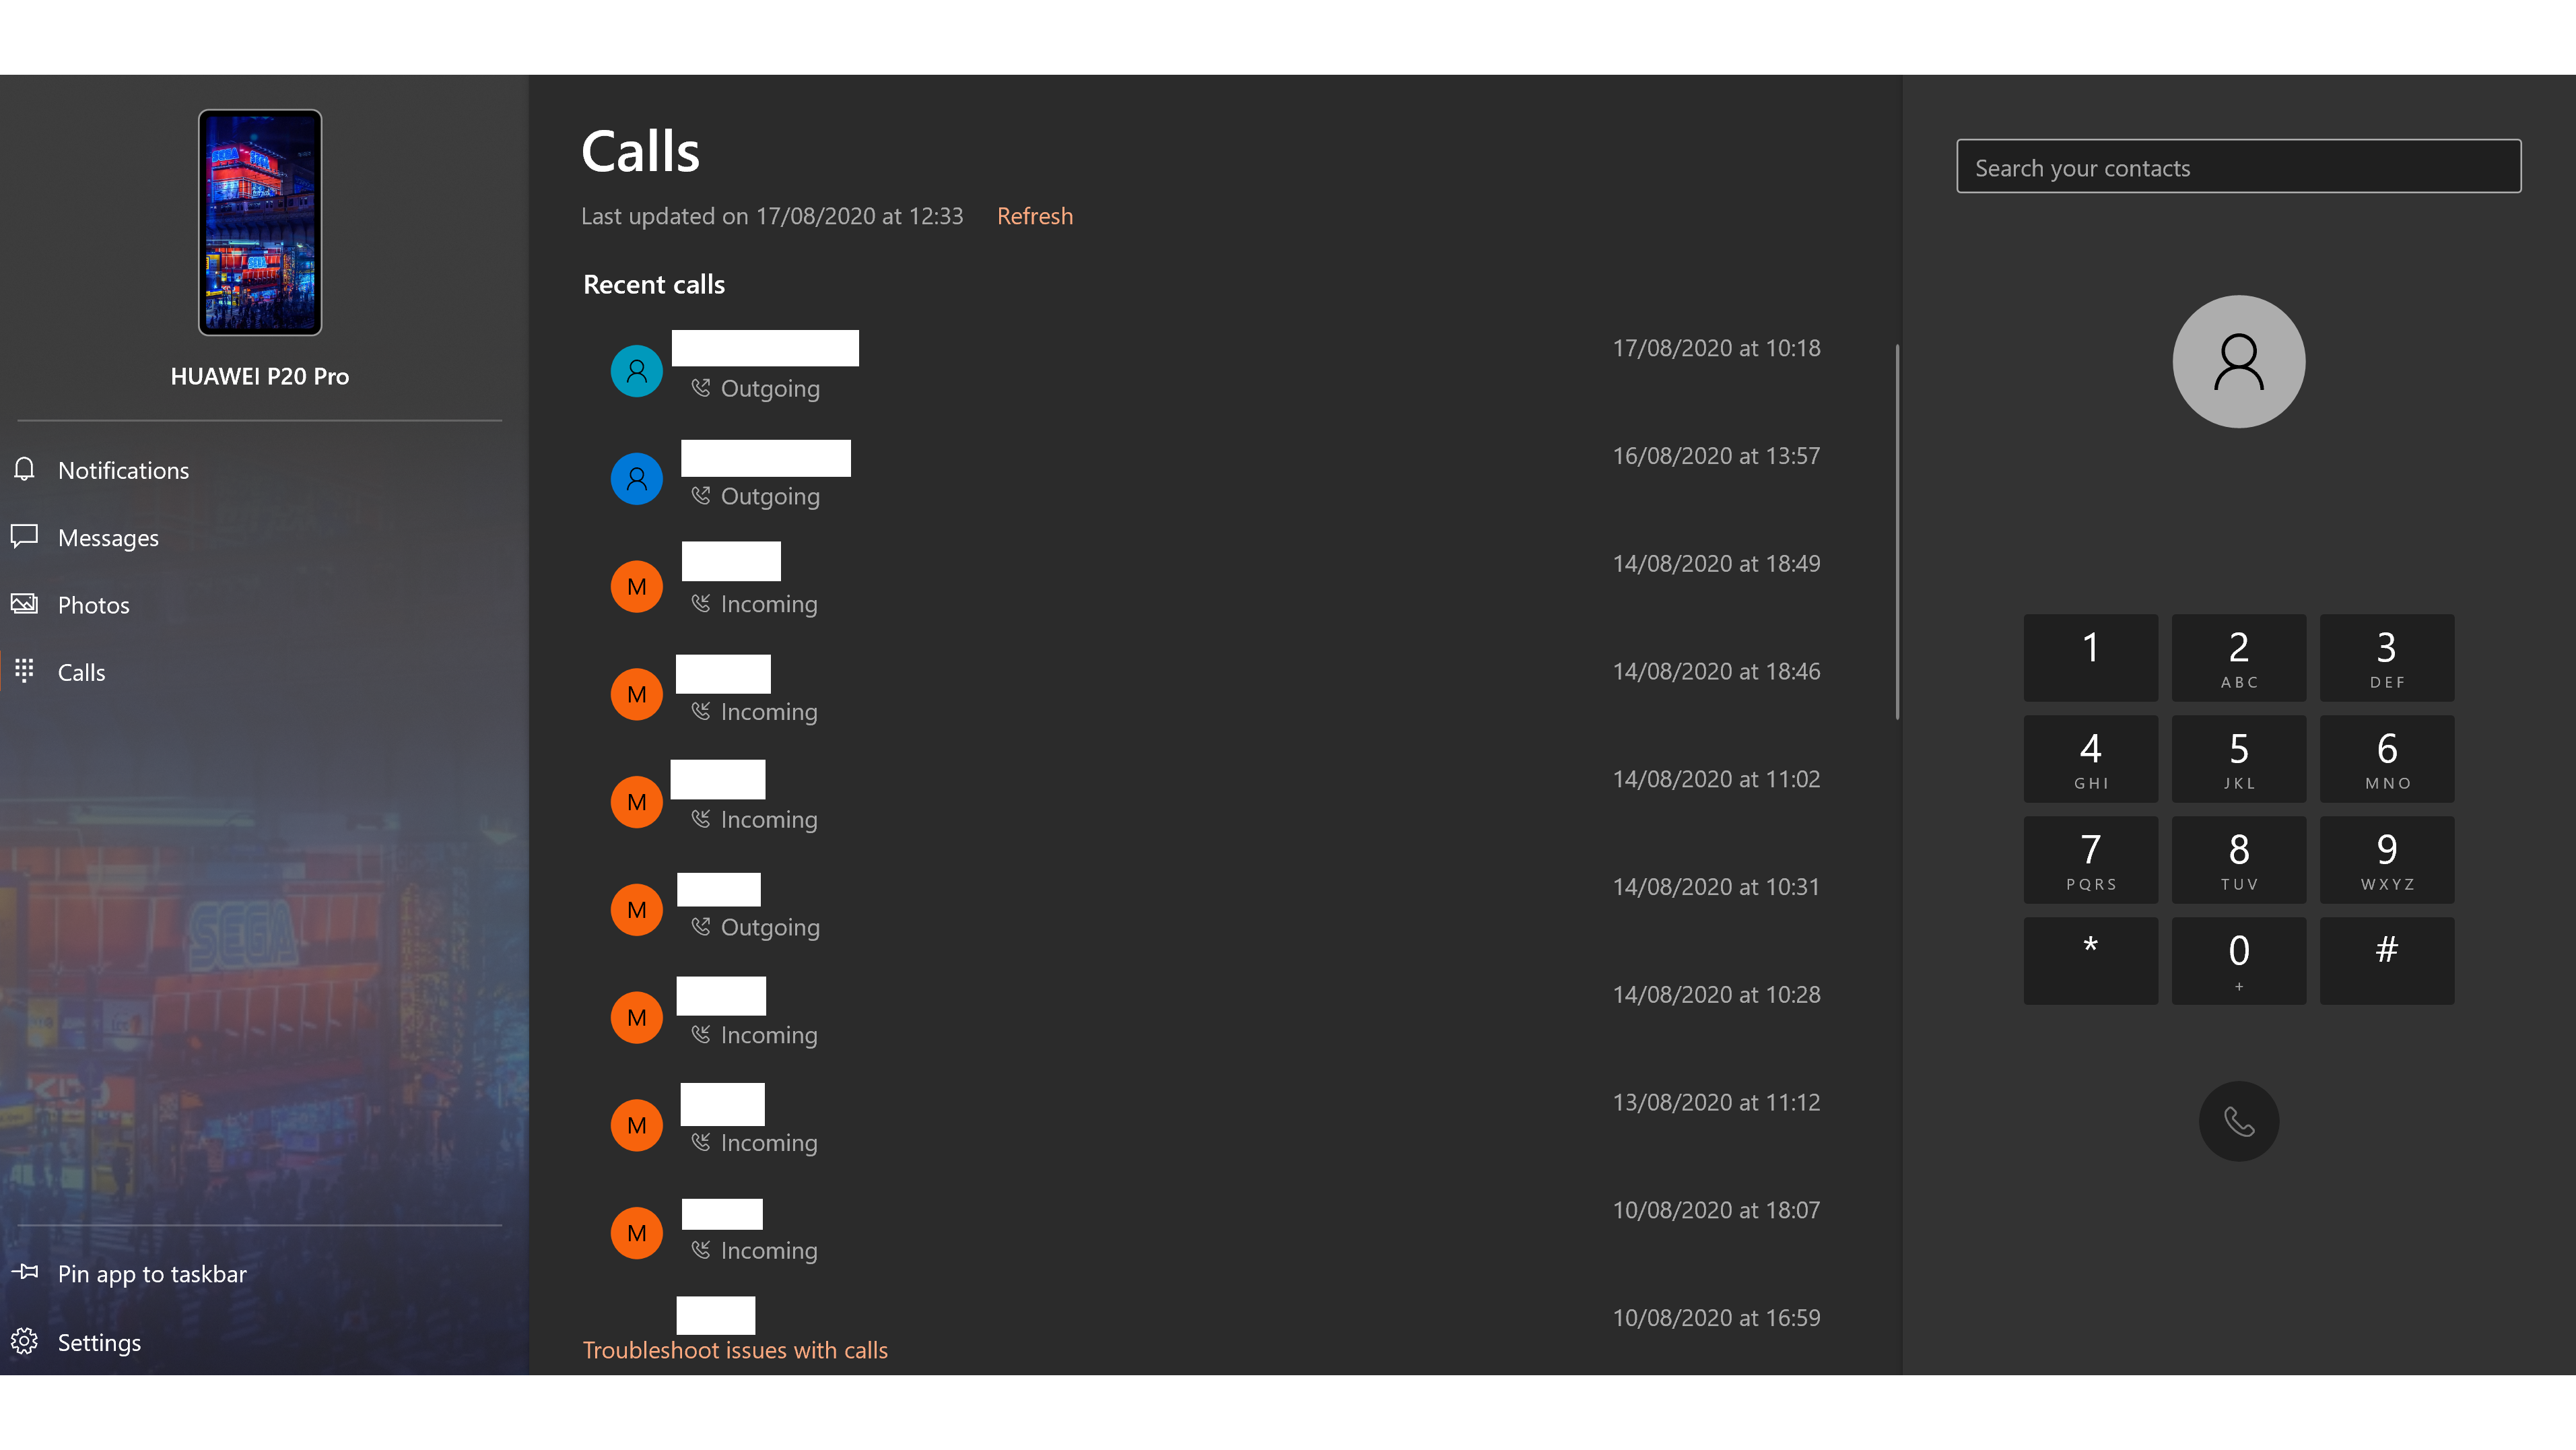
Step 9: With that done, you should now see a list of recent calls. From here you can simply dial a number into the window on the right. By default, your desktop will use the built-in microphone and speakers to handle the call, so you’ll ideally want to have a headset ready to go too.
Dale Walker is a contributor specializing in cybersecurity, data protection, and IT regulations. He was the former managing editor at ITPro, as well as its sibling sites CloudPro and ChannelPro. He spent a number of years reporting for ITPro from numerous domestic and international events, including IBM, Red Hat, Google, and has been a regular reporter for Microsoft's various yearly showcases, including Ignite.