Most common Windows 11 problems and how to fix them
The most common Windows 11 problems users encounter, from faulty upgrades to patchy Wi-Fi

Rene Millman
Sign up today and you will receive a free copy of our Future Focus 2025 report - the leading guidance on AI, cybersecurity and other IT challenges as per 700+ senior executives
You are now subscribed
Your newsletter sign-up was successful
Microsoft has refined its operating systems over the years, but Windows 11 is not without its share of bugs and performance issues. Since its release in October 2021, the operating system has seen numerous updates, yet users continue to report a range of problems, from difficulties with installation to slow performance and software glitches.
Fortunately, many of these common issues have clear and effective solutions. This guide provides an updated look at the most frequent Windows 11 problems and how to resolve them, helping you maintain a stable and efficient system.
1. Can’t upgrade to Windows 11
A primary frustration for many users is discovering that their pc does not meet the stringent hardware requirements for a Windows 11 upgrade. Microsoft requires a compatible processor (typically from 2018 or later) and support for Trusted Platform Module (TPM) 2.0.
To determine if your system is eligible, you can use Microsoft's pc health Check tool. If the check fails, unofficial methods exist to bypass these requirements, such as modifying the Windows registry. However, these workarounds may pose security risks and could prevent future updates.
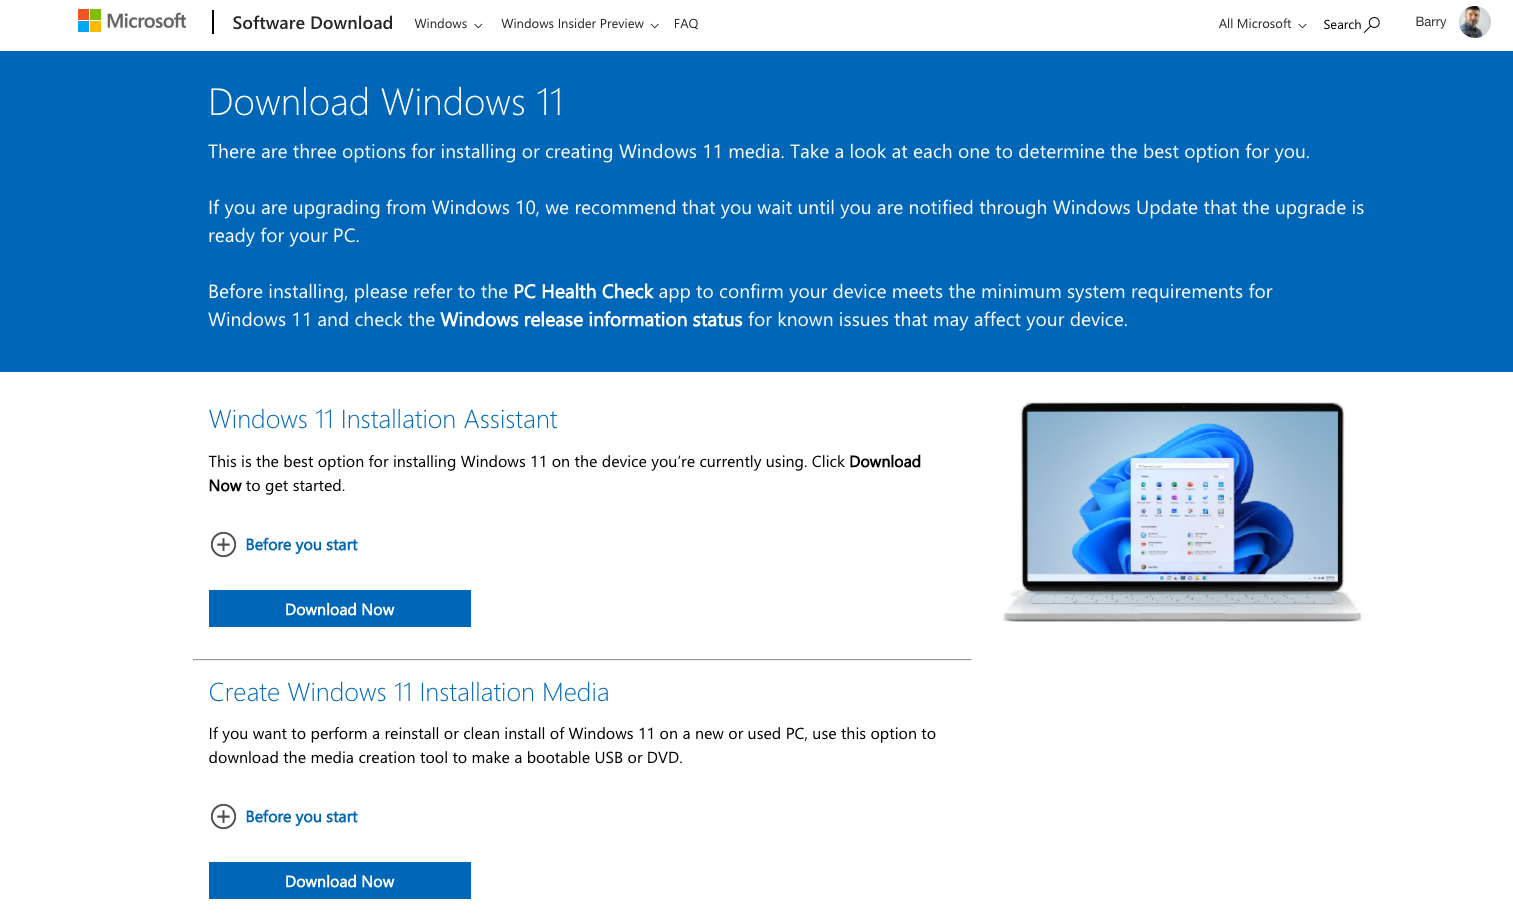
If your hardware is compatible but the upgrade option doesn't appear in the Windows update, you can take the following steps:
To check for updates, go to Settings> Windows Update and select Check for updates.
Use the installation assistant. Microsoft provides a Windows 11 installation assistant to manually initiate the upgrade.
Sign up today and you will receive a free copy of our Future Focus 2025 report - the leading guidance on AI, cybersecurity and other IT challenges as per 700+ senior executives
Before starting the upgrade, it is crucial to perform a full system backup to protect your data.
2. Windows 11 is slow or frequently freezes
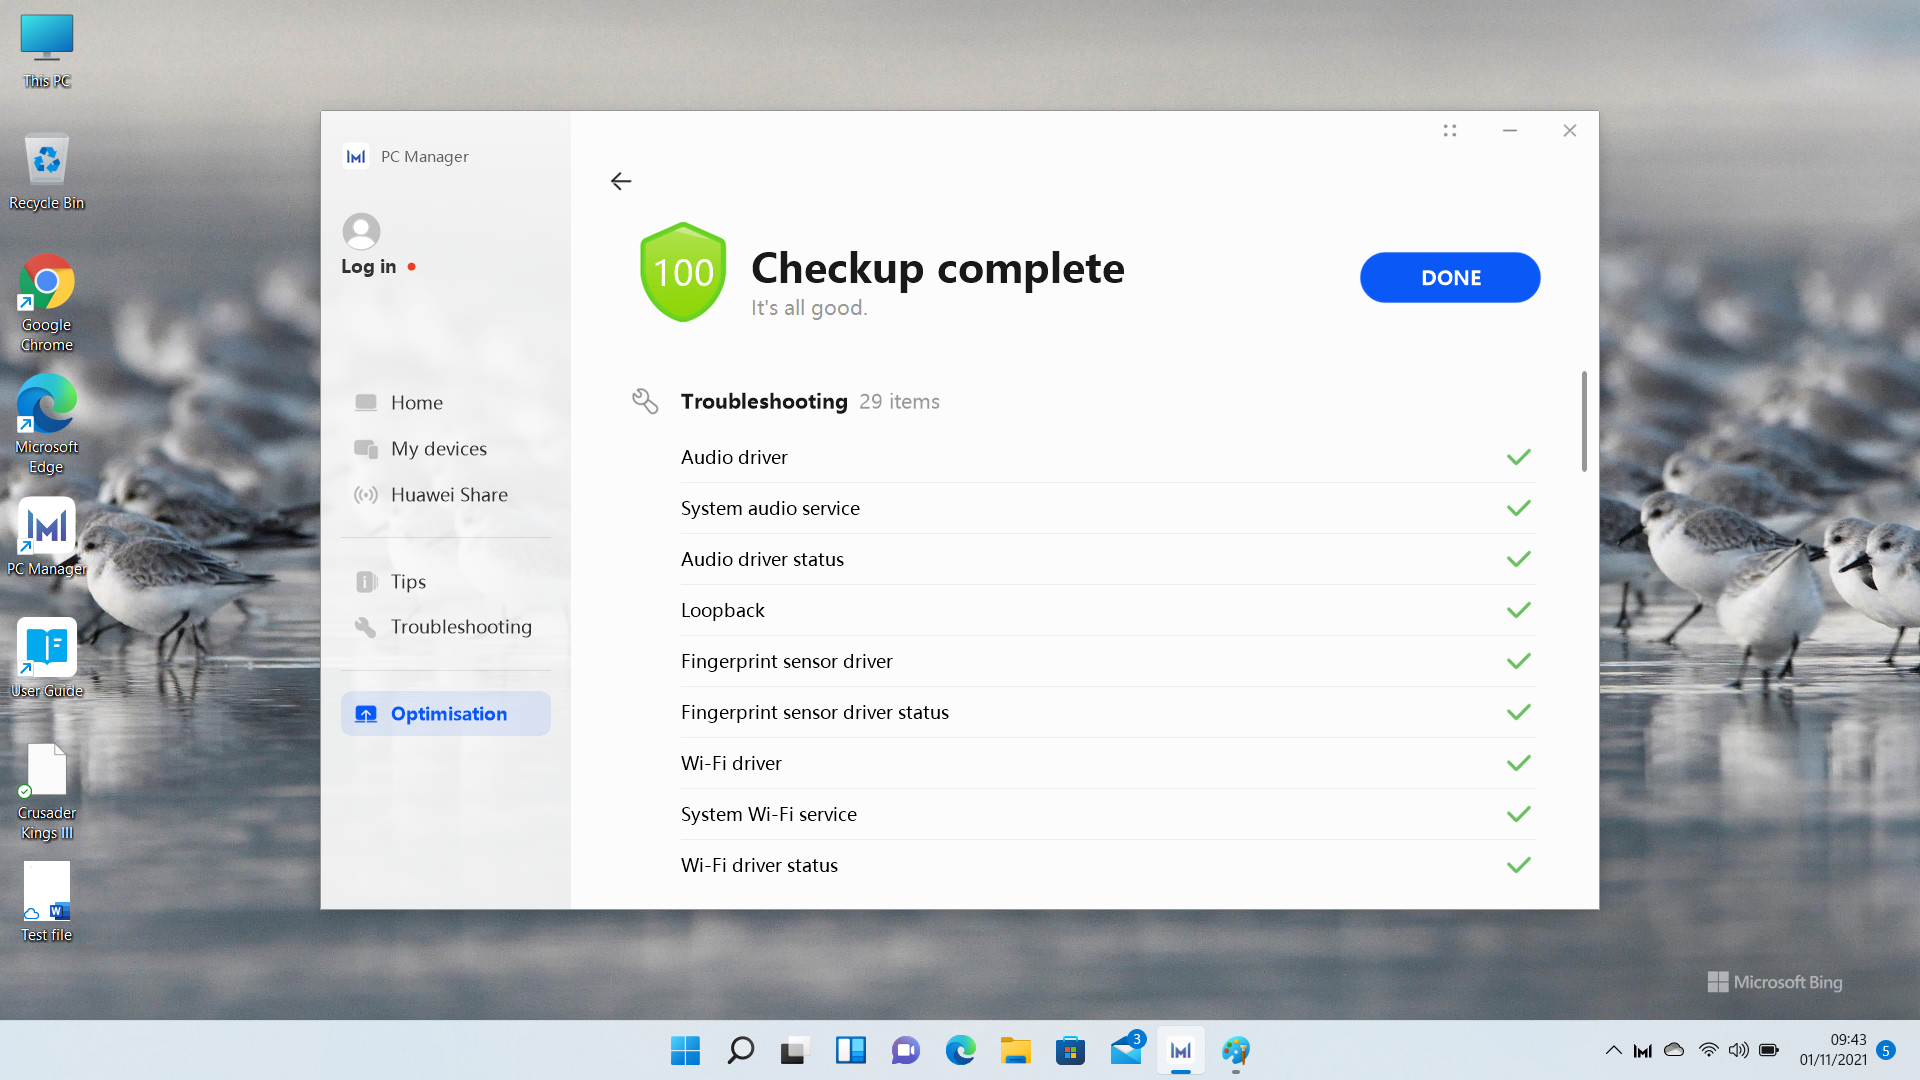
Windows 11 brings a modern look and new features, but upgrading from Windows 10 without a clean installation can sometimes result in slowdowns or unexpected freezes. These issues are often linked to outdated drivers or leftover software conflicts.
Key steps to enhance performance:
1. Keep your drivers updated
Outdated drivers, especially graphics drivers on old graphics cards, are a leading cause of performance issues. To ensure your system runs smoothly:
2. Reset your pc
If you upgraded from Windows 10 and notice persistent problems, a clean reset can help resolve lingering compatibility issues:
3. Optimize system settings
Additional steps to improve performance include:
If you continue to experience issues, consider a clean installation of Windows 11 to eliminate any remaining software conflicts. For guidance, refer to our step-by-step instructions on resetting Windows without losing your data.
3. Windows 11 can’t find a printer
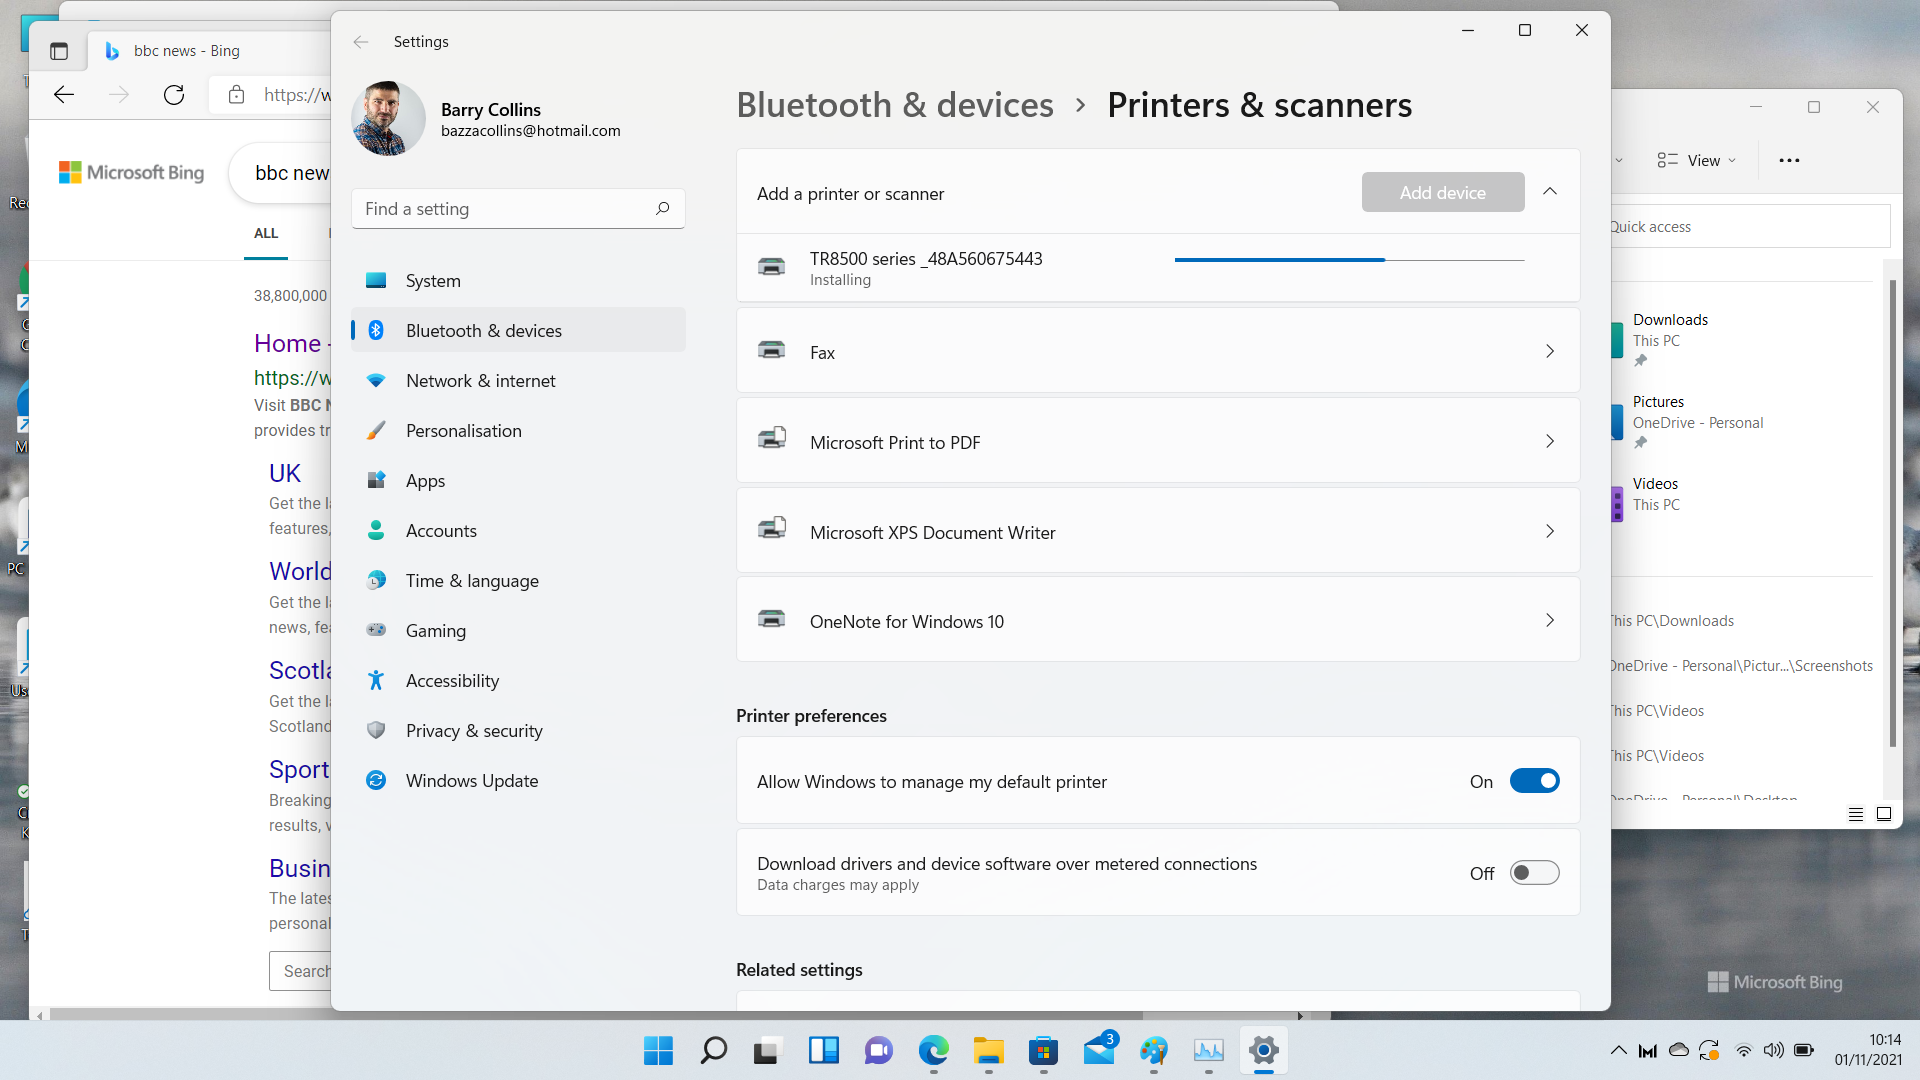
Printer problems remain a persistent issue for many Windows users. In Windows 11, you may encounter difficulties with printer detection, driver installation, or network connectivity.
Here are some troubleshooting steps:
1. Manually install the latest printer drivers
2. Resolve network printer problems
3. Reset the print spooler
4. Run the Windows printer troubleshooter
4. Snipping Tool is crashing or not opening
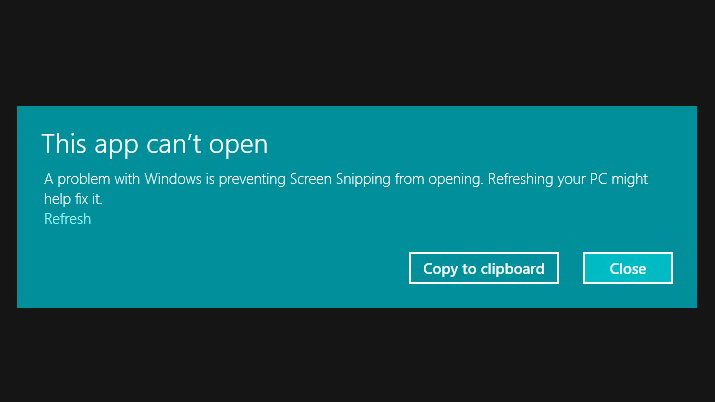
The redesigned snipping tool in Windows 11 offers enhanced features, but users still report issues such as crashes, failure to launch, or freezing during screen captures. Here’s how to restore its functionality:
1. Install the latest Windows updates
Microsoft regularly releases fixes for Snipping Tool issues. To ensure you have the latest patches:
2. Repair or reset the Snipping Tool
If the app continues to malfunction:
3. Reinstall the snipping tool
A corrupted installation can cause persistent issues:
4. Try alternative screenshot methods
If the Snipping Tool remains unresponsive:
5. Check for system or software conflicts
6. Run the system file checker
If system file corruption is suspected:
If these steps don’t resolve the issue, consider using a third-party screenshot tool such as Greenshot or ShareX as a temporary solution.
5. Windows 11 PC is short on disk space
If you've upgraded to Windows 11 from a previous version, you may notice a significant reduction in free disk space. This is because Windows saves a copy of your old operating system in a folder named " Windows.old." This folder can take up more than 20GB and is kept for 10 days to allow you to revert to your previous Windows version if needed.
After 10 days, Windows is designed to automatically delete these files. However, if you need to free up the space sooner and are confident you won't be returning to your old os, you can manually remove these files.
Using storage settings to free up space
The recommended method to remove previous installation files is through the storage settings:
- go to settings > system > storage.
- Click on cleanup recommendations.
- Look for and select previous Windows installation(s), along with other temporary files you wish to remove.
- Click the "clean up" button to remove the selected files.
Leveraging storage sense for automatic cleanup
For ongoing disk space management, Windows 11 includes a feature called Storage Sense. When enabled, it automatically frees up space by deleting unnecessary items like temporary files and the contents of your recycle bin.
You can configure Storage Sense to run on a schedule, such as daily, weekly, monthly, or when your disk space is low. It can also be set to clear out your downloads folder periodically.
Additional ways to create more space
if you still find yourself short on storage, consider these options:
Move files to external storage: For large personal files like photos and videos that you don't need to access co
6. Windows 11 search isn’t finding my files
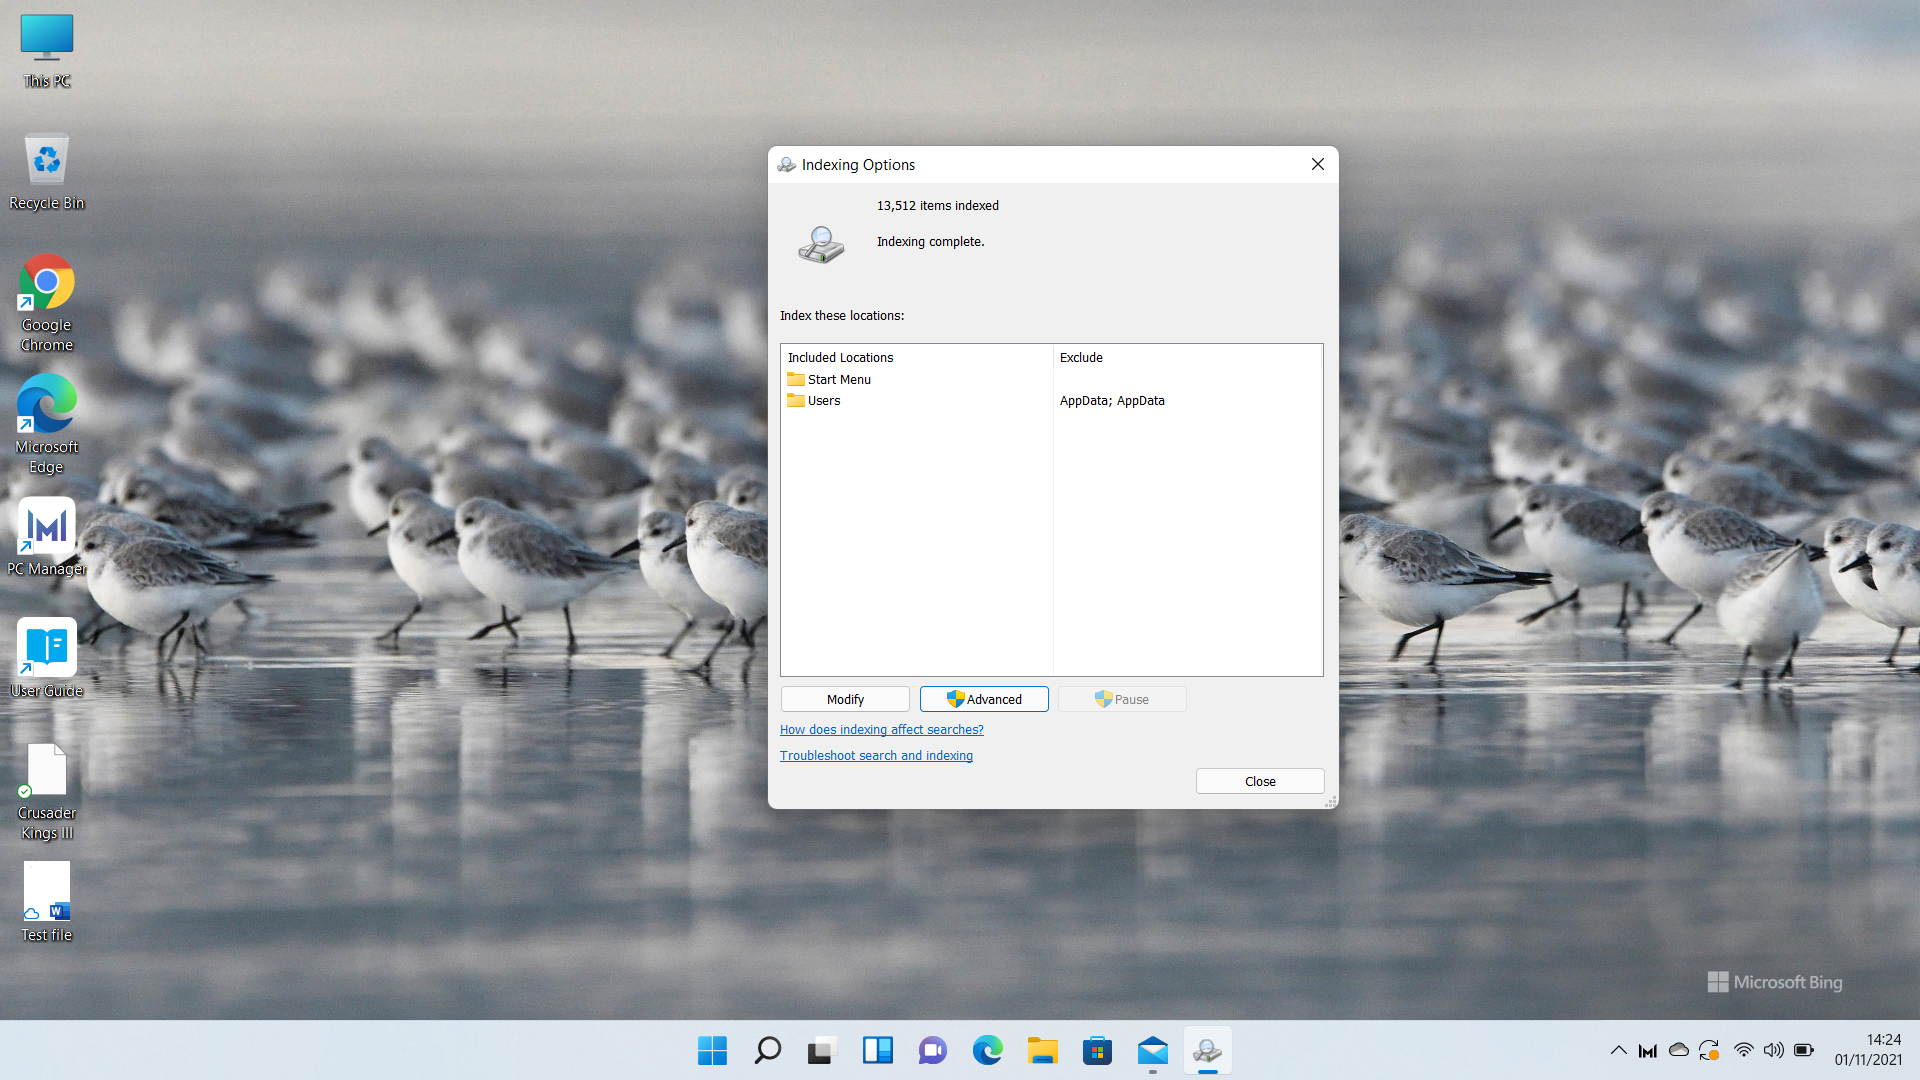
The updated search menu in Windows 11, accessible via the magnifying glass icon or by pressing the Windows key + s, should help you quickly find apps, files, and photos across your device. If the search feature isn’t locating files you know exist, you can prompt Windows 11 to rescan your pc, which often resolves these issues.
Allow time for indexing
After a recent upgrade or when you’ve added a large number of files, Windows 11 needs time to build its search index. This process runs in the background and may take several hours, especially on systems with extensive storage. During this period, some files may not appear in search results immediately.
Manually rebuild the search index
If search problems persist after waiting, manually rebuilding the index can help:
The indexing process will begin anew and may take some time to complete. While indexing is in progress, search results may be incomplete until the process finishes.
Additional troubleshooting
If rebuilding the index doesn’t resolve the issue, consider running the built-in search and indexing troubleshooter:
These steps should restore accurate search functionality in Windows 11.
7. Distracting notifications
With many people still working from home, distractions have become a common occupational hazard. The last thing you need is Windows 11 notifying you of Slack chats or emails about forthcoming Amazon deliveries when you’ve got a report due the next day.
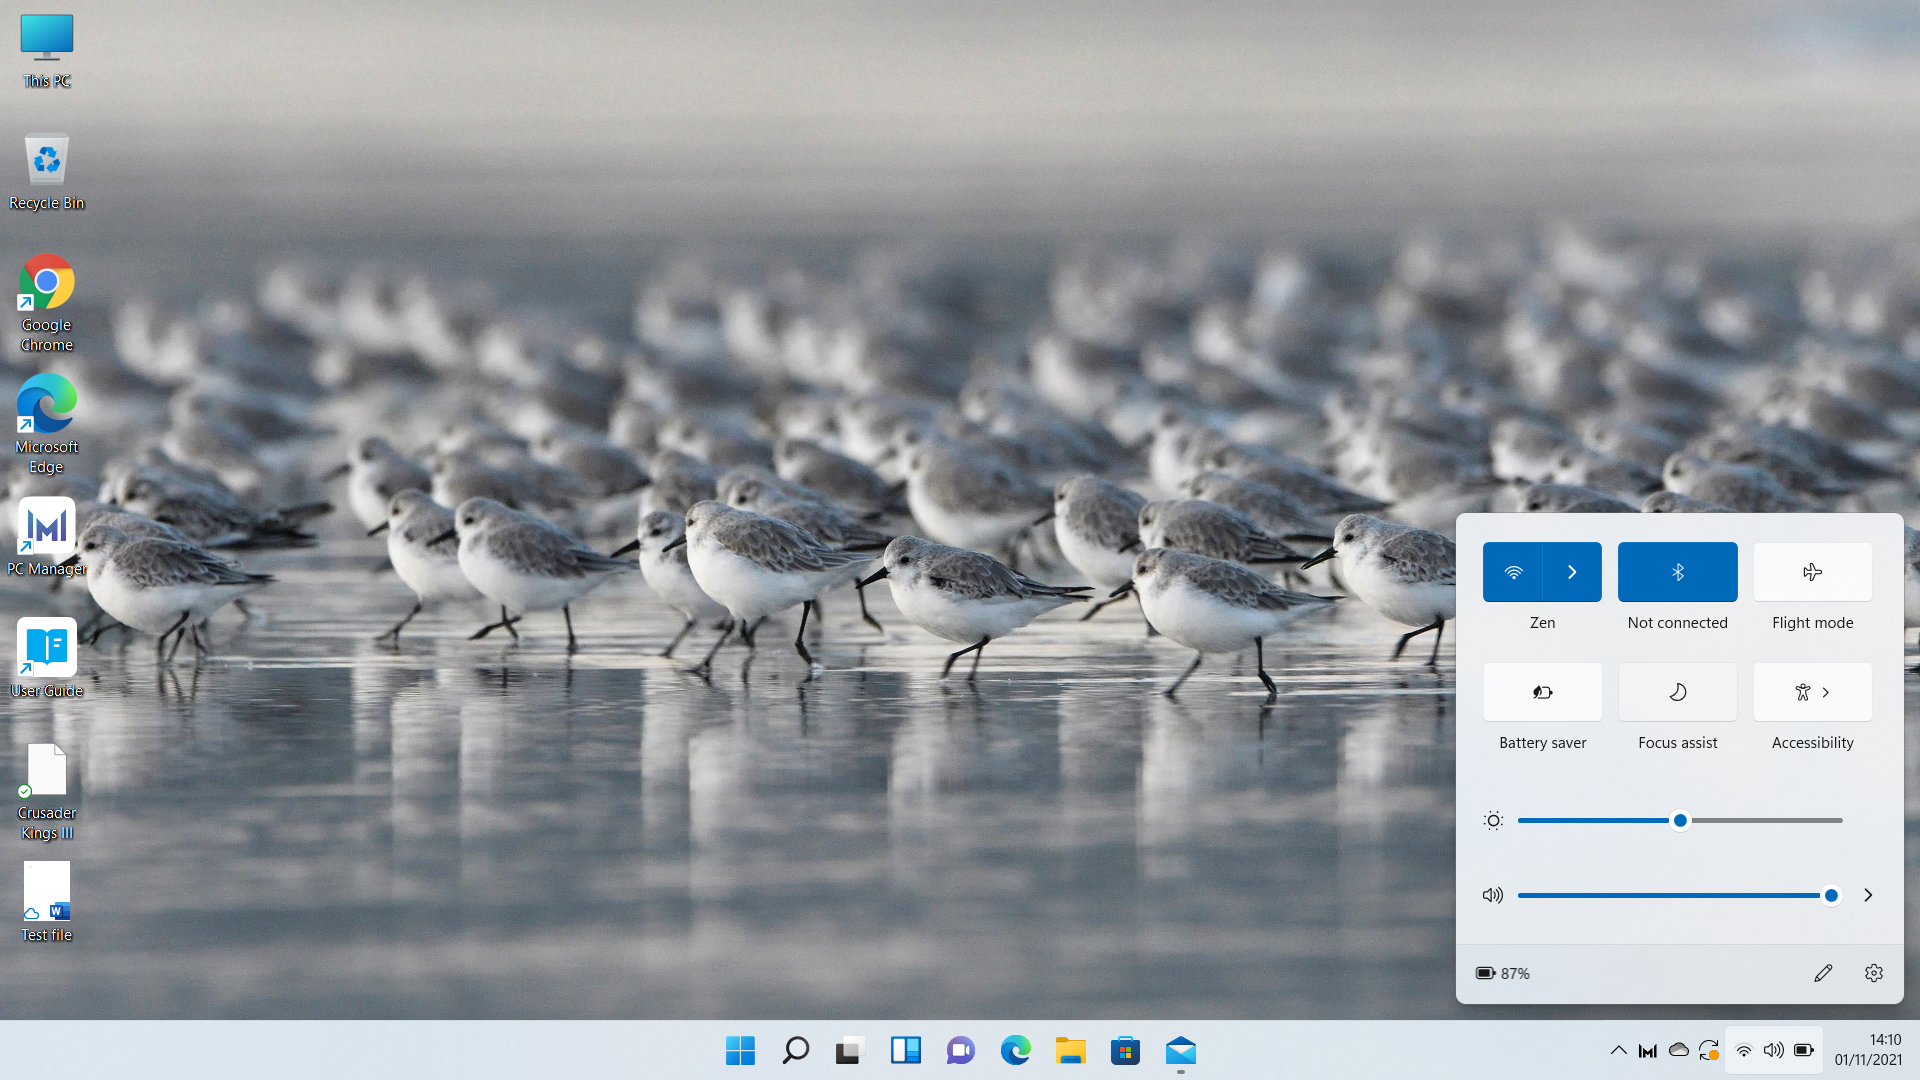
Fortunately, Microsoft has improved its notification system in Windows 11 to make them less distracting than before. This is achieved through a new mode called Focus Assist. To activate it, click on the icons in the bottom-right corner of the screen where the battery, Wi-Fi, and volume indicators are located. A pop-up panel will appear, allowing you to switch on Focus Assist.
There are two modes to choose from within Focus Assist:
· Priority Only: This mode allows messages from specific apps or people to come through. It requires setting up your priority list, which can be customized to include applications such as Microsoft Teams or contacts like your boss.
· Alarms Only: As the name suggests, this mode only allows pre-set alarms to interrupt your work, providing a more distraction-free environment.
To set up Focus Assist:
· Click on the Notifications icon in the bottom-right corner (this will turn into a moon icon if Focus Assist is active).
· Select Focus Assist settings.
· Add the applications or people you deem important to the Priority list.
This feature helps you maintain concentration, ensuring that only crucial notifications interrupt your workflow. By customizing your Focus Assist settings, you can minimize distractions and enhance productivity, even if the boss often calls from Microsoft Teams.
8. Windows 11 Wi-Fi issues
Wi-Fi connectivity problems can be a major source of frustration for Windows 11 users, manifesting as dropped connections, slow internet speeds, or an inability to connect to networks altogether. These issues can originate from outdated drivers, conflicting settings, or hardware malfunctions. Below are detailed steps to troubleshoot and resolve common Wi-Fi problems in Windows 11.
Update network drivers
Outdated or incompatible network drivers are a frequent cause of Wi-Fi issues. Ensuring your drivers are up to date can often resolve connectivity problems. To update your network drivers:
- Open Settings > Windows Update > Advanced options > Optional updates.
- Look for network adapter updates and install them.
- Alternatively, visit your network adapter manufacturer’s website (e.g., Intel, Realtek, or Broadcom) to download the latest driver.
Reset your network settings
If updating drivers does not resolve the issue, resetting your network settings to their default configuration may help:
- Go to Settings > Network & Internet > Advanced network settings.
- Select Network reset and follow the prompts.
- Restart your PC and reconnect to your Wi-Fi network.
Disable power-saving settings
Windows 11’s power-saving features can sometimes interfere with Wi-Fi connections, particularly on laptops. To disable these settings:
- Open Device Manager by pressing Windows key + X and selecting it from the menu.
- Expand Network adapters, right-click your Wi-Fi adapter, and select Properties.
- Navigate to the Power Management tab and uncheck Allow the computer to turn off this device to save power.
Forget and reconnect to your network
Corrupted network profiles can also cause connectivity issues. To resolve this:
- Open Settings > Network & Internet > Wi-Fi > Manage known networks.
- Select your network and click Forget.
- Reconnect to the network by entering the password again.
Check your router and connection
Sometimes, the problem lies with your router or internet connection:
- Restart your router by powering it off for 30 seconds and then turning it back on.
- Ensure your router’s firmware is up to date by checking your manufacturer’s support page.
- Test your connection on another device to rule out ISP-related issues.
Use the troubleshooter
Windows 11 includes a built-in troubleshooter for diagnosing Wi-Fi issues:
- Go to Settings > System > Troubleshoot > Other troubleshooters.
- Run the Internet Connections troubleshooter and follow the recommendations.
These steps should help resolve most Wi-Fi connectivity problems. If issues persist, it may be worthwhile contacting your internet service provider or check for hardware faults in your network adapter or router.
9. Windows 11 updates fail to install
Keeping Windows 11 current is vital for security and stability, but updates can sometimes fail to install, get stuck, or produce errors. If you are encountering these issues, here are several effective troubleshooting methods.
Run the Windows Update Troubleshooter
Microsoft provides a built-in tool designed to automatically find and fix common update problems.
Clear the Windows Update cache
Corrupted files in the update cache are a frequent cause of installation failures. Clearing this cache can resolve the problem.
Install updates manually
If a particular update constantly fails, you can download it directly from the Microsoft update catalog. Search for the update using its knowledge base (kb) number and download the version that matches your system's architecture (x64 or arm64).
Check for system file corruption
Corrupted system files can interfere with the update process. You can use built-in command-line tools to scan for and repair these files.
Ensure sufficient disk space and a stable connection
Updates require adequate disk space to download and install correctly. A lack of space or an unstable internet connection can lead to update failures. Ensure your primary drive has several gigabytes of free space and your network connection is reliable before attempting to update.
Temporarily disable third-party security software
Antivirus or firewall applications can sometimes mistakenly block Windows updates. Temporarily disabling this software may allow the update to proceed.
Check for known issues
Microsoft maintains a list of known issues for Windows 11 releases, including version 24h2. Checking this official documentation can provide information on existing bugs and potential workarounds. In some cases, Microsoft may place a "safeguard hold" on updates for devices with known compatibility problems until a fix is available.
10. The taskbar is unresponsive or not working
A non-functional taskbar can severely disrupt your workflow, preventing access to the start menu, pinned applications, and system notifications. This issue can manifest as a frozen taskbar, missing icons, or a complete failure to respond to clicks.
Here’s how to troubleshoot and fix a problematic taskbar in Windows 11:
1. Restart Windows Explorer
The taskbar is part of the Windows Explorer process. Restarting it can often resolve temporary glitches.
2. Run the system file checker (sfc) and dism
Corrupted system files can cause the taskbar to malfunction. The built-in SFC and DISM (deployment image servicing and management) tools can find and repair these files.
3. Re-register the taskbar using PowerShell
If the above methods don't work, you can try re-registering the taskbar and other built-in Windows apps using a PowerShell command.
4. Check for conflicting applications or services
Sometimes, third-party applications or system services can interfere with the taskbar's operation.
By following these steps, you should be able to restore the functionality of your Windows 11 taskbar.
Barry Collins is an experienced IT journalist who specialises in Windows, Mac, broadband and more. He's a former editor of PC Pro magazine, and has contributed to many national newspapers, magazines and websites in a career that has spanned over 20 years. You may have seen Barry as a tech pundit on television and radio, including BBC Newsnight, the Chris Evans Show and ITN News at Ten.
