How to fix whea_uncorrectable_error in Windows 10
If Windows 10 displays a BSOD with the whea_uncorrectable_error, here's how you can fix it


As we all know too well, sometimes our computers can fail us at the most inconvenient of times.
While some faults are easily solved, many can leave you scratching your head and unable to find the root of the issue – and one problem that falls firmly into the latter category is Windows 10’s notorious ‘blue screen of death’.
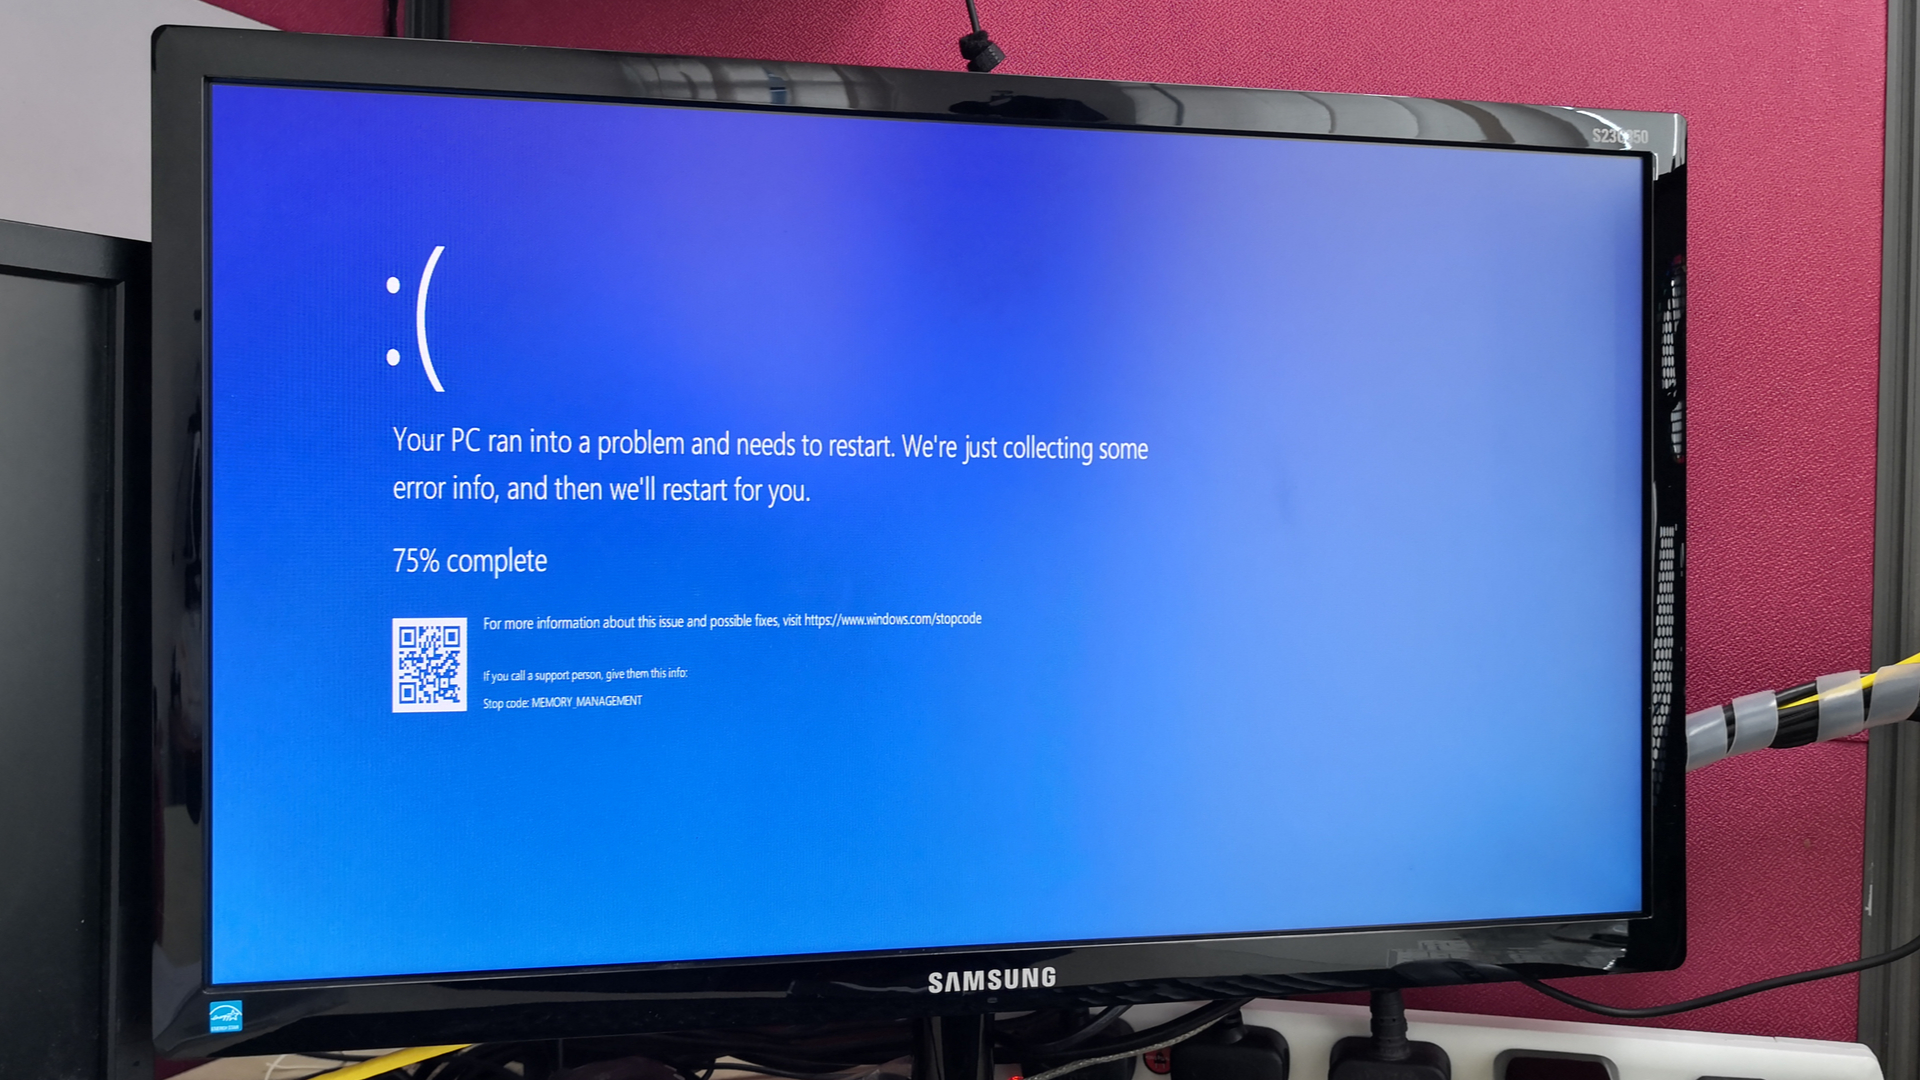
If you’re unfortunate enough to encounter the BSOD, you may find an accompanying line of text that reads ‘whea_uncorrectable_error’. To the uninitiated, this means very little other than the device has apparently given up the ghost – but it often indicates that the problem is being caused by a hardware malfunction.
Below we guide you through some key steps that will help you recover your PC.
Start Windows in Safe Mode and check drivers
- To check your drivers, you’ll need to enter Windows' Safe Mode. Restart your PC in the usual way by hitting the power button within the Start Menu. Now hold Shift on your keyboard and select Restart.
- Upon reboot, you’ll be shown a number of options. Follow the below process:
- Troubleshoot > Advanced Options > Startup Settings > Restart
- Your machine will reboot once again. When it does, press F4 to enter Safe Mode or F5 for Safe Mode with Networking (which will be handy should you need to download any driver updates).
- Once Safe Mode is up and running, type ‘Device Manager’ in the Search box. From here, you can view your display adapters and search for any required updates. If you find that you’re unable to update your drivers, remove them completely, reboot and try reinstalling.
- Restart your machine.
Note: Any drivers with a triangular warning icon alongside them will need updating.
Disable Overclocking in BIOS
To execute this method, you must first reboot your system and enter the UEFI BIOS. You can do this by hitting the F2, F10 or Delete keys on the keyboard once your PC restarts.
It’s important to note that different systems may require different commands at this stage – so be sure to check your PC’s manual if in doubt.
ChannelPro Newsletter
Stay up to date with the latest Channel industry news and analysis with our twice-weekly newsletter
For an alternative method, type ‘Recovery’ into Windows 10’s Start Menu. From here, you can reboot your PC by selecting Advanced Startup. Upon restart, select the following:
- Troubleshoot
- Advanced Options
- UEFI Firmware Settings
- Restart
After this reboot, you should find your PC has entered BIOS. To find the overclocking setting, select Performance. From here, disable overclocking and perform a final restart.
Check for Hardware Issues
If the problem persists and you’re not having any luck with our recommendations so far then it’s time to check whether there's a fault with your hardware. To investigate this, you’ll have to restart your PC and boot into Safe Mode, as we explained earlier in the article as one of the solutions at the start.
From here you'll be able to launch the useful Windows tool “Check Disk”, which will aid you by searching for any issues in your device’s components. All you have to do is locate the search bar and type in “chkdsk” before promptly running the application.
Check for Memory issues
If you’ve tried the above routes and still can’t find what is causing the issue, it may be that a problem in your system’s memory could be causing the blue screen of death. To check this, simply navigate to the search bar once more and enter “Windows Memory Diagnostic”, before running the application. If there's an issue with your RAM, the tool should pick it up.
RELATED RESOURCE

Achieving resiliency with Everything-as-a-Service (XAAS)
Transforming the enterprise IT landscape
If a problem is found, you'll next need to manually test each piece of RAM. This is easily done on PCs: all you need to do is take out all the RAM sticks apart from one and repeat the test once more. Keep this up, by replacing the solitary stick of RAM each time, until you come across the guilty component.
However, it can be slightly more challenging if you are experiencing a BSOD on a laptop, as RAM can be quite hard to access, or completely inaccessible. Usually you can access the RAM bay on most devices through a singular panel. Look for a small, squared-off area on the rear of your laptop, which is where its RAM can be found. Fortunately, this means you don’t have to deconstruct your device in order to reach the RAM.
On the other hand, if it is too problematic or troublesome to locate the RAM yourself, then it is worthwhile heading to a specialist. A repair shop will be able to identify which RAM stick is faulty and then put your laptop together at the end, saving you some hassle.
Dan is a freelance writer and regular contributor to ChannelPro, covering the latest news stories across the IT, technology, and channel landscapes. Topics regularly cover cloud technologies, cyber security, software and operating system guides, and the latest mergers and acquisitions.
A journalism graduate from Leeds Beckett University, he combines a passion for the written word with a keen interest in the latest technology and its influence in an increasingly connected world.
He started writing for ChannelPro back in 2016, focusing on a mixture of news and technology guides, before becoming a regular contributor to ITPro. Elsewhere, he has previously written news and features across a range of other topics, including sport, music, and general news.