How to install Kali Linux on Raspberry Pi
Follow these simple steps to install the penetration testing software on the compact computer for mobile hacking


Despite what a million stock images might tell you, hacking isn't just for hooded teenagers in darkened rooms. It can also be used for good in the great outdoors, such as by enabling people to pentest from outside their building, for instance.
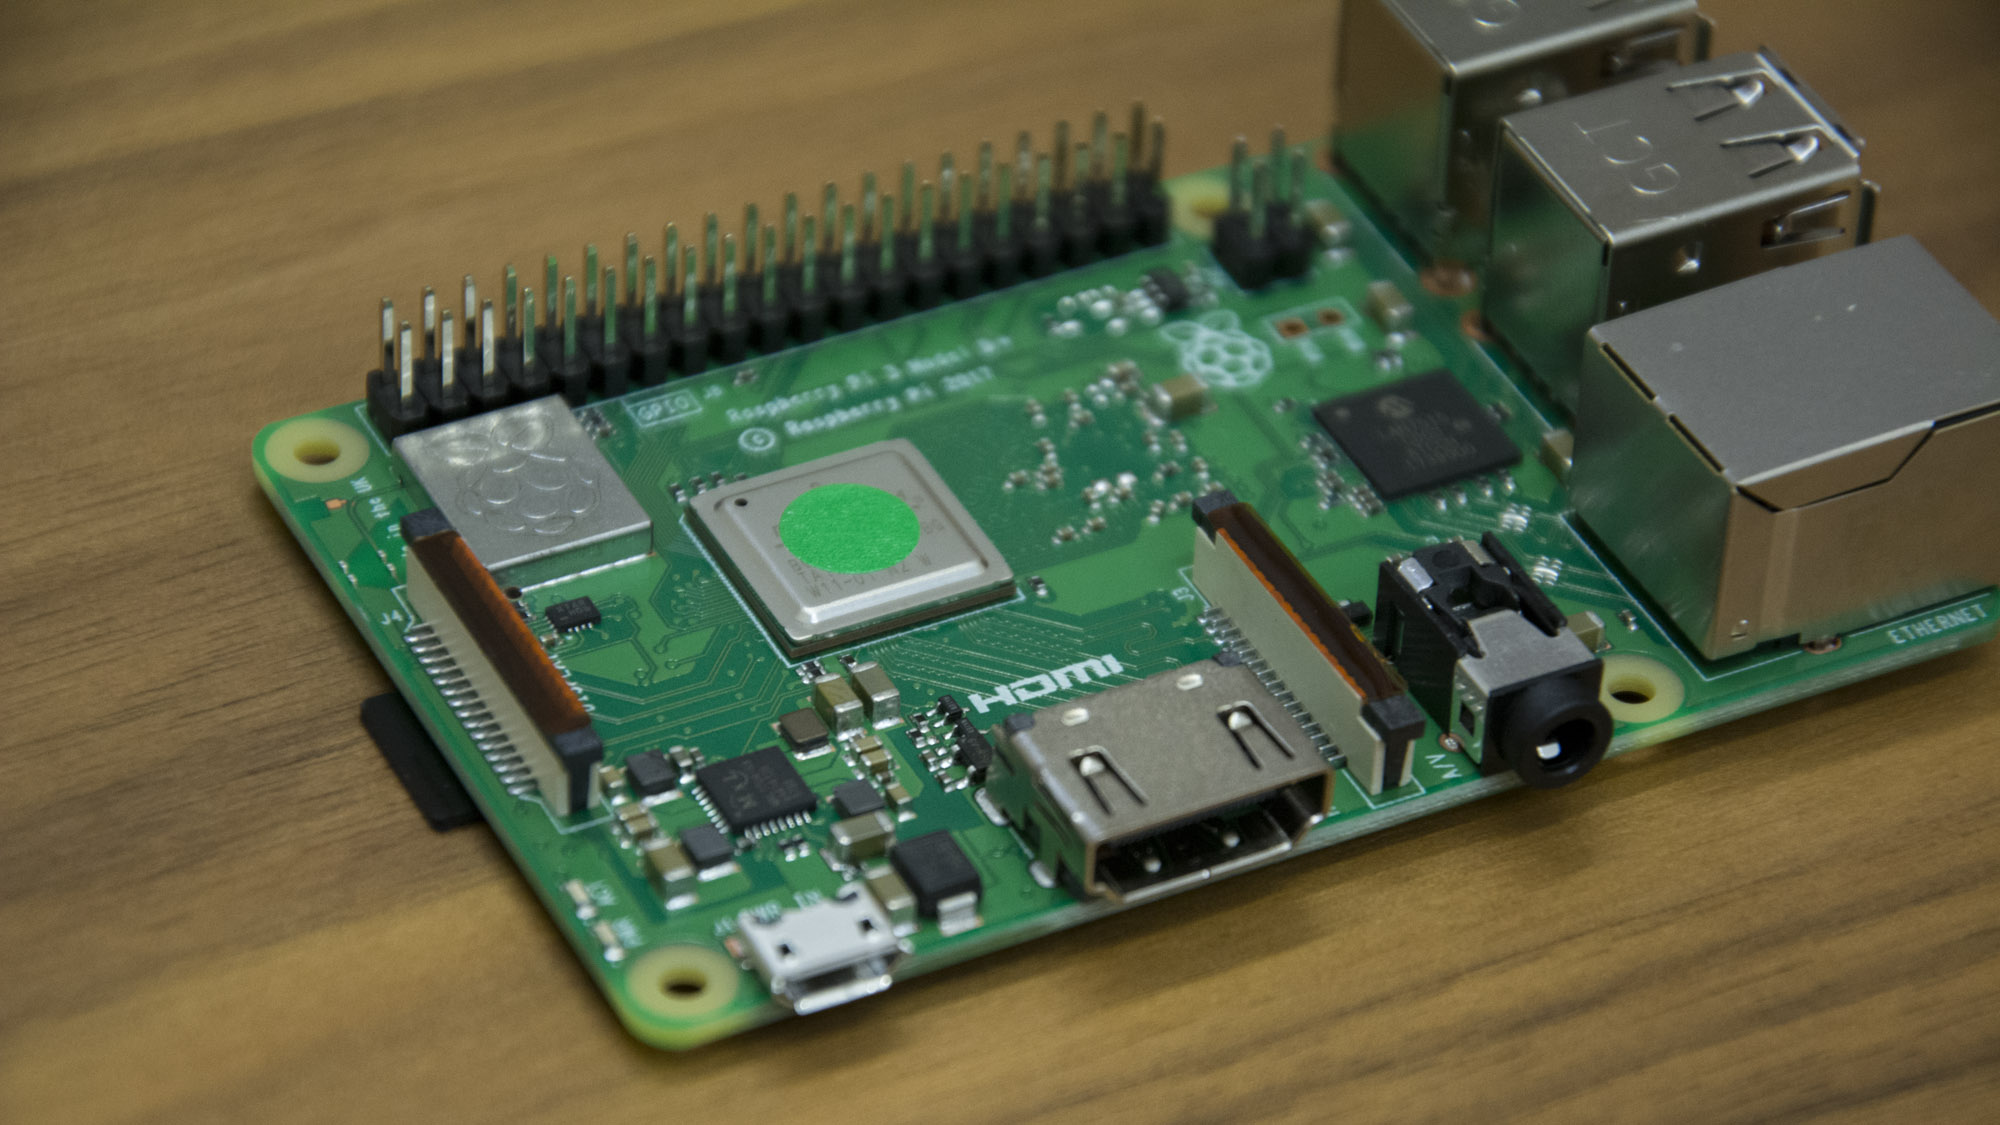
To be able to hack from 'anywhere' you need the right tools and downloading the Kali Linux on the Raspberry Pi should be your first port of call. The Raspberry Pi is a small, credit card-sized computer that doesn't require a lot of power to use. When combined with Kali Linux it becomes a super-portable network testing machine that you can take anywhere.
This can be run on your laptop and used to test your Wi-Fi password strength - or your neighbours. You can also spoof networks, test for Bluetooth vulnerabilities and much more. If you don't want Kali installed directly on to your computer, you can even add a touchscreen device.
All you need to get started is either a Raspberry Pi 2 or 3, a supply of power, a HDMI cable, a minimum 8GB SD-Card and a keyboard and a mouse for control.
Downloading the Kali image for Raspberry Pi

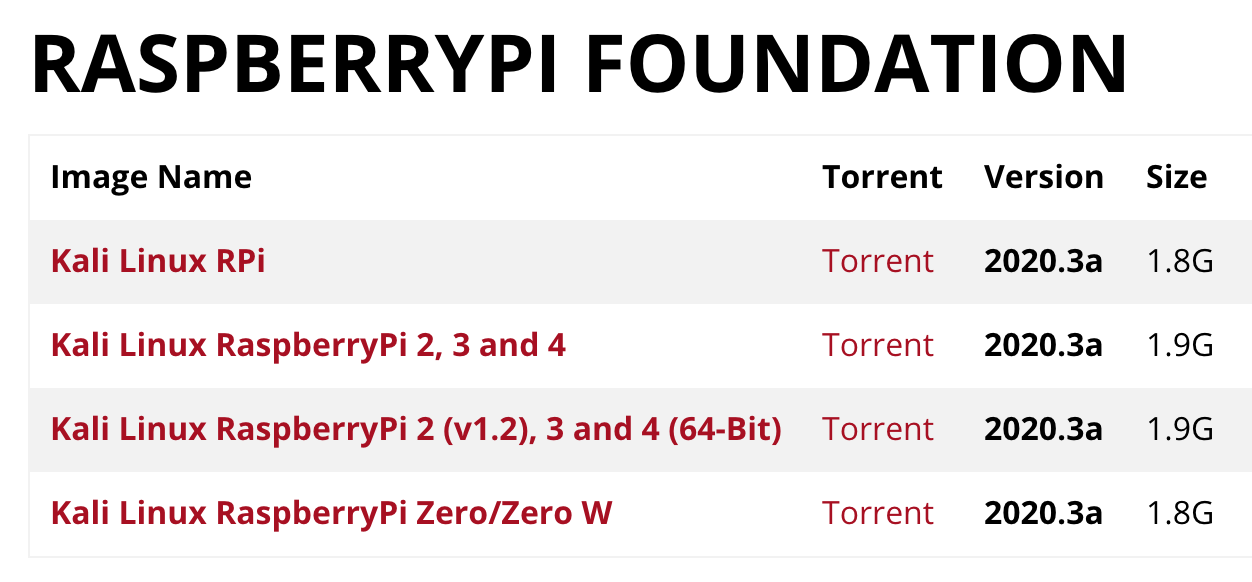
To start, you need a Kali Linux 2.0 image file, which you can download from the Offensive Security downloads area. You'll have to scroll down to find the Raspberry Pi2/3 download as there are a number of different variants.
It is vital that you properly verify what you're installing and that it is a genuine version of kali, rather than a fraudulent lookalike, especially if you plan to use it for security testing. Detailed instructions on how to do so can be found on the Kali website.
After you have the file downloaded it will need to be extracted. Most computers will not have the right software to extract it, but WinRAR can be downloaded and installed to extract the image file if you don't already have software for that purpose.
Get the ITPro daily newsletter
Sign up today and you will receive a free copy of our Future Focus 2025 report - the leading guidance on AI, cybersecurity and other IT challenges as per 700+ senior executives
When you have extracted the image, you're ready to write it to an SD-Card. The minimum size is 8GB, although using something bigger like 16GB or even 32GB is considerably better as it will give you more space to download and run tools and apps.
From there, load the image file into Win32Disk Imager (a Windows program for saving and restoring images from removable drives) and write it to the correct drive, making sure you have picked the correct one as it will overwrite any drive that is selected. It will take a few minutes to write the package, and will state 'Write Successful' when it has completed.
Installing Kali on Raspberry Pi
Once the image is written to the SD-Card, it is ready to install into the Pi. Everything can now be plugged into a monitor or TV with a HDMI cable and you can even add an old keyboard and mouse for control.
After powering up the Pi it will go through a boot up process where the screen will go blank a few times before you can finish. For the final step, a login prompt will appear asking for a username and a password. The default should be 'root' and 'toor' respectively.
Naturally, it goes without saying that you'll want to change the access credentials to something more secure as soon as possible, but you should also change the SSH host keys, as the Kali image for Raspberry Pi comes with a set of default keys pre-configured. From the command line, use the following commands to change your SSH host keys:
root@kali:~ rm /etc/ssh/ssh_host_*
root@kali:~ dpkg-reconfigure openssh-server
root@kali:~ service ssh restart
Installing hacking tools
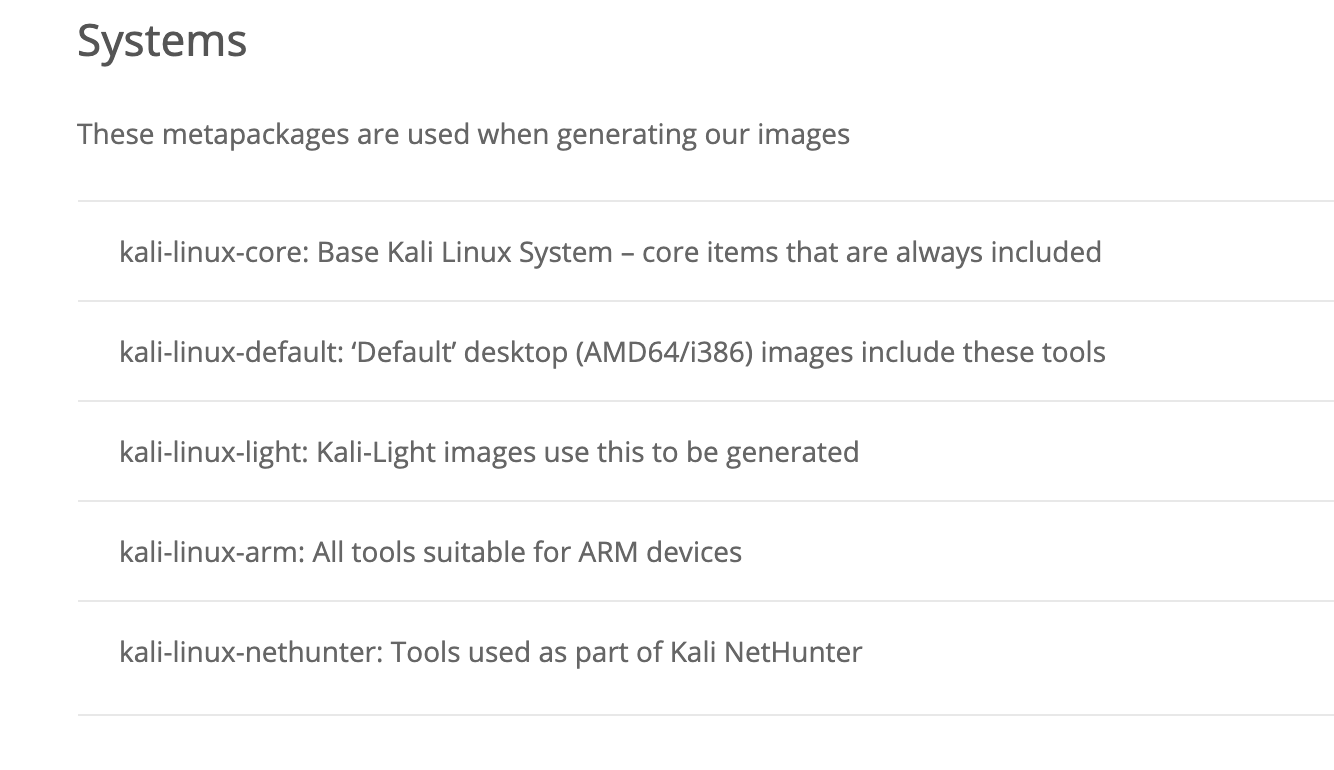
Once that's done, enter the command startx from the command line to boot into the graphical desktop environment. By default, ARM-based Kali images come with the bare minimum of tools pre-installed, but you can use Kali metapackages to install new ones. Various metapackages are available containing different groups of tools for specific purposes such as password cracking or Wi-Fi analysis.

The full list of available metapackages can be found here. You can install the 'kali-linux-full' metapackage to get all the tools that are included with the default desktop image of Kali, or you can get every single available tool with the 'kali-linux-all' metapackage. Alternatively, you can also pick specific metapackages to install based on your needs. All metapackages are installed using the standard Linux apt-get method - for example, to get the complete toolset, you'd use the command apt-get install kali-linux-all.
Once you've installed your desired tools and made sure you've changed the default passwords, you're all set to start using Kali. Happy hacking!
Bobby Hellard is ITPro's Reviews Editor and has worked on CloudPro and ChannelPro since 2018. In his time at ITPro, Bobby has covered stories for all the major technology companies, such as Apple, Microsoft, Amazon and Facebook, and regularly attends industry-leading events such as AWS Re:Invent and Google Cloud Next.
Bobby mainly covers hardware reviews, but you will also recognize him as the face of many of our video reviews of laptops and smartphones.