How to use headers, footers and page numbers in Word 2010
An overview of headers, footers and page numbers in Microsoft Word 2010


Headers and footers are the components of a document that contain information or graphics at the top or bottom. Unfortunately, although incredibly useful, headers and footers have traditionally been one of the least used components in document creation, perhaps due to a lack of information, the fact that these items were in a hidden menu in previous versions of Microsoft Word. The header is the data and graphics that appears at the top of each page, while the footer is information and graphics that appears at the bottom of each page.
The most well-known use of a footer is the page number at the bottom of each page in a document, however headers and footers can also include; a company logo, a company address, a date, useful document details such as the filename or a document author.
You can have the same header and footer throughout the document or different headers and footers for different pages (eg in a training manual you may have a left justified header for the even numbered pages and a right justified header for the odd numbered pages).
Microsoft Word 2010, has improved the header and footer feature by supplying ready made examples. In this article, we'll show you how much simpler, compared to previous versions, it is to insert a header and/or footer.
Headers and footers

To work within the header or footer in your document click on the Insert tab of the ribbon and click the Header or Footer command from the Header & Footer group.
- Insert tab
- Header/Footer command
When you click on the header or footer command a drop down menu will appear, which allows you to choose whether to use a built in header or footer, create your own, or remove an existing header or footer.
If you would like to use a built-in header or footer, simply click on the one you wish to use.
Get the ITPro daily newsletter
Sign up today and you will receive a free copy of our Future Focus 2025 report - the leading guidance on AI, cybersecurity and other IT challenges as per 700+ senior executives
To browse through the list of headers and footers available, use the scroll bar at the right hand side of the drop down menu.
- Built-in headers
- Scroll Bar
- Edit and Remove commands
Once you have chosen your header or footer style, you are ready to input the information.
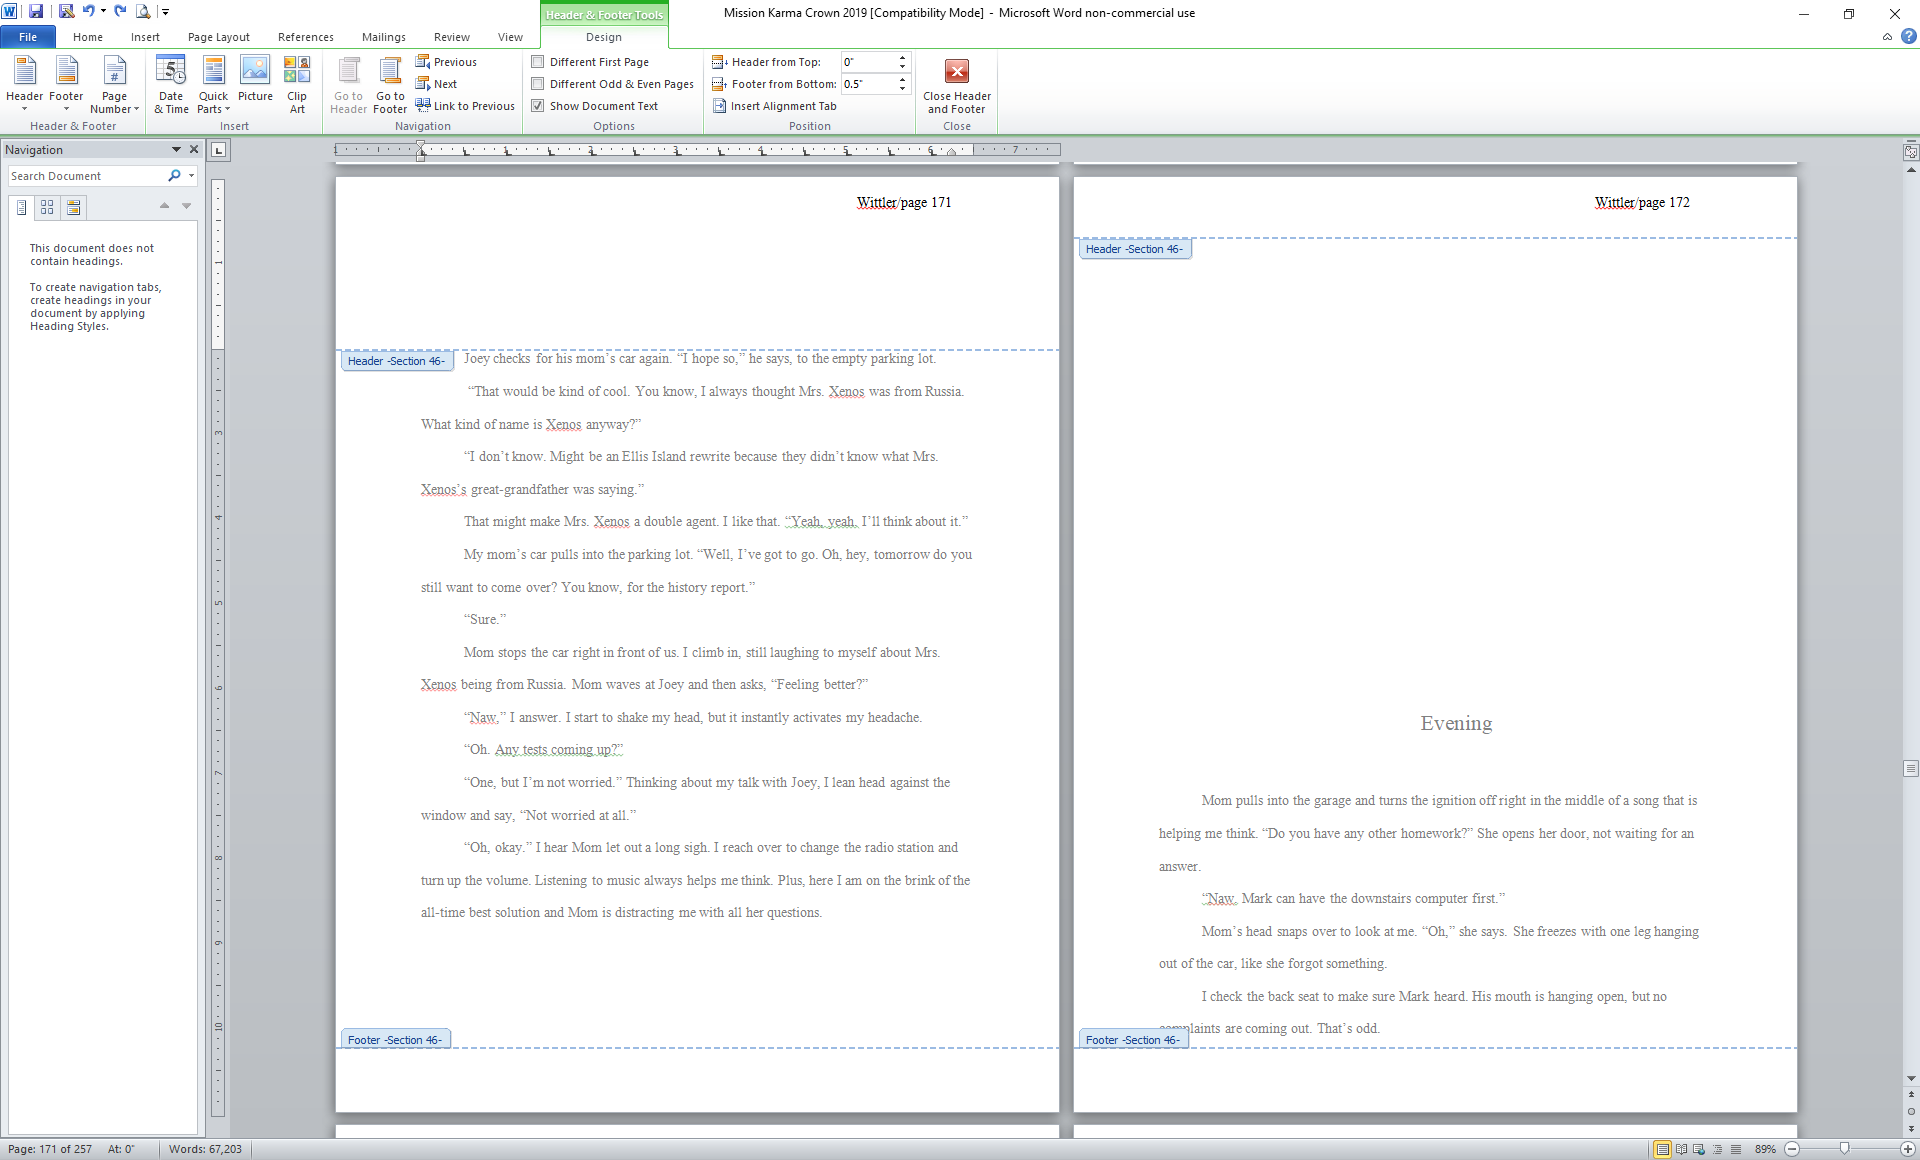
Now that you are working on the header or footer a new tab will be available in the Ribbon called Header& Footer Tools - Design.
Use the Design tab, to select what you want to appear in your header or footer (such as page numbers, the date, or a company logo) and how you want this information to be laid out (such as different footers and headers on odd and even pages).
You can type and insert (via copy and paste) information into the Header or Footer in the same way you can in the body of a document. The standard commands and functions are available in the other tabs of the ribbon but most of the commands you will need appear in the Design tab.
Tip: If you wish to use the Design tab to design your header/footer rather than using one from the Microsoft header/footer library, Word 2010 allows you to shortcut the initial header/footer button by double clicking at the top or bottom of the page.
Tip: If you would like to put a company logo in the header or footer, click on the Picture command and select a picture from your computer.
Inserting specific information

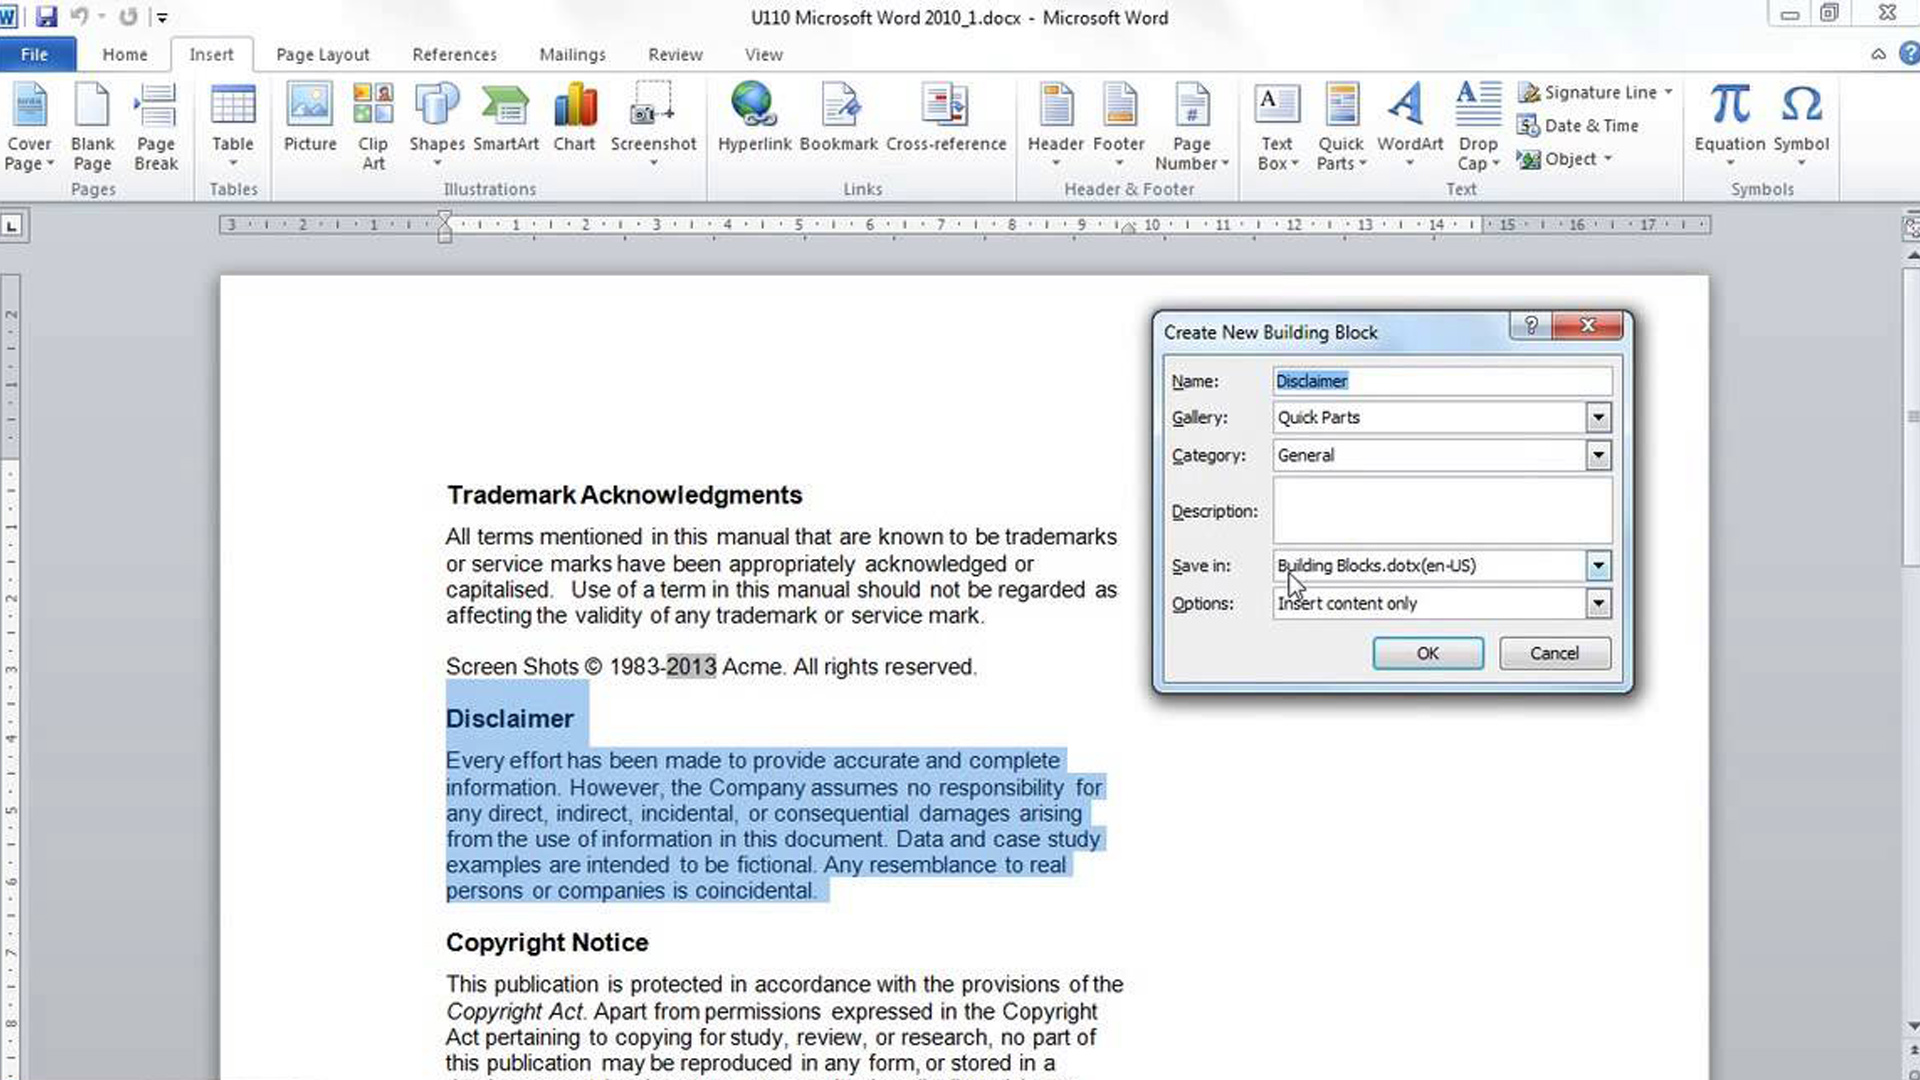
At times, you may wish to add information that you are not quite sure about (e.g. the file location of your document) or premade blocks of text and graphics. Word 2010's Quick Parts offers hundreds of fields and pre-made content elements, called building blocks, that you can use with your documents.
You can use Quick Parts to automatically create your own blocks should the Microsoft pre-defined ones not be sufficient.
Quick Parts has four components that you can use to quickly insert predefined information, the easiest one to use is the Document Property option. If the information is not available in Document Property, use the Field option. Field is a comprehensive container for all the predefined objects in Word 2010, for example Field contains information such as the document's author, an address, dates and much more. To insert a particular field into your header or footer, click the Quick Parts command and select Field from the drop down menu. A dialogue box will appear with field names and formats.
Select the field you want from the Field names box, edit the Field properties to suit your needs and then click the OK button. When using the Field option for the first time it can be quite overwhelming. If you are not sure what is included in the various Field components, try honing in on the exact information that you would like to insert into your header/footer by changing the Categories from All to a specific set of data such as Date and Time.
Autotext and Building Blocks Organisers are other Qucik Part components that can be used to add predefined information to your headers and footers but require more information beyond the scope of this document.
Inserting the date and time
Inserting the date and time in a footer is quite common and there are several methods to do this such as using the aforementioned Quick Parts Field option. However it is much quciker to use the Date & Time command. While in the Design tab of the Ribbon, choose the Insert group and click the Date & Time command. Select the format you wish your date and/or time to appear in from the Available formats section and click OK.
- Insert tab
- Date and Time command
- Date and Time Dialogue Box
- OK button
Page numbers
To insert page numbers into your header or footer, choose the Page Number command. From the drop down menu, you are then able to choose where you want your page numbers to appear. Once you have selected the location, you can select the style of page number that you like. Choose the style you want by clicking on it.
Other useful buttons in the design tab
Other useful command buttons in the Design Tab are the Go to Header / Go to Footer buttons. Clicking one of these buttons is a useful way to change between editing your header and footer, and allows you to quickly flick between both. Different First Page / Different Odd & Even Pages enables you to decide which headers and footers are the same, and which differ. For example, If you are creating a document that has a cover page, then you may want to have a different first page header or footer, or none at all, so that it fits in with your cover page.
And finally to quit using headers and footers you can click on the Close Header and Footer command button. Clicking this button closes the header or footer that you are currently working within and returns you to the main body of your document. It is faster to quit using headers and footers by clicking into the main body of your document.
For more information on how to get the best out of Microsoft Word and Excel, we’ve put together a few guides. We discuss how to use the Microsoft Office Ribbon and how to start page numbering from a specific page in Microsoft Word. You may also find it useful to learn how to insert and edit footnotes in Microsoft Word.
Claire is assistant features editor and writer at the Daily Mirror, covering everything from TV and celebrities to real life and general great yarns. Now based in Northern Ireland, she previously worked at the Sunday Mirror and Sunday People as well as enjoying a fun stint as a freelancer at Belfast Telegraph, IT Pro Portal, EIN Presswire, and Arab America.