How to take a screenshot on MacOS
We run you through the various ways to take a screenshot on MacOS, including how to capture tricky areas like the menu and touch bars


Any number of reasons could arise for you to take a screenshot on your MacBook or iMac. Perhaps you want to save evidence of a business expense, or capture images of an IT issue that you can attach by email. Luckily, there are several ways to take a screenshot in MacOS, with a range of options to cater to your individual needs.
Different types of macOS screenshot
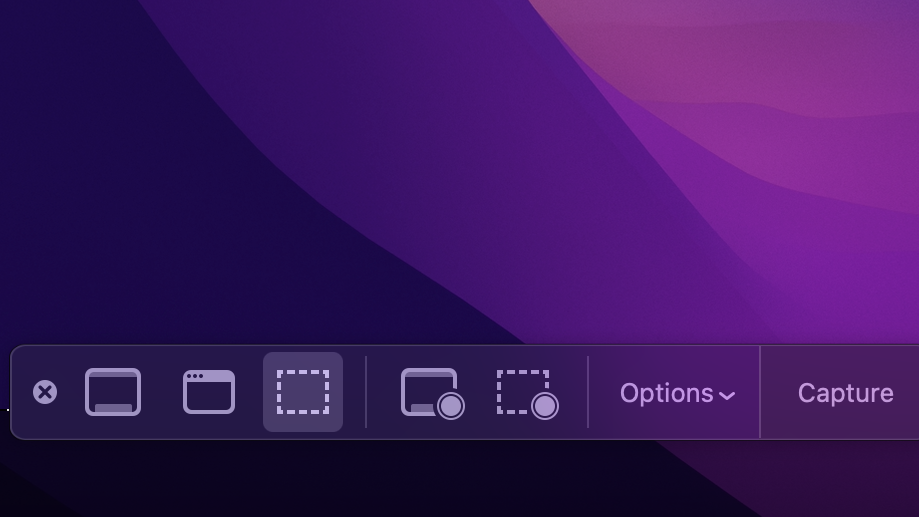
To see all your screenshotting options, use the shortcut Shift + Command + 5. This opens up the screenshot menu (pictured below) from which you can select a range of choices.

These include a button to capture the entire screen, capture a manually-selected window, or capture a selected portion of a window by clicking and dragging. Also included in the menu are options to take a screen recording of the entire screen, or of a selected portion of the screen.
Any screenshots or screen recordings will by default be saved directly to the desktop, but you can change this to any folder of your choice by selecting 'options' from the menu and selecting your folder of choice under the 'Save to' heading.
Screenshot shortcuts in MacOS
If you want to take screenshots without first opening the screenshot menu each time, all the actions within the menu have a dedicated keyboard shortcut.
To capture the entire screen, press Shift + Command + 3. This will take a screenshot of the entire screen or, if you have multiple monitors connected, separate screenshots of every screen at the same time.
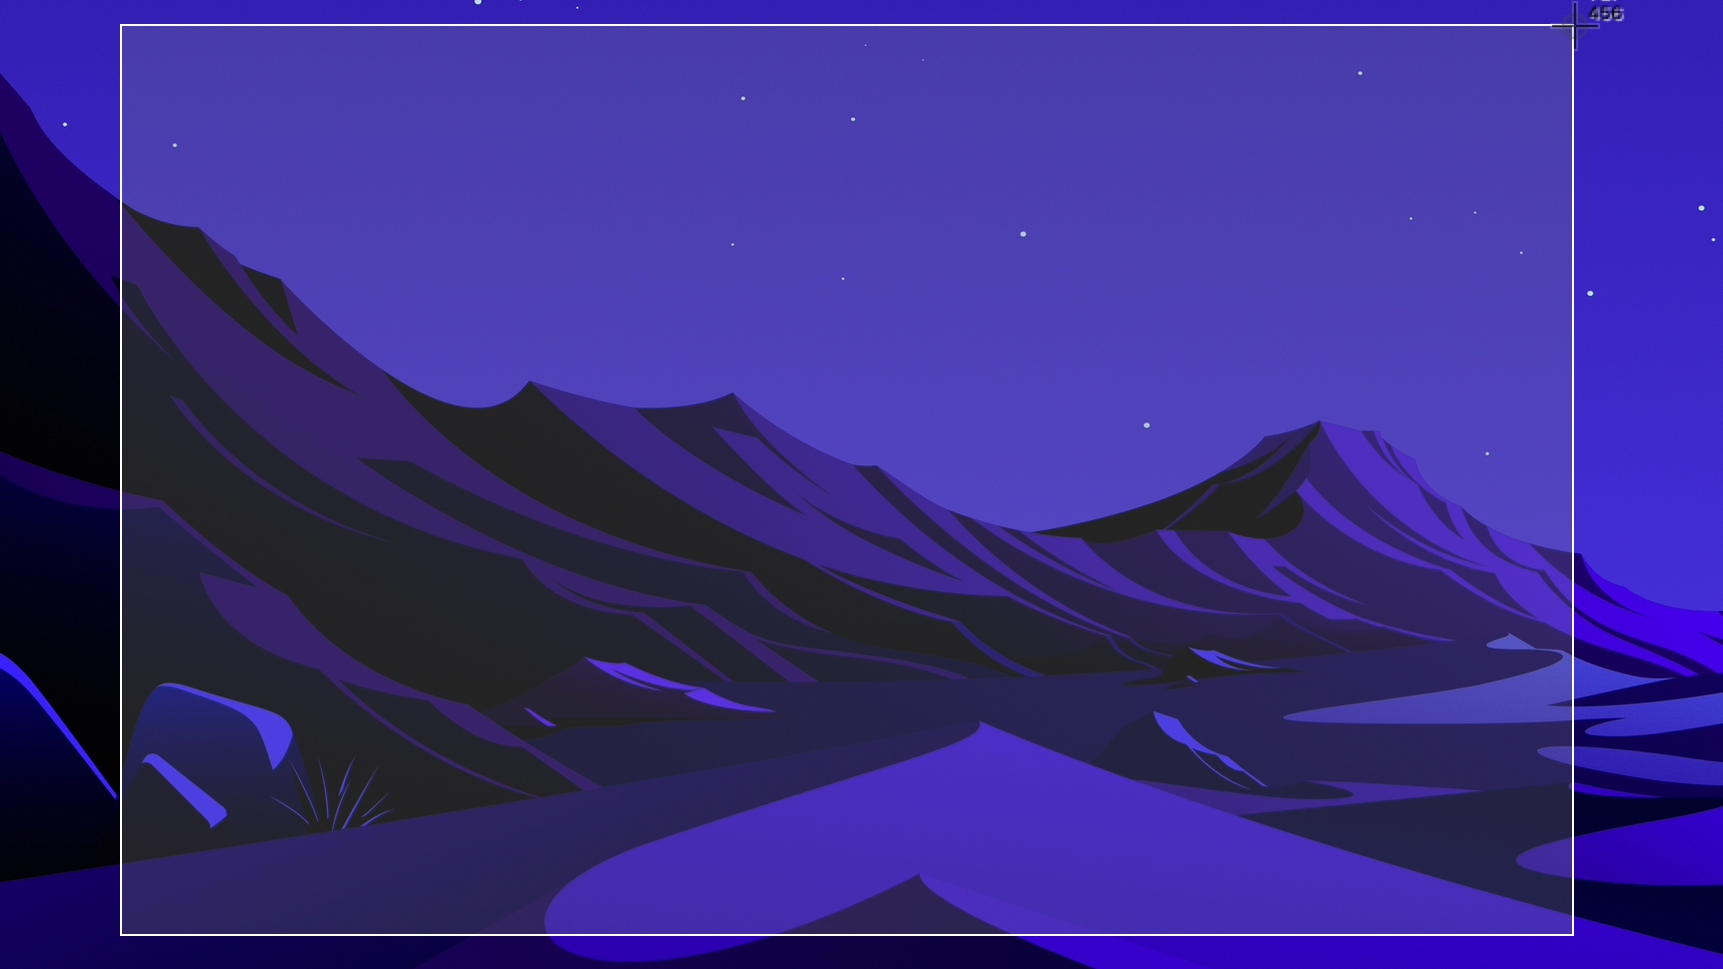
If you just want to quickly take a screenshot of part of the screen, say a portion of a webpage, you can use the shortcut Shift + Command + 4.
Get the ITPro daily newsletter
Sign up today and you will receive a free copy of our Future Focus 2025 report - the leading guidance on AI, cybersecurity and other IT challenges as per 700+ senior executives
To access the menu, as covered above, press Shift + Command + 5.
If you need to take a screenshot of the touch bar on your MacBook, perhaps to show off your shortcut layouts, use the shortcut Shift + Command + 6.
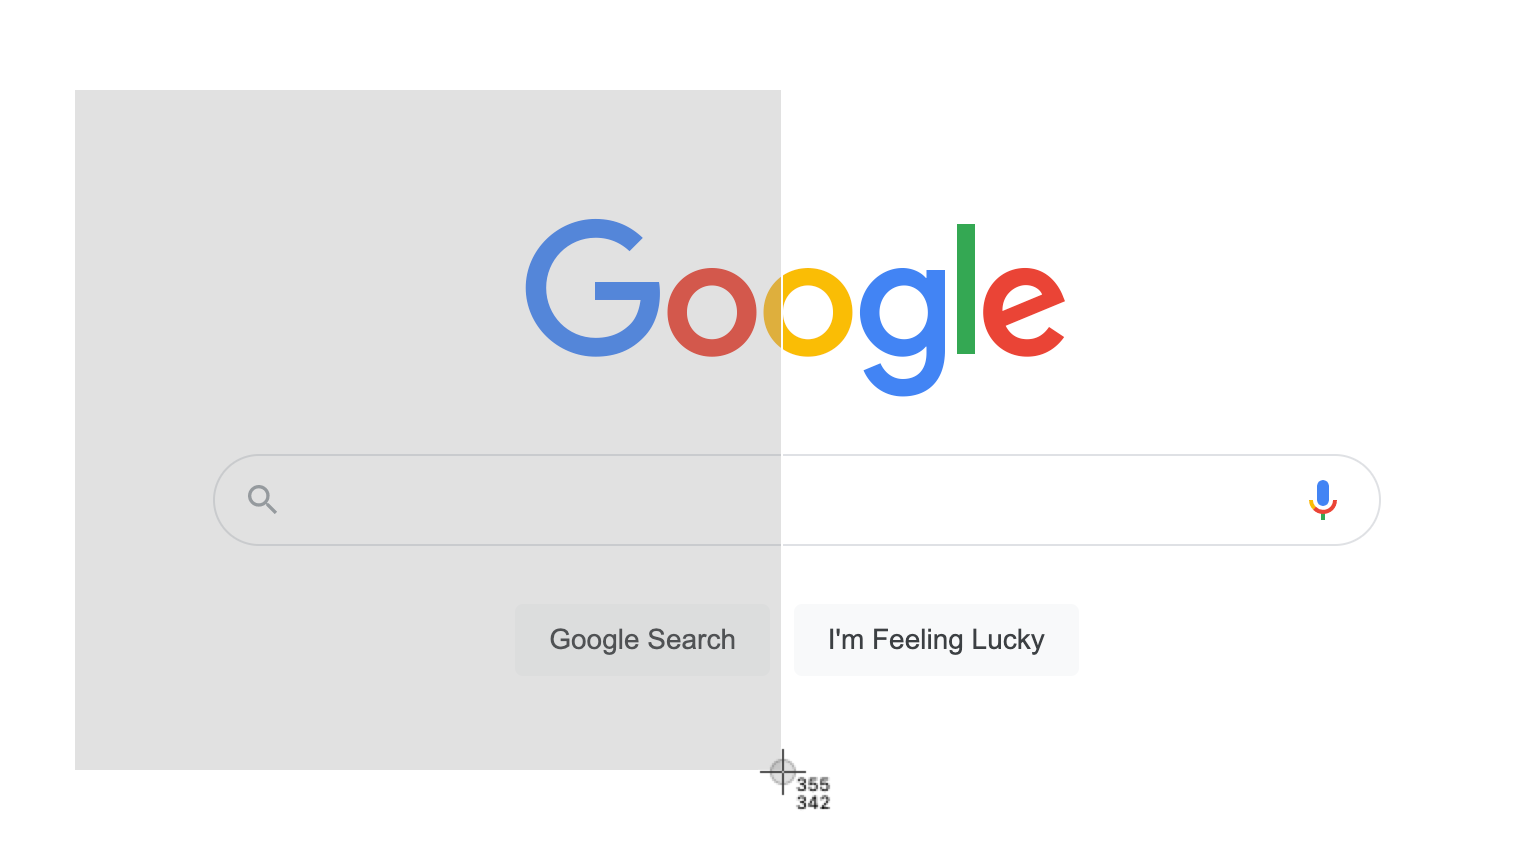
To take a screenshot of a particular portion of the screen, press Shift + Command + 3 and the mouse cursor will change into a small target symbol. Once this has happened, click and drag anywhere on your screen and a grey box will appear. Drag further to increase its size and change its shape. Everything inside the box will be converted into a screenshot.

What apps can I use to take a screenshot on my Mac?
If the built-in tools Apple includes within macOS aren't doing it for you, you're in luck - there are a range of third-party apps and utilities that offer additional functionality beyond the default options. Many are completely free, and you can find some of our favourites below.
Shottr
Don't let the fact that it's free fool you: Shottr is worth a mention for its powerful range of features. These include scrolling screenshots, the ability to pixelate portions of your screenshots, and even the ability to work as a screen ruler.
Skitch
Another free app, Skitch is produced by the makers of Evernote and boasts good compatibility with its parent app. It's a good option for anyone already familiar with the functionality of Evernote, which works well in the Mac architecture as a result of its clean design and organisational capabilities. It offers good annotation options, with an easy-to-use UI for editing screenshots to your heart's content.
CleanShotX
Where CleanShotX falls down against the others in price, costing a comparatively large $29, it more than makes up for it in functionality. It currently boasts over 50 tools including scrolling screenshots, recording GIFs, powerful screen annotation, pinning screenshots and even hiding select desktop icons from your screenshots at will. The app is quite the silver bullet for any screenshot and screen annotation task.
LightShot
This free option is similar to Skitch in many ways, running as an extremely lightweight program available through the App Store. One notable quality of life feature that comes as default with LightShot is users being asked to choose a folder to save each screenshot in whenever they're taken, which could either be seen as a hurdle to fast-paced screenshotting or as a powerful antidote to the desktop clutter that the native screenshot settings on macOS generates.

Rory Bathgate is Features and Multimedia Editor at ITPro, overseeing all in-depth content and case studies. He can also be found co-hosting the ITPro Podcast with Jane McCallion, swapping a keyboard for a microphone to discuss the latest learnings with thought leaders from across the tech sector.
In his free time, Rory enjoys photography, video editing, and good science fiction. After graduating from the University of Kent with a BA in English and American Literature, Rory undertook an MA in Eighteenth-Century Studies at King’s College London. He joined ITPro in 2022 as a graduate, following four years in student journalism. You can contact Rory at rory.bathgate@futurenet.com or on LinkedIn.